Adding a Seam
You can add a seam to your pattern when you want to manually define the seam allowance for different segments in your pieces. This allows you to increase or decrease the seam allowance for different parts, instead of applying the same seam allowance like with Basic Seam.
You can either apply the same seam allowance to an entire piece, or select different segments to apply different seam allowances.
To add a seam:
-
Open up your pattern.
-
Select a piece or multiple pieces.
-
In the toolbox, expand Seams.
-
Click Seam.
Notice a sewing icon appears. -
If you want to apply the same seam allowance to all the points in the piece, select a point on the piece, then click the left and right mouse buttons simultaneously.
Or
If you want to apply different seam allowances, select the first point where you want to start the seam and while holding down your mouse, drag the cursor to the end of the seam in a clockwise direction.
The Seam Attributes dialog appears: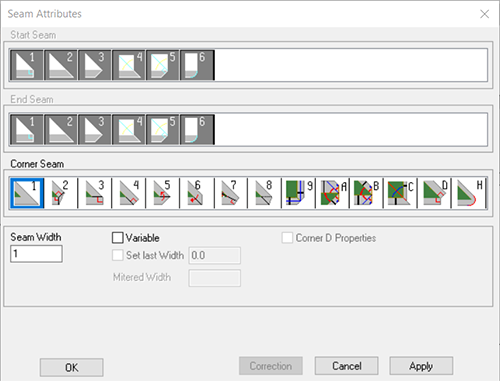
-
Depending on the area you have selected, you can now define the look of the seam corners. This dialog is dynamic according to your selection.
-
If you are adding the seam allowance to the entire piece, select the type of Corner Seam you require.
Or
If you are adding the seam allowance to a segment of the piece, select the type of corner you want to apply to both Start and End seam corners.
Or
Leave the corner type as a standard corner by not selecting anything. -
In the Seam Width field, enter the width of the seam in centimeters.
-
Select the Variable checkbox, if you want to apply a different seam width to the first and last points.
-
The following fields become enabled:
-
Set Last Width: Sets the width of the last point of a variable seam. Defined in the Last Width field.
-
Mitered Width: Sets the distance from the corner point to the seam.
-
-
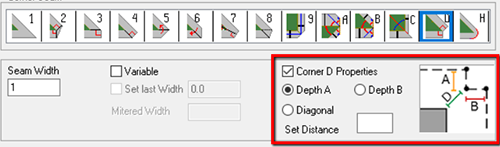
Once Corner Seam D is selected, the following Corner D Properties checkbox becomes enabled.
-
Select the Corner D Properties checkbox, if you want to move seam corner vertex away of the piece geometry.
-
The following fields became enabled:
-
Depth A / Depth B / Diagonal : Sethorizontal, vertical or diagonal distance to define the seam corner vertex position relative to the piece geometry.
-
Click Apply, then OK when you are done.
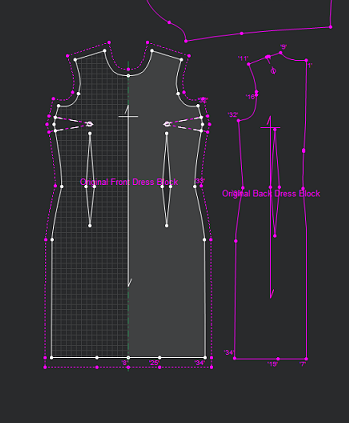
In this example, different seam allowances were applied to the front piece: