Creating a Basic Seam
You can create a basic seam when you want to add a simple seam on all the selected pieces. First, a Basic seam is added to all the pieces. Next, if required, each piece is given the correct seam allowance and seam type on special corners.
Note: You can enter a negative value. This is usually used when a style was digitized on the Cut line.
To create a basic seam:
-
Open up your pattern.
-
Select a piece or multiple pieces.
-
In the toolbox, expand Seams.
-
Select Basic Seam.
The Set Basic Seam Line dialog appears: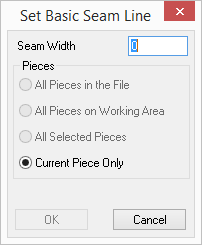
-
In the Seam Width field, enter the seam width. You can enter a negative value if required.
-
In the Pieces area, select one of the radio buttons:
-
All Pieces in the File: Select if you want to apply the seam allowance to all the pieces in the PDS file (will apply even to pieces that do not appear in the Working Area.)
-
All Pieces on Working Area: Select if you want to apply the seam allowance to all the pieces that appear in the Working Area.
-
All Selected Pieces: Select if you want to apply the seam allowance to the all the pieces you selected.
-
Current Piece Only: Select if you want to apply the seam allowance only to the piece you selected.
-
-
Click Ok when you are done.
In this example, the front piece has a 3cm seam: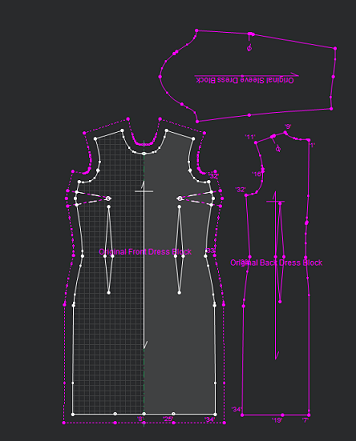
In this example, the front piece has a negative seam (notice the seam appears inside).
Note: It is not recommended to work with negative seams as this affects the auto reseam function.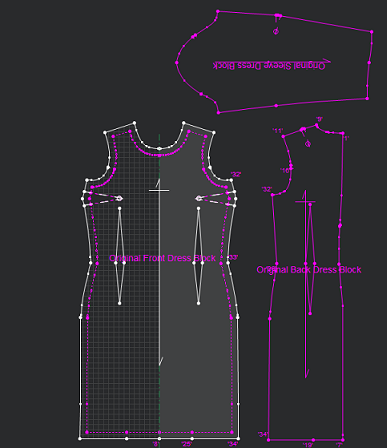
-
To make the seam appear inside, go to Tools > Seams > Switch Pieces to Sew. This ensures that the pieces work on the sew line.
-
To remove the seam, select Remove Seam, or press Shift +S.