Marker Report to Excel
This tool can be used to generate a report with data regarding a specific
Marker file.
Microsoft Excel should be installed on the computer generating the report.
You can also customize the Excel report if required. For more information, see Customize Excel Report.
Icon & Location
-

-
Menu: File > Report to Excel
-
Toolbar: System Tools
To report to Excel:
From the main menu,
go to File > Report to Excel.
The Marker Report dialog appears: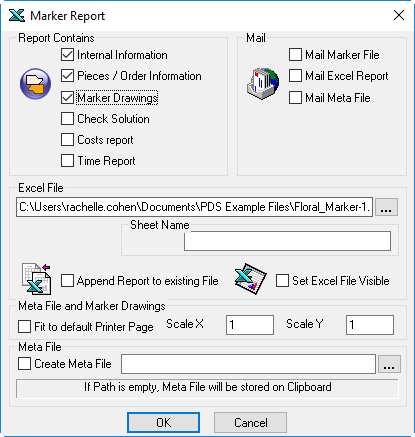
In the Report Contains area, select the checkboxes of the information you want to include in the Excel report:
Internal information: Includes all internals.
Pieces/Order Information: Includes information about each of the pieces in the order.
Marker Drawings: Include Marker table drawings.
Check Solution: Includes the Check Solution report.
Costs Report: Includes the Cost Calculation report.
Time Report: Includes the Time Calculation report.
In the Mail area, if you want to send an email once the report is generated, you can select what you want included in the email:
Mail Marker File: If you want to email the MRK file as an attachment.
Mail Excel Report: If you want to email the Excel report as an attachment.
Mail Meta File: If you want to email the meta data as an attachment.
In the Excel File area, browse to and select the location where you want the generated Excel file to be saved.
Select the Append Report to Existing File checkbox, if you want to add the Excel file to an existing Excel file.
Select the Set Excel File Visible checkbox, if you want to open the report after it is generated.
Select the Fit to default Printer Page, if you want to fit the Excel file to a defined paper size, then enter the X and Y values of the page.
If you want to create a meta file, select the Create Meta File checkbox, then browse to and select a desired location for the meta file.
Click Ok to generate the report.
 See also: