Customize Marker Excel Report
You can use the Customize Excel Report option when you want to customize how your reports will look. This allows you to change the columns that are displayed, header titles, etc.
Icon & Location
-

-
Menu: File > Customize Excel Report
-
Toolbar: System Tools
To use the Customize Excel Report option:
-
Open a Marker file.
-
From the main menu, go to File > Customize Excel Report.

The Customize Excel Report dialog appears and is broken down into seven different tabs as follows:
Header
Here you can define the fields you want displayed under the Header section and their titles.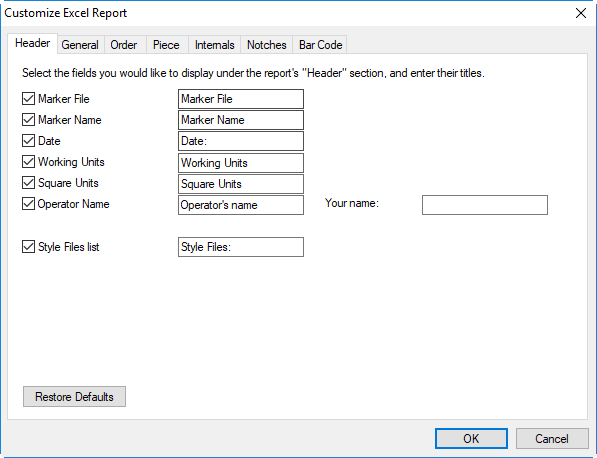
General
Here you can define the fields you want displayed under the General section and their titles.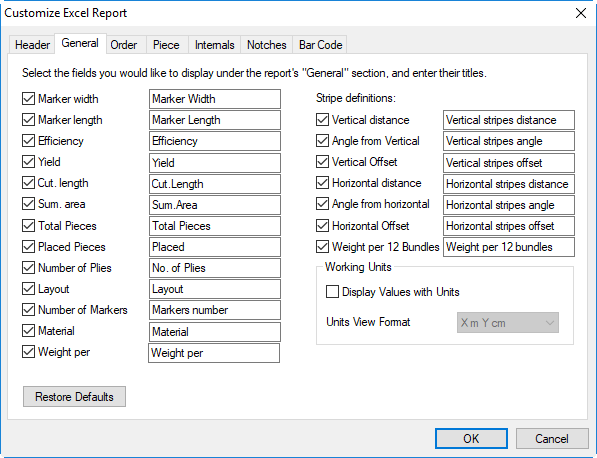
Order
Here you can define the fields you want displayed under the Order section and their titles.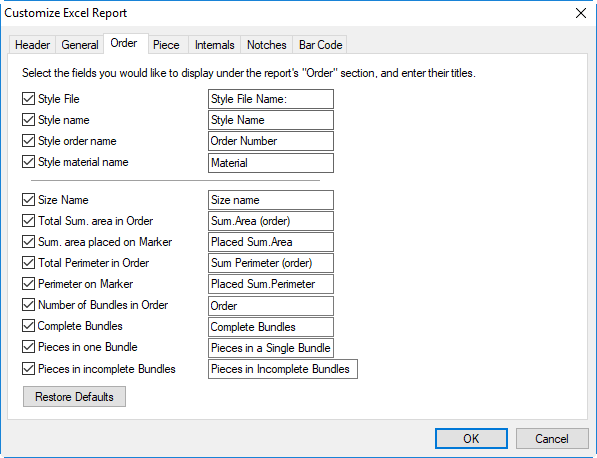
Piece
Here you can define the fields you want displayed under the Piece section and their titles.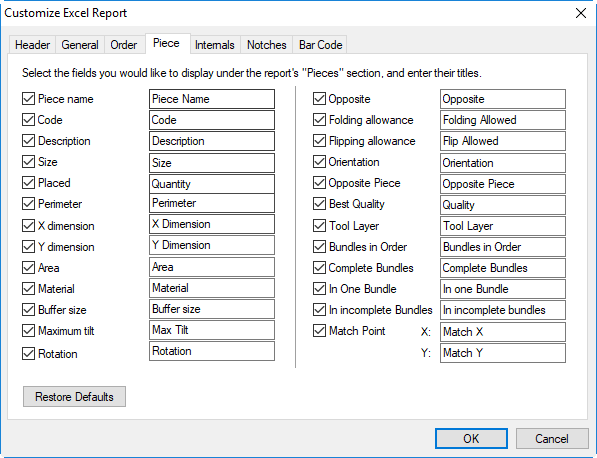
Internals
Here you can define the fields you want displayed under the Internals section and their titles.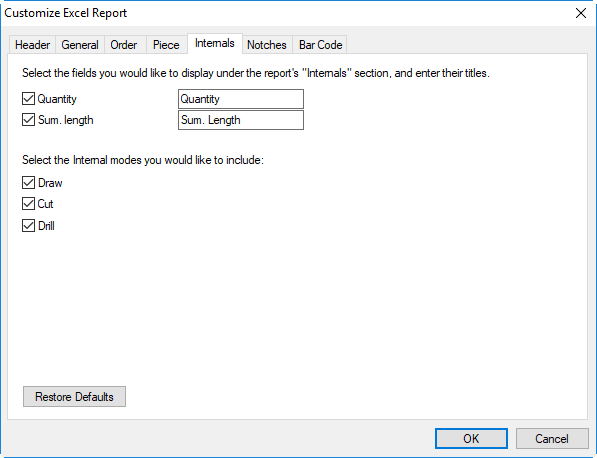
Notches
Here you can define the fields you want displayed under the Notches section and their titles.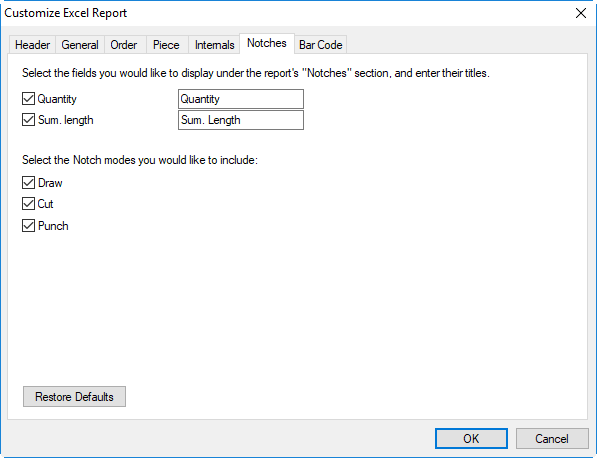
Bar Code
Here you can define the fields you want displayed under the Bar Code section. Use the Add/Remove buttons to display fields and Move Up/Move Down to define the order in which they appear.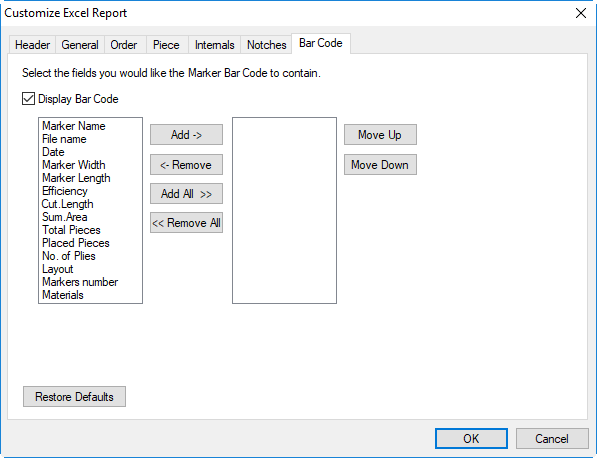
-
You can always click Restore Defaults to go back to the default settings.
-
Click Ok when you are done.
-
Generate an Excel Report, see Report To Excel and you can see the report is defined according to the definitions you customized here.
 See also: