Finishing the Marker File Creation
This is the last step in the Marker File Creation Wizard and allows you to create your Marker files.
Once you have defined quantities, table, global and piece properties, you can finalize the process to create the Marker files.
The files are automatically created and saved in the location you defined at the beginning of the process.
To finish the Marker file creation:

-
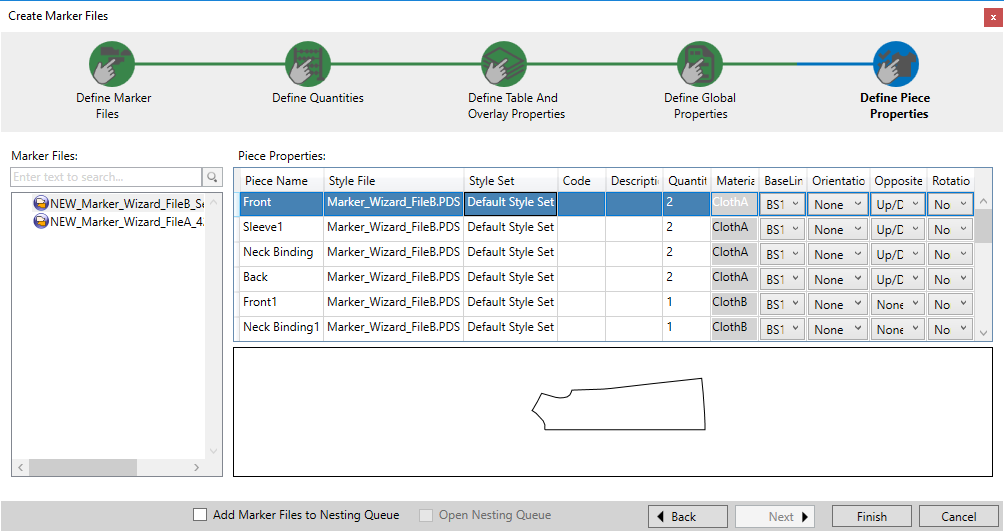
If you want to add the Marker files to the Nesting Queue (so they can be nested), select the Add Marker Files to Nesting Queue checkbox. For more information, see Running Multiple Nestings.
Note: You can perform this step at any time during the Marker File Creation; however the file is only added to the queue after clicking Finish.
Once you have selected the Add Marker Files to Nesting Queue checkbox, the Open Nesting Queue checkbox is enabled. -
Select the Open Nesting Queue checkbox, if you want to automatically open the MultipleNesting dialog after the Marker files are created. If you do not select this option, you can still manually open the Multiple Nesting dialog after you have closed the Marker Creation Wizard.
-
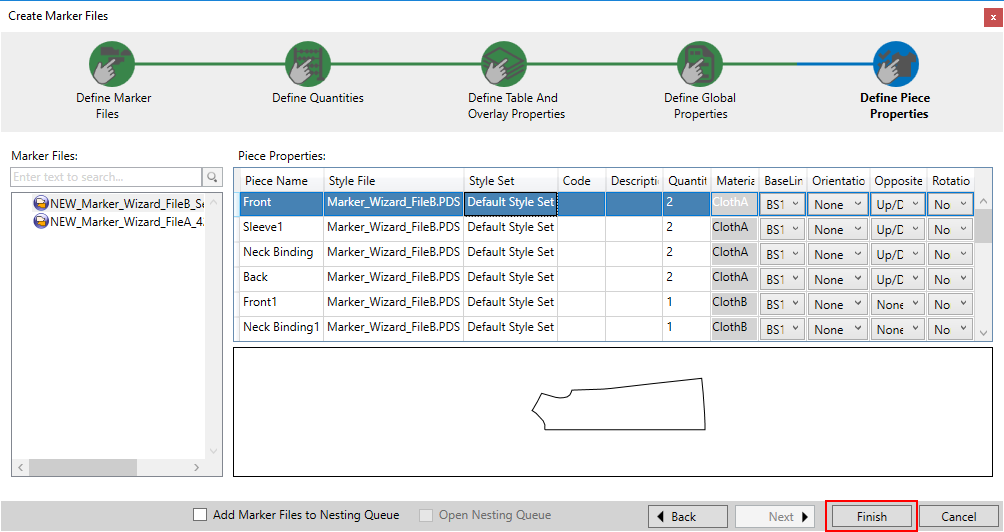
Click Finish to create the Marker files.

Note: If a Marker file already exists with the same name as defined here, a message appears informing you to either override the original Marker file, or save with a new name.
The defined Marker files are created and can be found in the defined location. If you added the Marker files to the Nesting Queue, you will see the file in the Multiple Nesting dialog.
You can open the Marker file using the Open File option and you can see all the attributes that were defined using the Marker File Creation Wizard.
You have successfully completed the Marker File Creation Wizard.