Defining the Marker with the Fabric Pattern
Once you have defined your file with the fabric pattern, you can now create a marker file, load the image you previously saved as the profile, place the pieces, etc.,.
The following process describes the steps that are necessary for making sure the fabric pattern displays and behaves correctly in the marker. For more detailed information about the fabric pattern options in the marker, see Navigating the Fabric Pattern Options.
To define the marker with the fabric pattern:
-
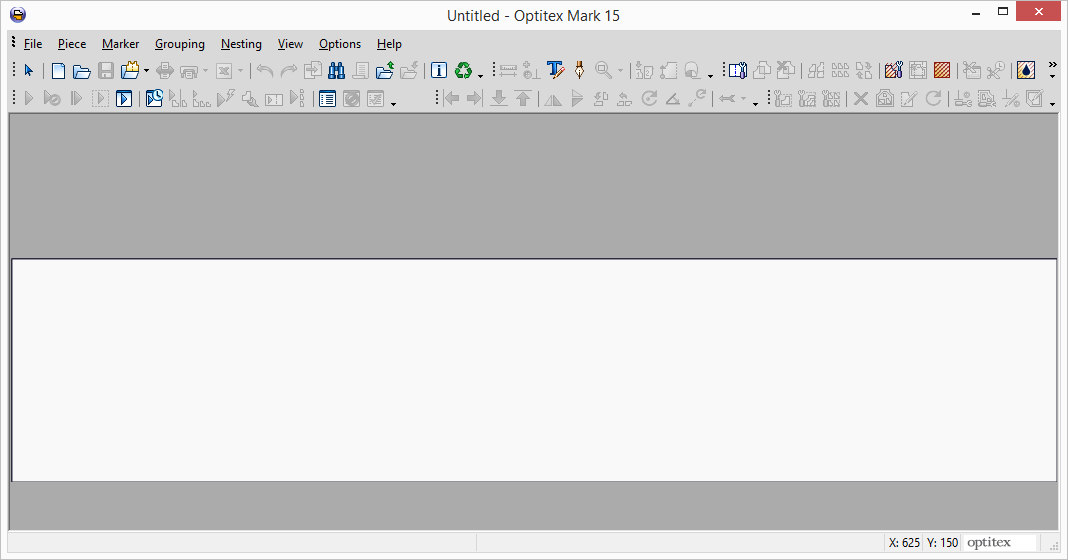
Create a new marker table according to the size of your fabric. Go to Marker > Marker Definitions.
Your table is created as follows:
-
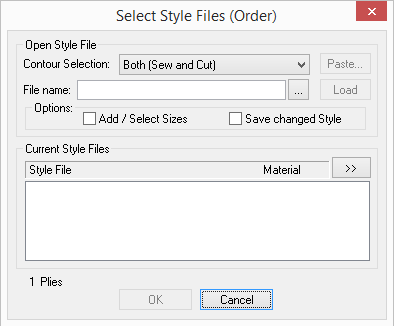
Open up your PDS file (go to File > Open Style Files (Order):
-
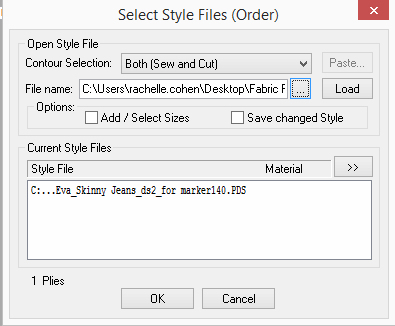
In the File Name field, click to browse and open the PDS file you previously created.
-
Click Ok.
-
To load the image you previously created (when saving as a "Profile"), go to Marker > Fabric and Stripes >Fabric Pattern.
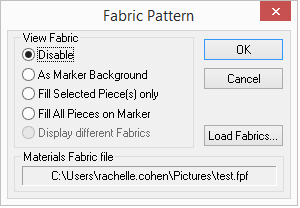
The Fabric Pattern dialog appears:
-
In the View Fabric area, select As Marker Background, so the image appears in the background of the marker.
-
Click Load Fabrics.
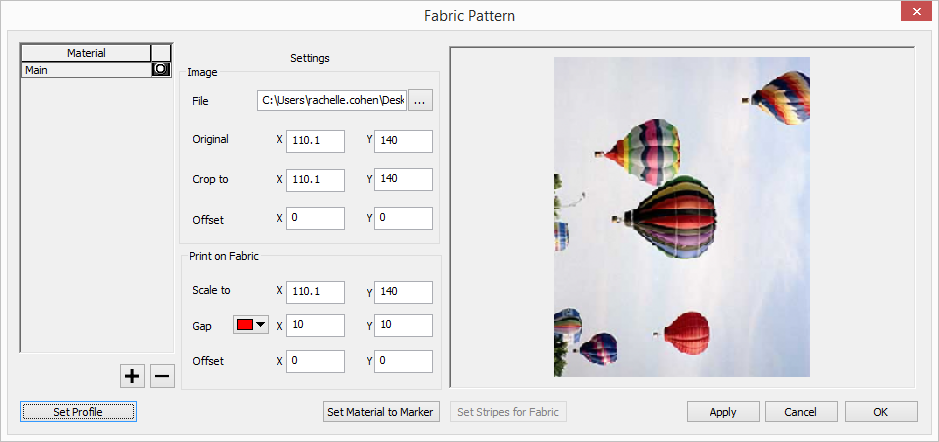
The Fabric Pattern dialog appears.
-
Click Set Profile to save the settings of this image as an FPF (Fabric Pattern Profile) file.

-
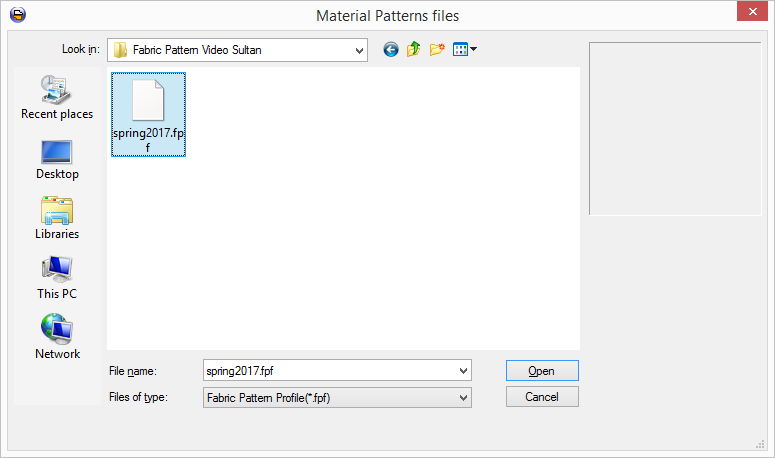
Click Browse to select the FPF file you previously created.
-
Click Open, and then OK.
-
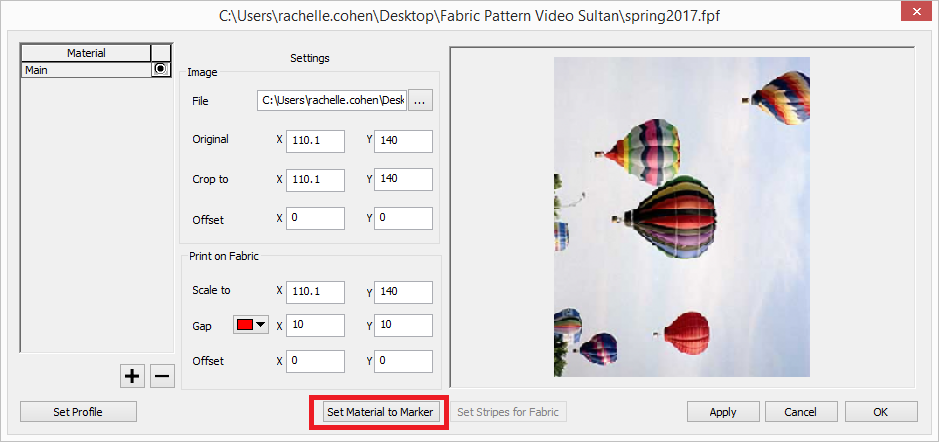
Click Set Material to Marker, since you have uploaded a new image and you want the marker to recognize the image as a fabric, otherwise, the marker will recognize the image as an image and not as material.
-
Click Ok.
The marker now appears with the background image:
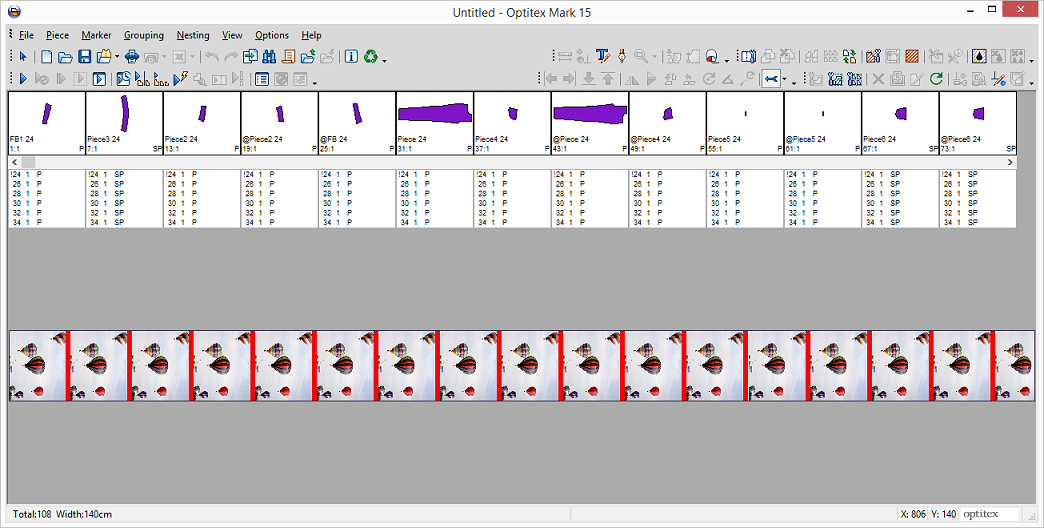
-
If you do not see the stripes (as they were defined in the PDS),go to Options > Stripe Adjust and make sure Stripe Adjust is on:
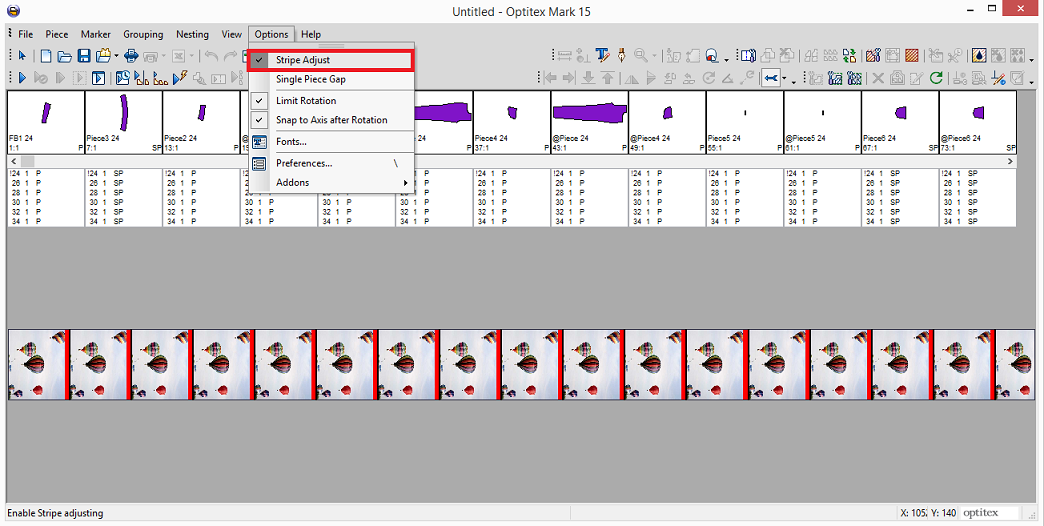
-
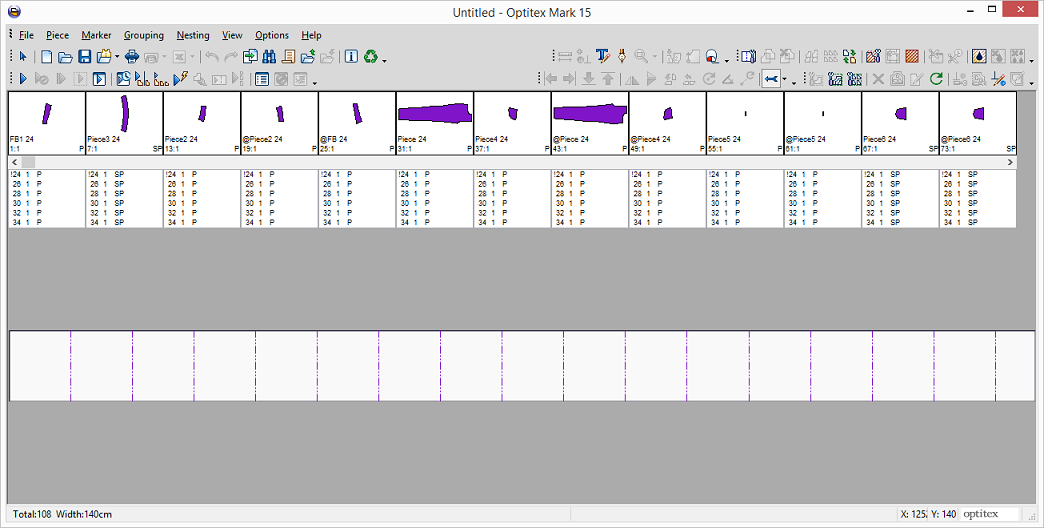
Place your pieces, go to Piece > Place Selected Bundles.
Note: You have to select a piece to enable the "Place" option.
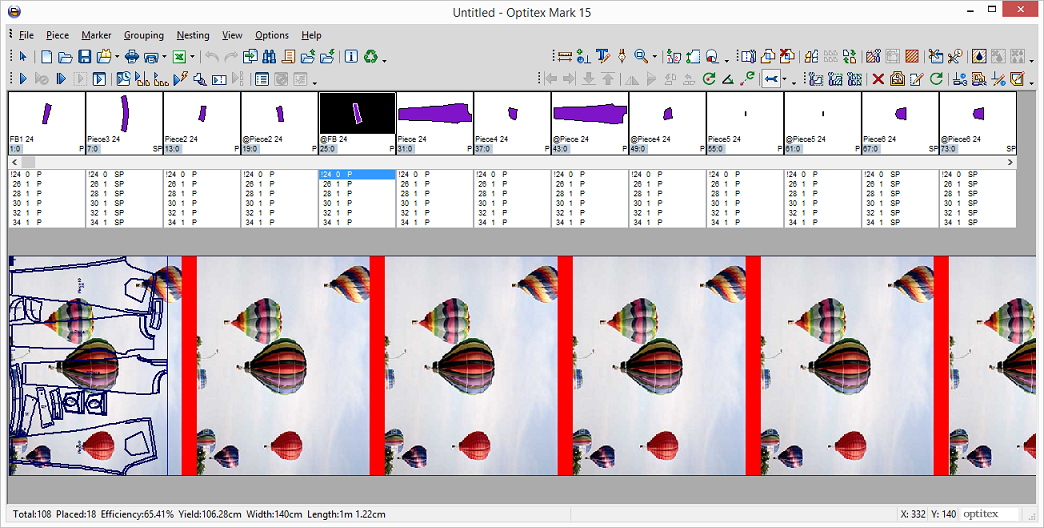
Notice the pieces are placed the way they were defined in the PDS, according to the stripe position, initial baseline, etc.