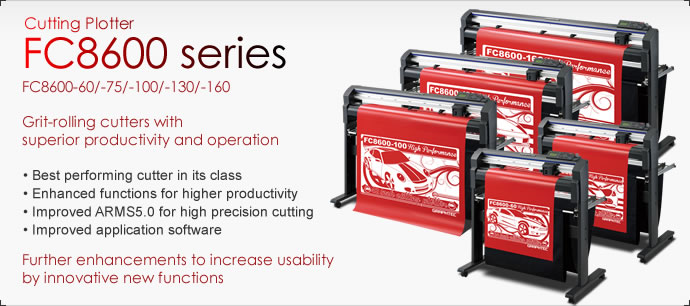
Graphtec FC8600 Paper Cutter/Plotter
The following
topic describes how to configure the Graphtec FC8600Paper Cutter/Plotter.
Note:
The Plotter/Cutter Setup dialog is dynamic according to the plotter/cutter
type you select; therefore you may not see all the available commands.
For more detailed information about all the available commands see Plotter/ Cutter
Setup.
Before you begin
-
You must install the FC8600 Windows Driver first, then follow the steps below to create an hpgl/2 file to connect to the machine.
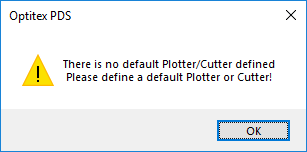
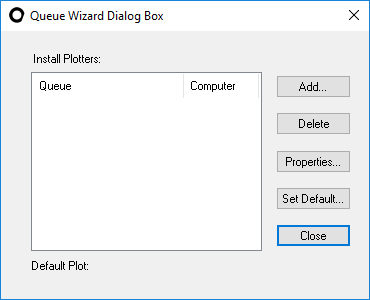
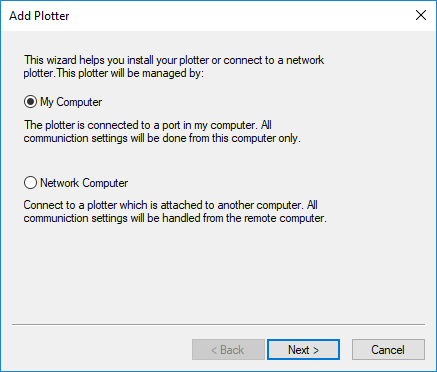
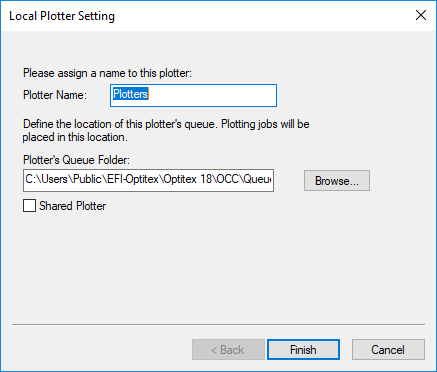
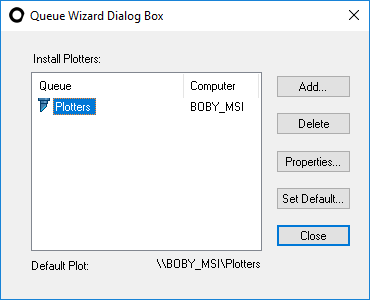
You need to setup the plotter before you can define the plotter settings,![]() click here to see how to define the plotter.
click here to see how to define the plotter.
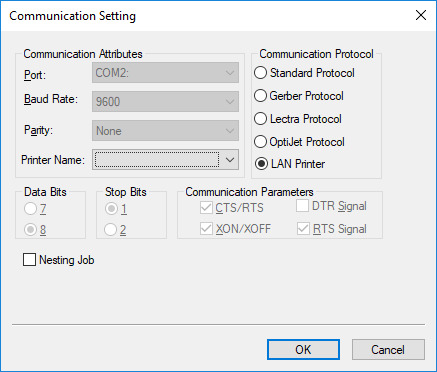
To configure the Graphtec FC8600 plotter via the OCC:
In the PDS, go to File > Plot.
Setup
the Plot dialog as follows: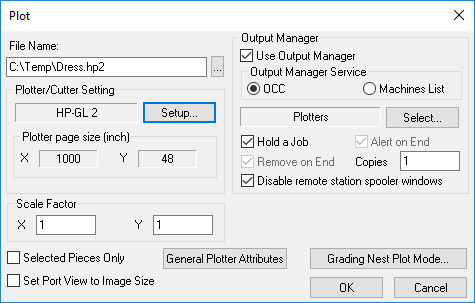
Go to File > Plotter/Cutter Setup.
Select
the General tab and define the
settings as follows:
The General tab should look like
this when you are done: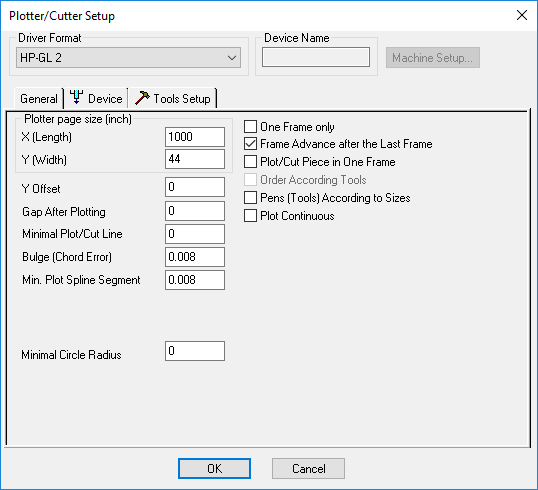
To view more information about a specific command, click on the BLUE link
below.
|
Command |
Value |
|
1000 |
|
|
44 |
|
|
0 |
|
|
0 |
|
|
0 |
|
|
0.008 |
|
|
0.008 |
|
|
Unchecked |
|
|
Checked |
|
|
Unchecked |
|
|
Unchecked |
|
|
Unchecked |
Select the Device
tab and define the settings as follows: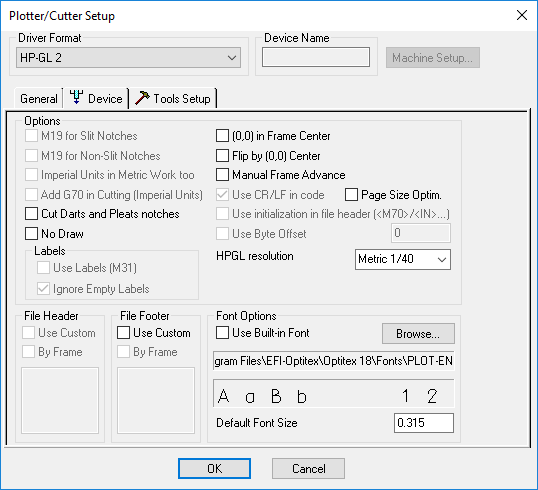
To view more information about a specific command, click on the BLUE link
below.
|
Command |
Value |
|
Unchecked |
|
|
Unchecked |
|
|
Unchecked |
|
|
Unchecked |
|
|
Unchecked |
|
|
Unchecked |
|
|
Unchecked |
Select the ToolsSetup tab and define the settings
as follows: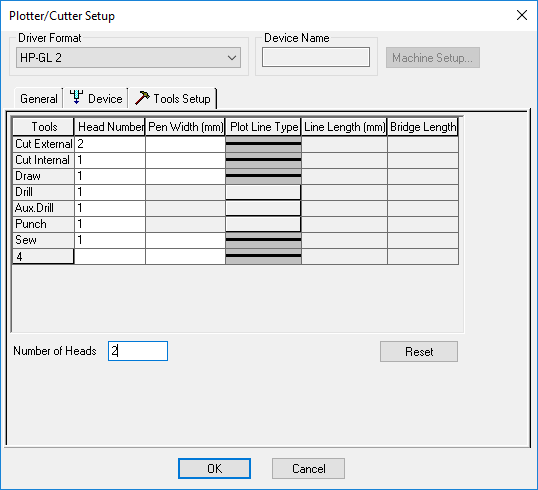
 See also: Optitex Supported Paper Plotter Cutters