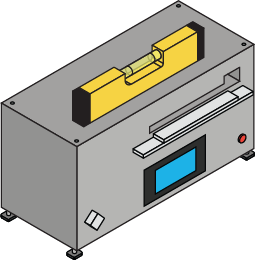
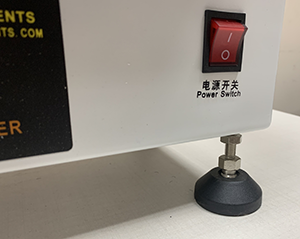
The XHF-42AII Stiffness Tester should be placed on a strong
horizontal surface; the horizontality of the tester position should
be verified with the spirit level and adjusted by screw legs.
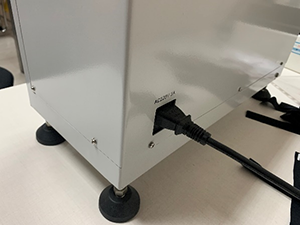
Plug one end of the power cord into its receptacle at the rear
of the stiffness tester and the other end into a wall outlet with
local earth ground (3-prong connector). Use a local electricity
adaptor, if necessary.
Before turning the power on, the following safety checks and
procedures should be performed:
Never operate the device if there is
any visible damage to the power cord or the test stand itself.
The XHF-42AII is powered by 110V/220V. Any contact with this
high voltage can cause serious injury or even death.
Ensure that the device is kept away from
water or any electrically conductive liquids at all times.
Make sure the electrical outlet powering
the device has local earth ground (3-prong connector).
The device should be serviced by a trained
technician only. Power must be disconnected before covers
are removed.