Optitex Settings Manager
The Optitex Settings Manager allows you to copy your settings, including configuration settings, import/export settings, layout settings, etc. from previous versions of Optitex, to a new version of Optitex. This allows you to transfer your settings, so that you do not have to manually set them up again in the newly installed version.
The workflow is the following:
-
keep you older version installed.
-
Install the new Optitex version.
-
Run the Optitex Settings Manager to transfer your settings to the new version.
 Note: This
utility only recognizes Optitex versions from version 12 and later.
Specific content and paths are not automatically copied using the Optitex Setting Manager. If you created custom assets and want to move them to a new Optitex version, you have to make sure you copy the asset from the correct path and paste into the new path in the new version. see below to view the content and paths that are not copied automatically:
-
Seam & Stitch (Presets, Stitches, Trim and Accessories)
-
Default Avatar Path
-
Default Fabric List Path
-
Button Shapes Directory
-
Color Pallets Directory
-
Texture Palettes Directory
-
PDS Backup File Path
-
Marker Backup File
-
License File
-
PDS/Marker Sample Files
-
PDS/Marker Report Template Path
-
PDS Tech Pack Templates Path
Click below to see the default paths for assets:
To use the Optitex Setting Manager:
-
On the start menu, go to Optitex [Version#] > SettingManagerTool
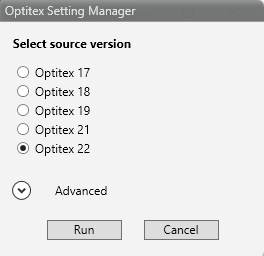
The Optitex Settings Manager opens:

All versions installed on your computer appear under the Select source version area.
-
Select the version from which you want to copy the settings.
 Note:
By default, the previous version is automatically selected
 -
If you want to transfer all the settings, click Run.
-
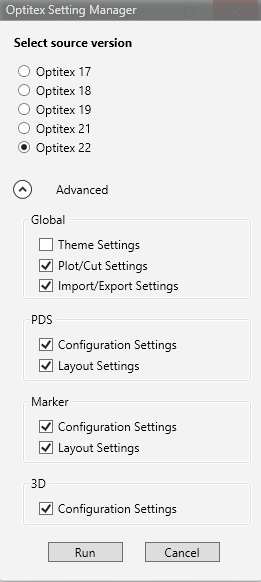
If you want to select specific settings, expand Advanced:

-
Select the settings you want to transfer.
-
Click Run.
-
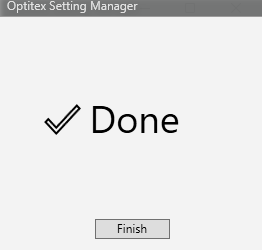
The process completes and the confirmation appears.

-
Click Finish
The settings are transferred.
 See also: Standalone Utilities