Editing Shaders
You can edit shaders when you want to make changes to the shaders that are available in your avatar. This allows you to change the texture by uploading an image, or change the color of the mesh by selecting a different color from the color palette.
Note: This process is the same for both Optitex and scanned avatars. The images below show an Optitex avatar.
To edit shaders:
Select the Shader Tree tab.![]()
Click on a shader
to select it, then from the toolbar, click  (Edit Shader)
to edit the shader.
(Edit Shader)
to edit the shader.
The Edit Shader dialog appears: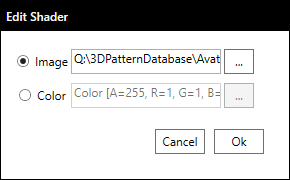
If you want to change
the texture, select the Image
radio button, and then click  to browse for the image file.
The Open dialog appears: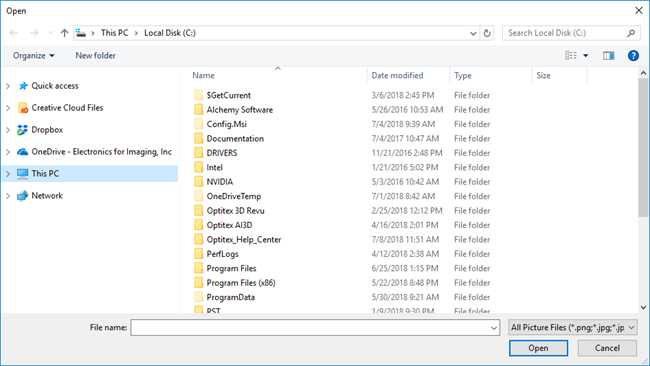
Browse for the file
and then click Open.
You can upload the following image types: PNG, JPG, and JPEG.
If you want to change
the color of the shader, select the Color
radio button, and then click .
The Color dialog appears: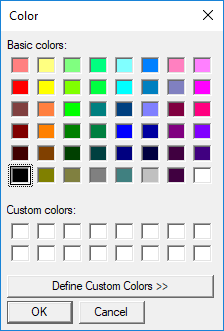
You can either choose from a basic color, or click Define Custom Colors to create your own custom color.
Click Ok when you are done.