Using 3D Folding
You can use 3D folding when you want to create a fold for collars, lapels, flap of bag, etc. Folding can be defined during the pattern creation but there are certain steps that effect simulation.
Folding options are available in the 3D Stitch Properties dialog under 3D Folding.
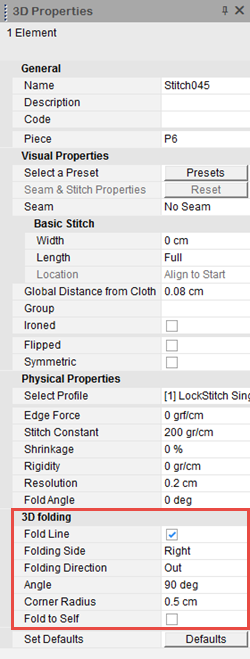
The following describes the different options that are available for folding and how to use them correctly.
-
Fold Line: Pre-folds the cloth before simulation. This is used for positioning purposes. Once you click simulate, the fold disappears.
Note: Starting from version O/17 the fold line has changed and is now represented as the line itself, no longer the dotted line. If you are working in a file that was created prior to version O/17, a warning message appears. You may need to move the internal line to the desired location in order to get the correct fold center.
In the example below, a file was opened that was created in a previous version:
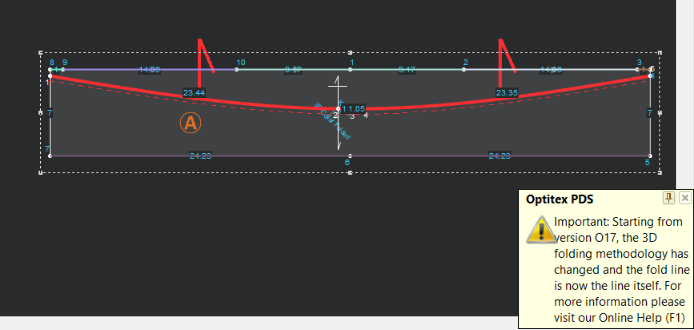
If you want to use the older folding methodology, leave the 3D fold as is.
If you want to use the new 3D folding methodology, do the following:
-
Select the Fold Line checkbox to clear it.
Notice the dotted line disappeared: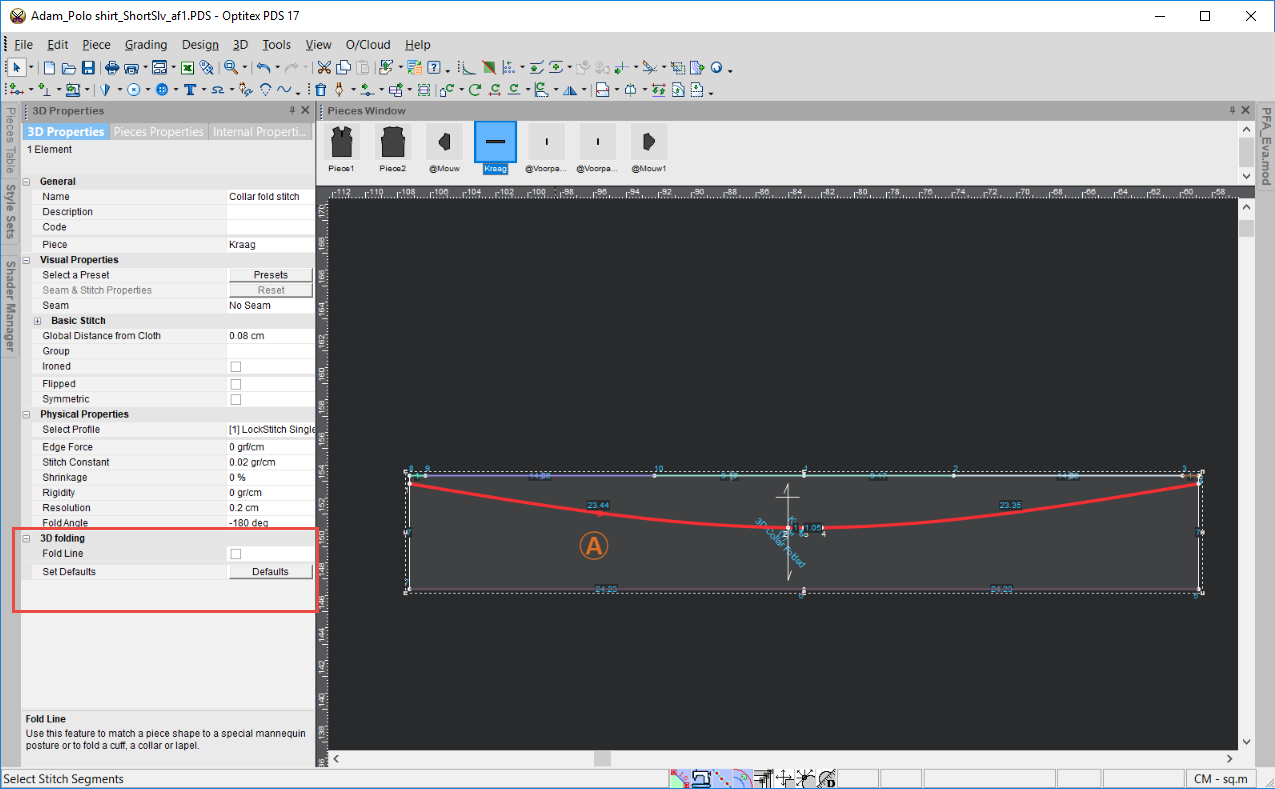
-
Select the Fold Line checkbox again, to create a new fold line.
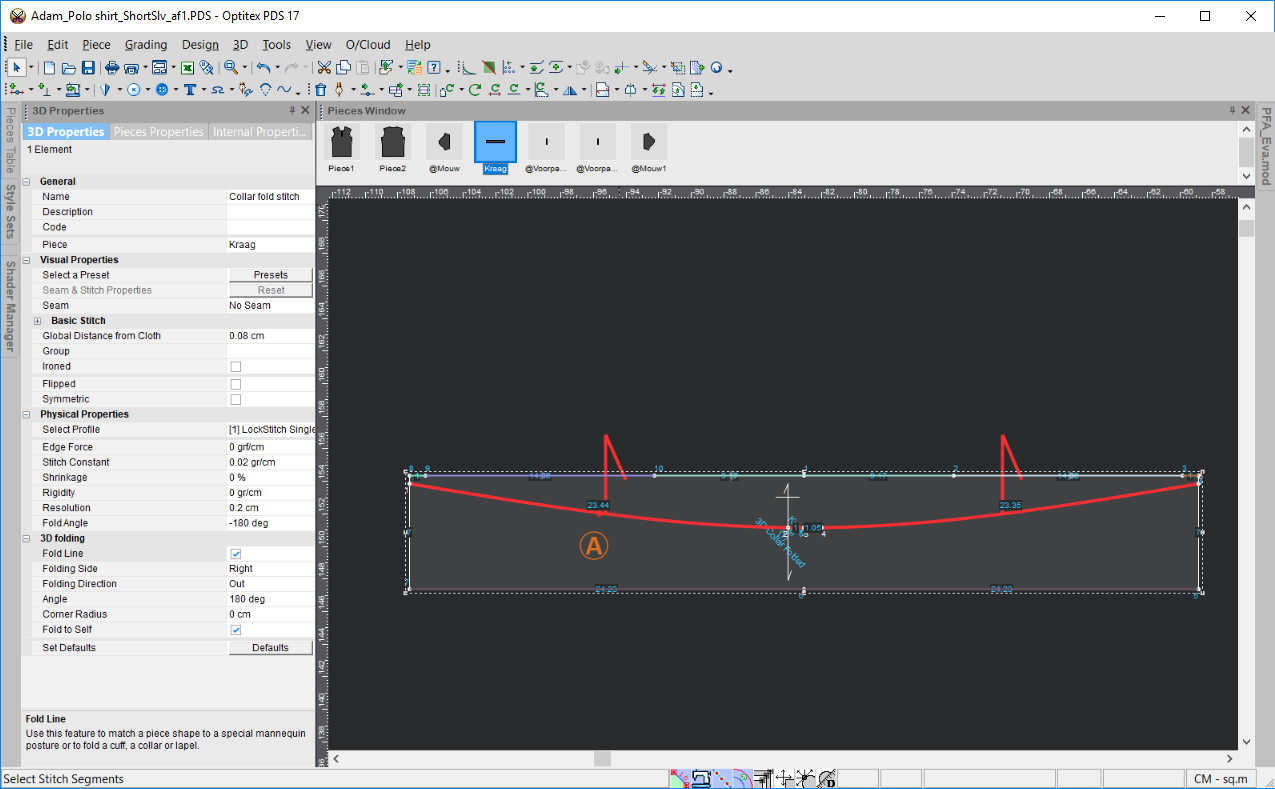
-
Change the Corner Radius, for example to 0.3 cm.
Notice the dotted line still does not appear. The dotted line was previously created according to the Corner Radius.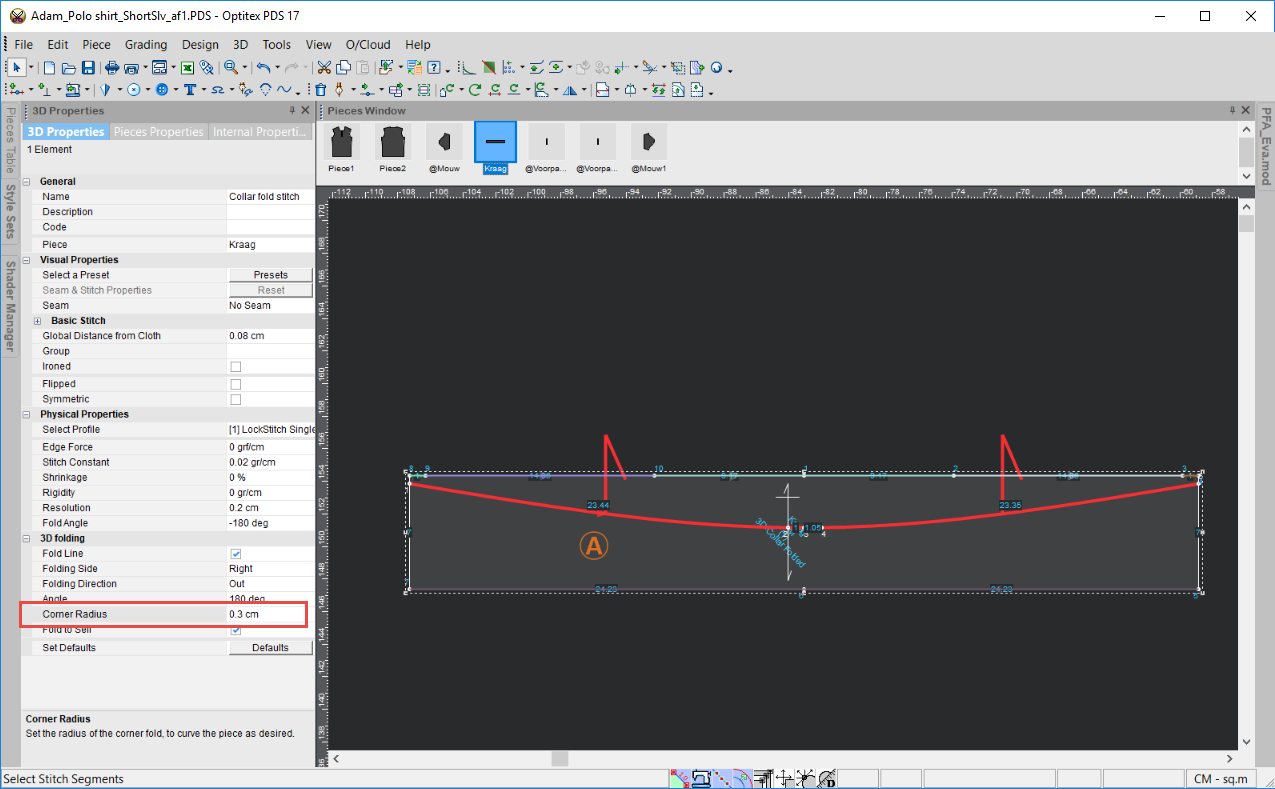
Folding
Side: Defines the direction the line will fold. The arrows on the
line change according to the side and represent the steady piece, while
the other piece is the moving piece.
Right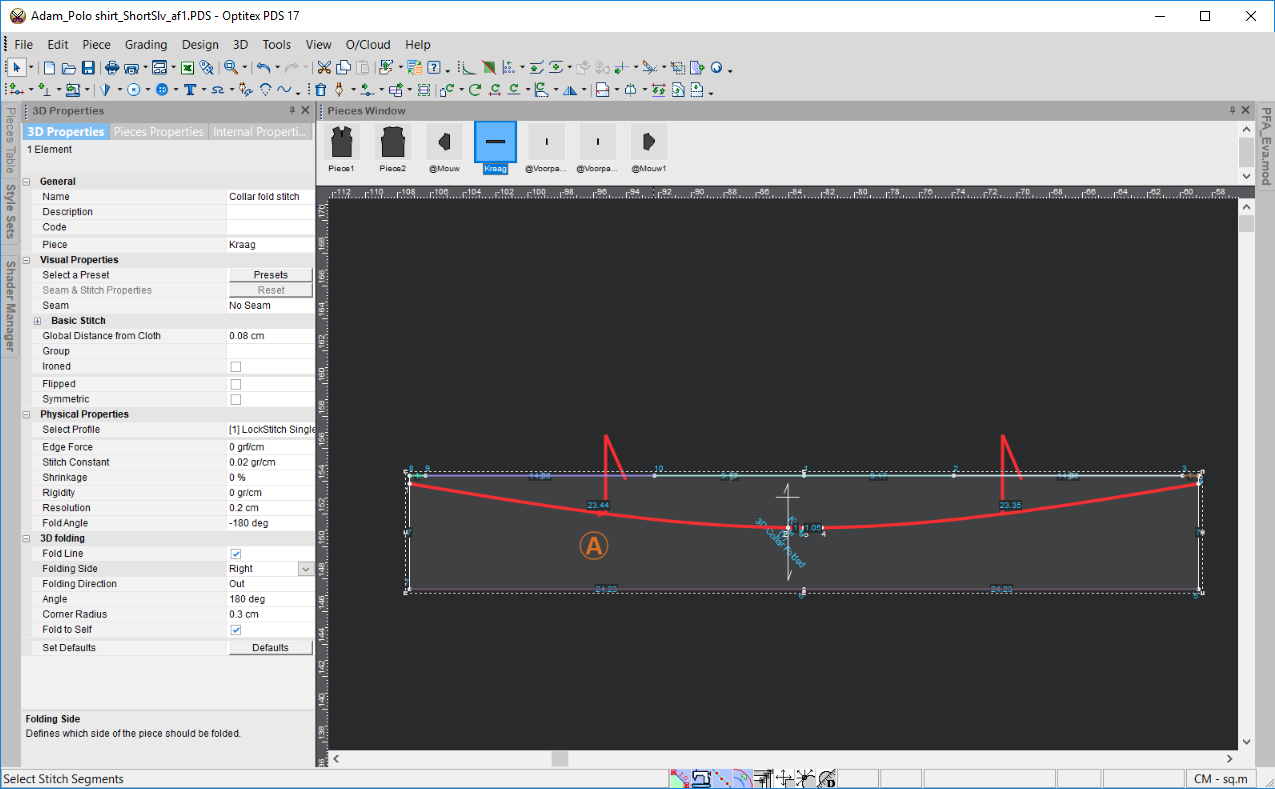
Left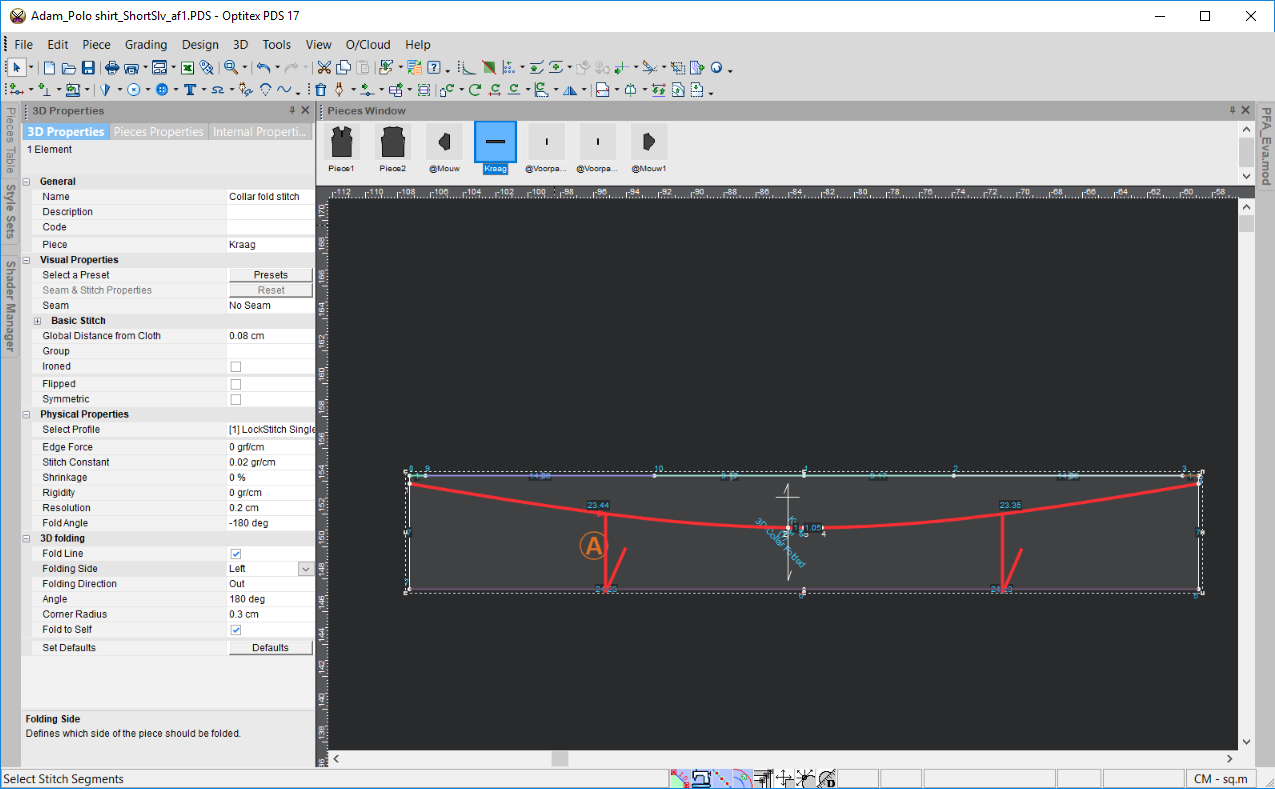
Folding
Direction: Defines the direction you want the 3D fold to fold in.
In (notice the Fold Angle appears
as a positive number)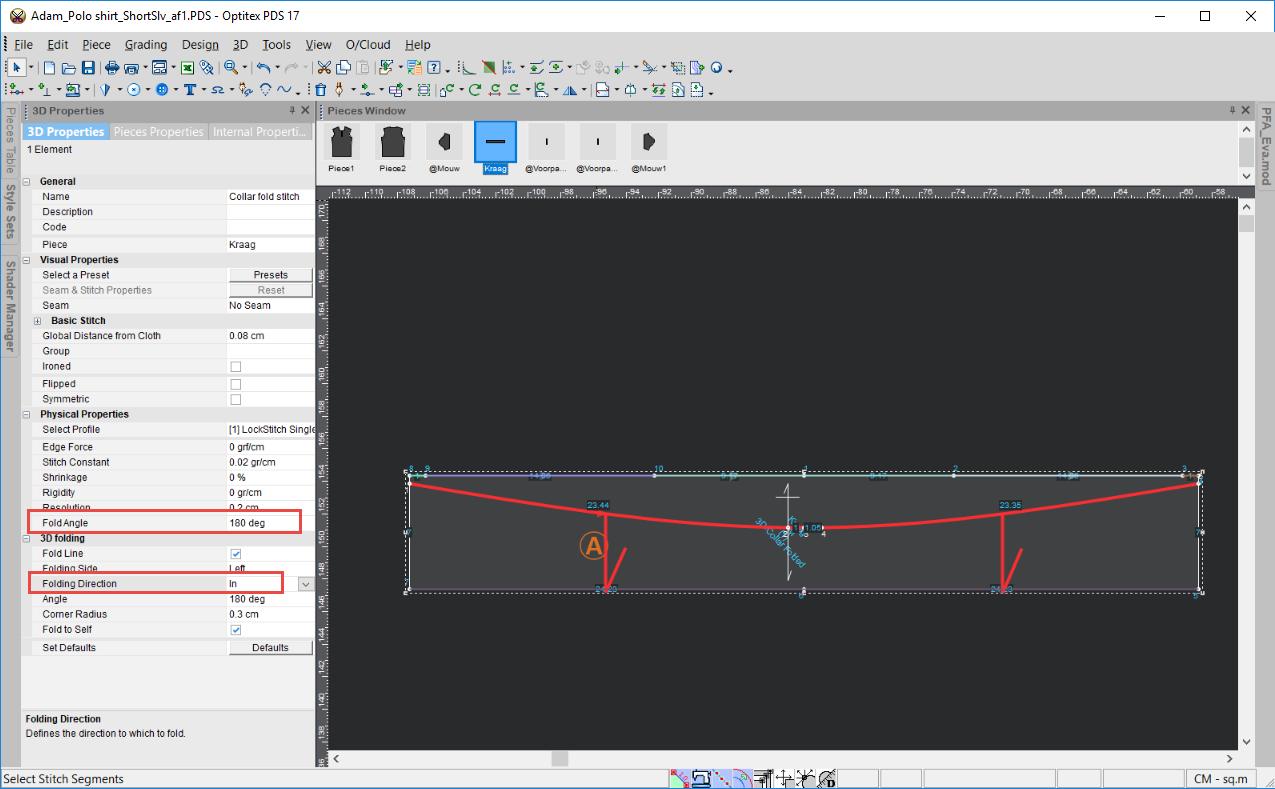
Out
(notice the Fold Angle appears as a negative number)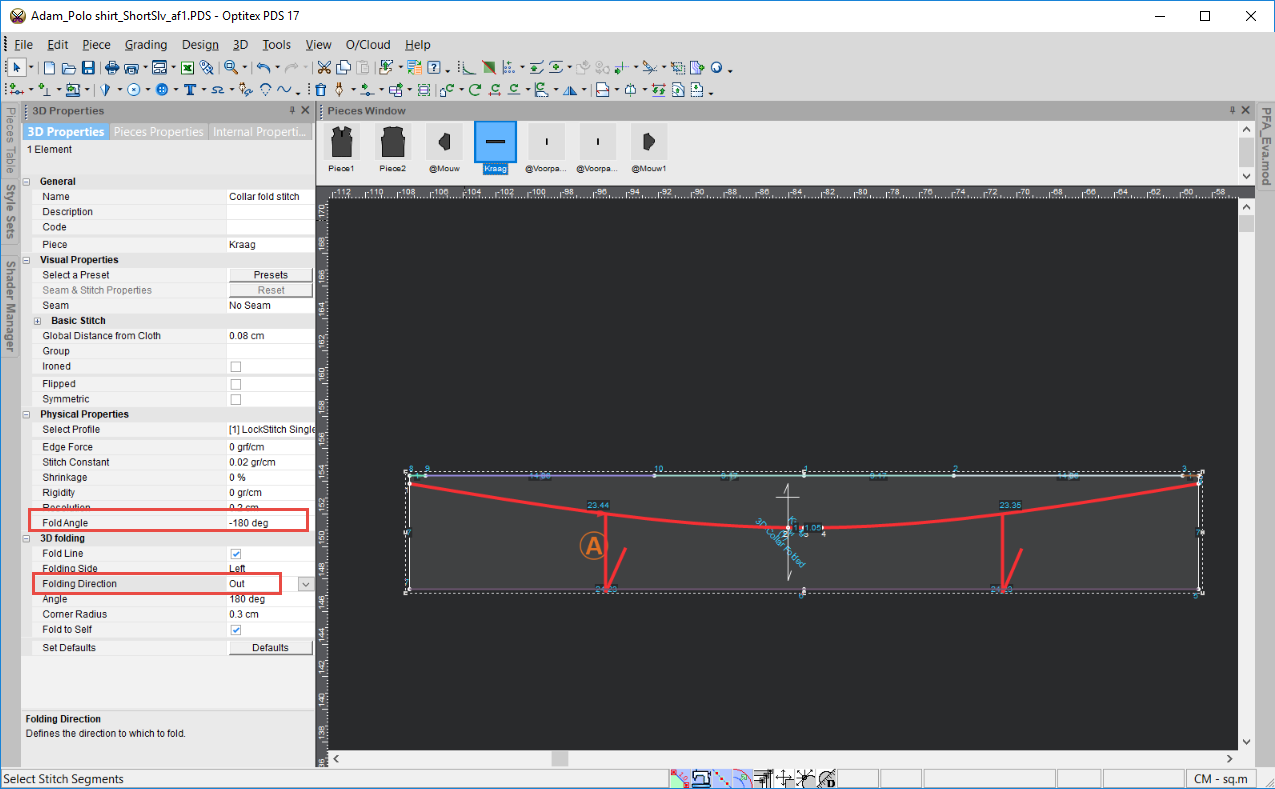
Z (notice the fold angle appears
as positive number)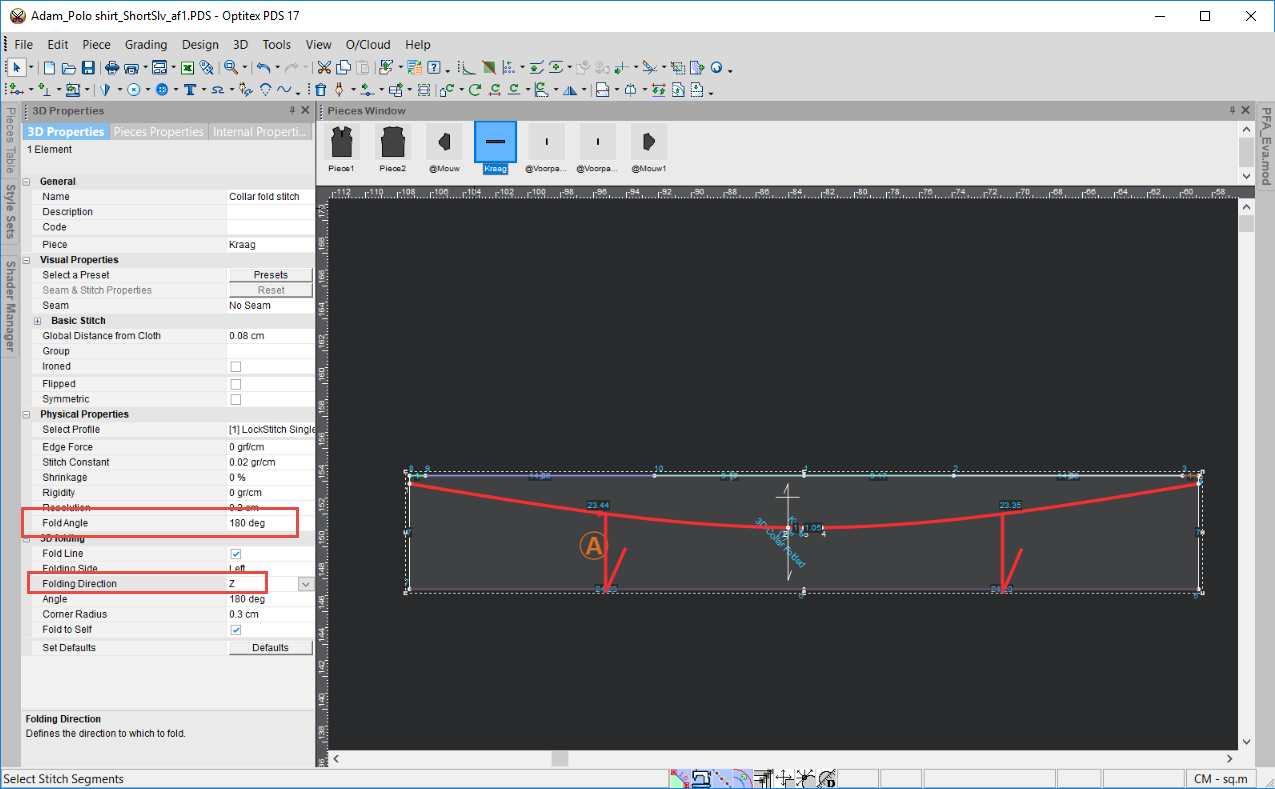
Angle: Defines the angle of the fold.
Corner
Radius: Allows you to fold at an angle. For example, 0.5 cm produces
a small angle, while 3cm produces a large angle.
Note:
In previous versions (15.6 and below), this field defined the dotted line
for the fold line.
Fold
to Self: This can be used in cases where you have layers and you
want the fold line to fold on top of the other side and then flip its
normals.
Note:
Starting from O/17, if you select the Fold
to Self checkbox, the Angle
and Fold Angle fields will adjust
to the same amount.
Before Fold to Self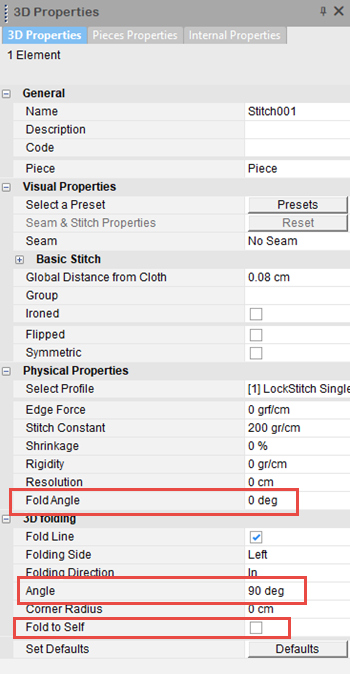
After Fold to Self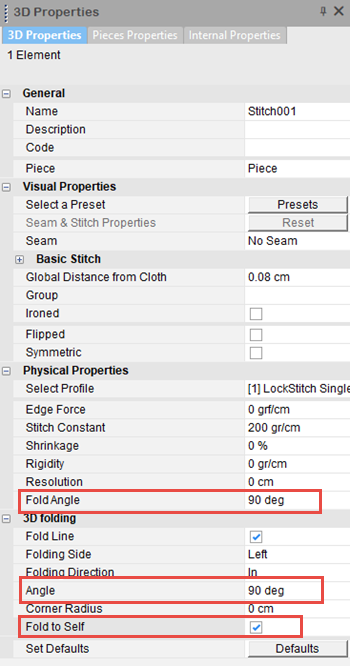
After Simulation
Angle: When you want to impact the simulation. The fold angle can be on the edge between two pieces or on an internal.