Setting the Location of your Pieces
You can use the "Relate Piece to Stripes" option, when you want to define a location for your pieces in your pattern. This can be useful when you want a piece in a specific area between the stripes, even if the piece is moved.
Note: The piece location remains intact when you open the pattern in the Marker for production purposes.
To set the location of your pieces:
-
Go to Piece > Fabric and Stripes > Relate Piece to Stripes.
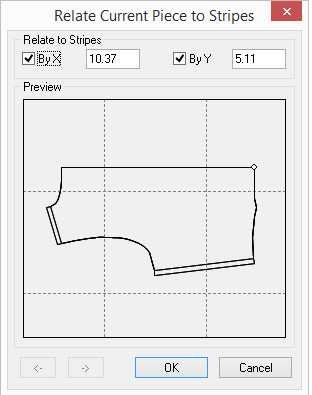
Here you can define the exact location of the pieces according to the X and Y directions. This means that the piece will remain in the defined location even when moving the piece.
-
Define the X and Y location. (or just X or just Y).
-
Click Ok when you are done.
Here is an example of a piece that was defined with a location: No matter where the piece is moved, the location remains static.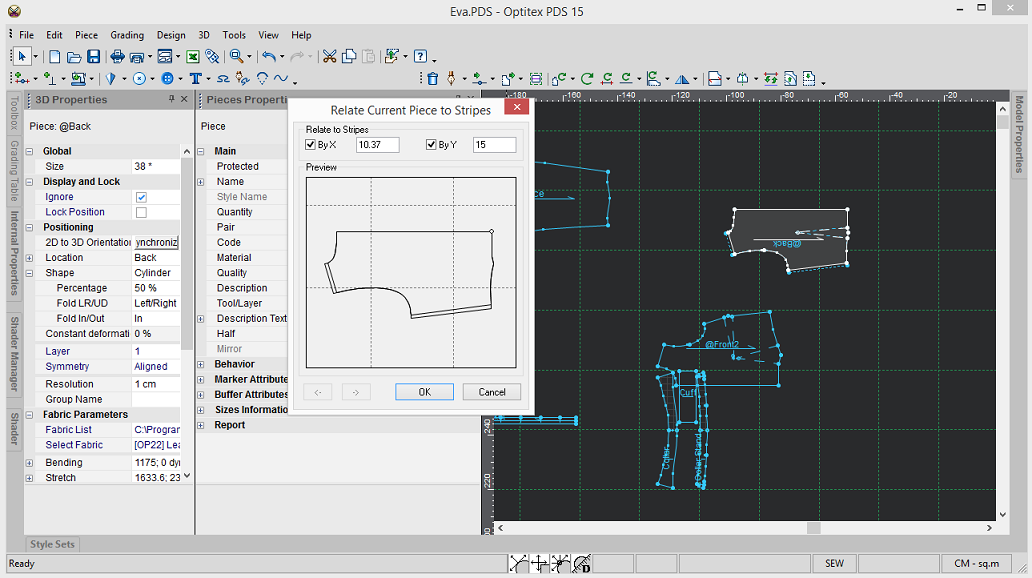
If you want to define the location for all your pieces at once, you can use the Set Stripes Group function.
-
Select all your pieces in a clockwise manner.
Notice all the pieces are selected in the Pieces Window as follows: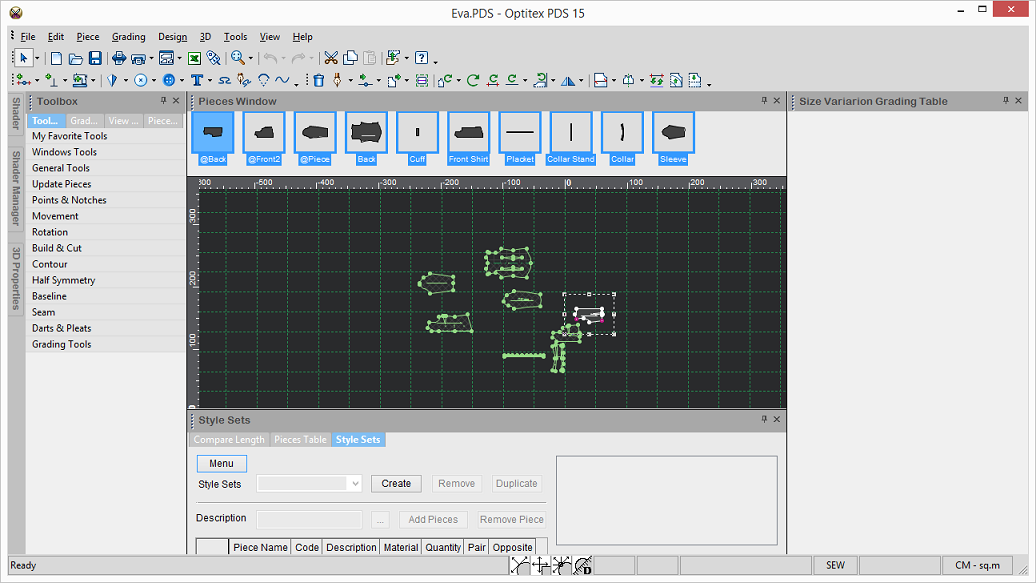
-
Go to Piece > Fabric and Stripes > Set Stripes Group as follows:
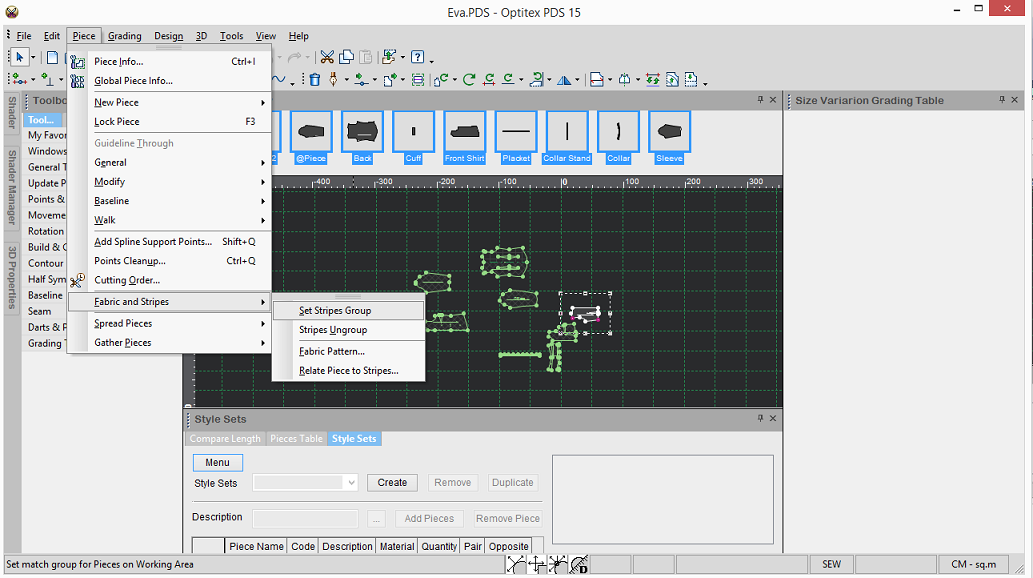
Now the pieces are grouped; therefore any changes made are applied to the
entire group.
-
To set the location of the pieces, go to Fabric and Stripes > Relate Piece to Stripes.
-
Define the X and Y location for all your pieces and click Ok.
In the example below, the group received a specific location so if you move one piece, all pieces will follow in a group:
Move one piece: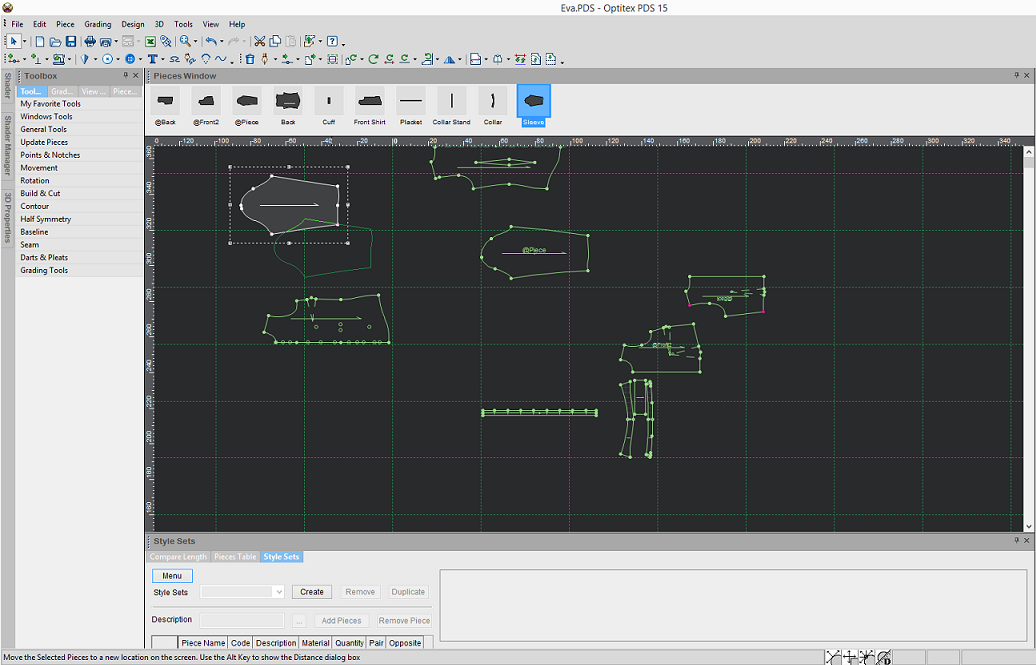
All pieces moved as a group: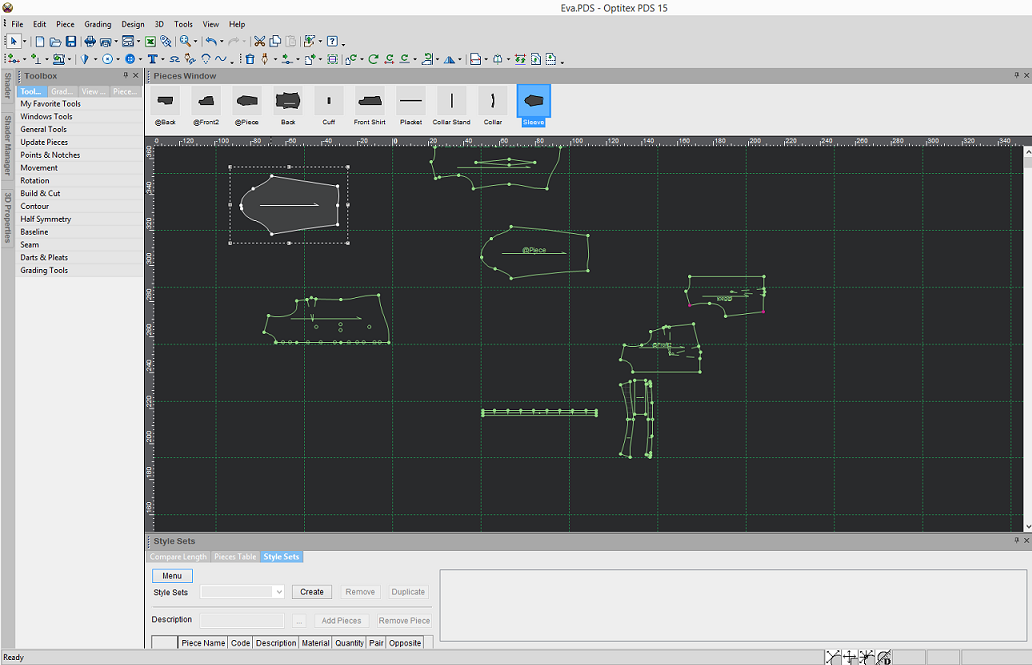
-
If you want to ungroup the pieces, go to Fabric and Stripes > Stripes Ungroup.