Defining Stripes on the Fabric
The "Set Stripes on Fabric" option, allows you to create a virtual grid for your fabric so you can place the pieces on the pattern in a specific manner. For example, when you do not want the fabric pattern to be cut off. This can be extremely useful for production. Once you set the stripes on the fabric you can then define the width and height of the stripes, gap between stripes, etc.
To define stripes on the fabric:
-
In the Fabric Pattern dialog, click Set Stripes for Fabric.
All of the image properties are now defined according to the stripes on the fabric. If you want you can define the properties of the stripes. Here are some examples:
-
In the Original field, enter the required width and height of the stripes.
-
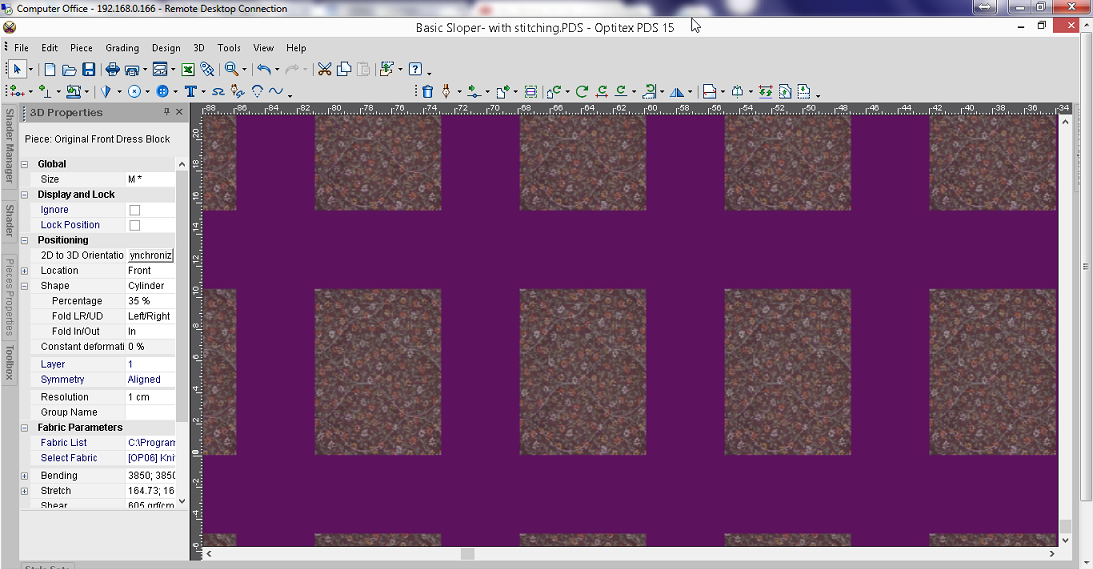
In the Gap field, enter the gap you want between the stripes. For example, enter X=5 and Y=5 if you want a large gap like this:
-
If you want to change the color of the stripes, select a color from the drop-down list.
-
When you are done, click Apply.
Note: If you want to make changes after clicking apply, you can do so, just make sure you click Apply at the end to save all the changes. You may have to click out of the dialog after making a change to enable the Apply button, depending on the property you are modifying.
Here is an example of a fabric pattern defined with stripes: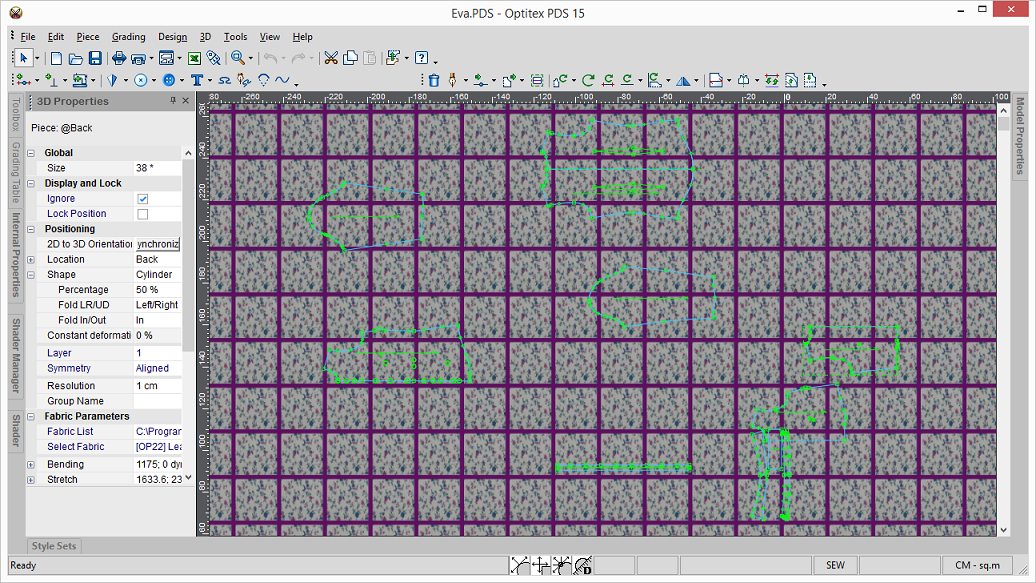
Note: If you do not see the fabric pattern, go to View > View Fabric.