Adding PDS Files
You can upload PDS files to Optitex Shell, when you want to create marker orders, run nesting, plot and more.
Note: If you are using Marker files that were created prior to O/15, it is advised to open and then save them in O/15 to make sure all features work correctly.
To add PDS files:
-
Open the Optitex Shell application.
-
From the Main Menu, go to File > Add.

-
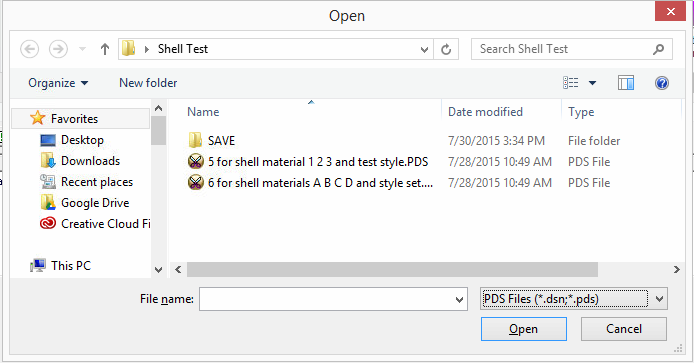
Make sure the PDS Files selection is selected (.dsn, .pds).
-
Browse for the file you are opening. You can select multiple files using Shift or Ctrl.
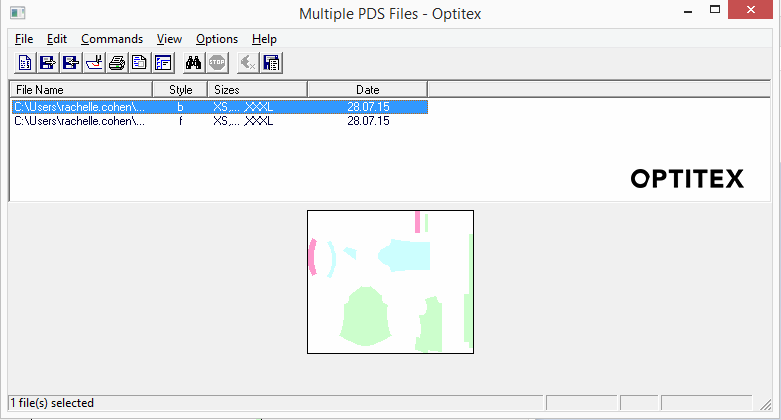
Here is an example of multiple PDS files.
Notice if you select a row, a preview of the file displays in the preview area.

The grid displays the following information:
|
Column |
Description |
|
File Name |
Displays the name of the file as it was saved in the PDS. |
|
Style |
If the PDS file was saved with style sets, displays the style set. |
|
Sizes |
If the PDS file was saved with grading, displays the available sizes. |
|
Date |
Displays the date the PDS file was created. |
Once you have added your PDS files you can now run Shell commands. For more information, see Using Shell Commands.