Viewing Changes in 3D
Once you have opened up your pattern and placed it in the 3D window, you can now make changes to your pattern and view these changes in 3D.
You have a few different options for viewing changes.
Click on an option to expand and read more information:
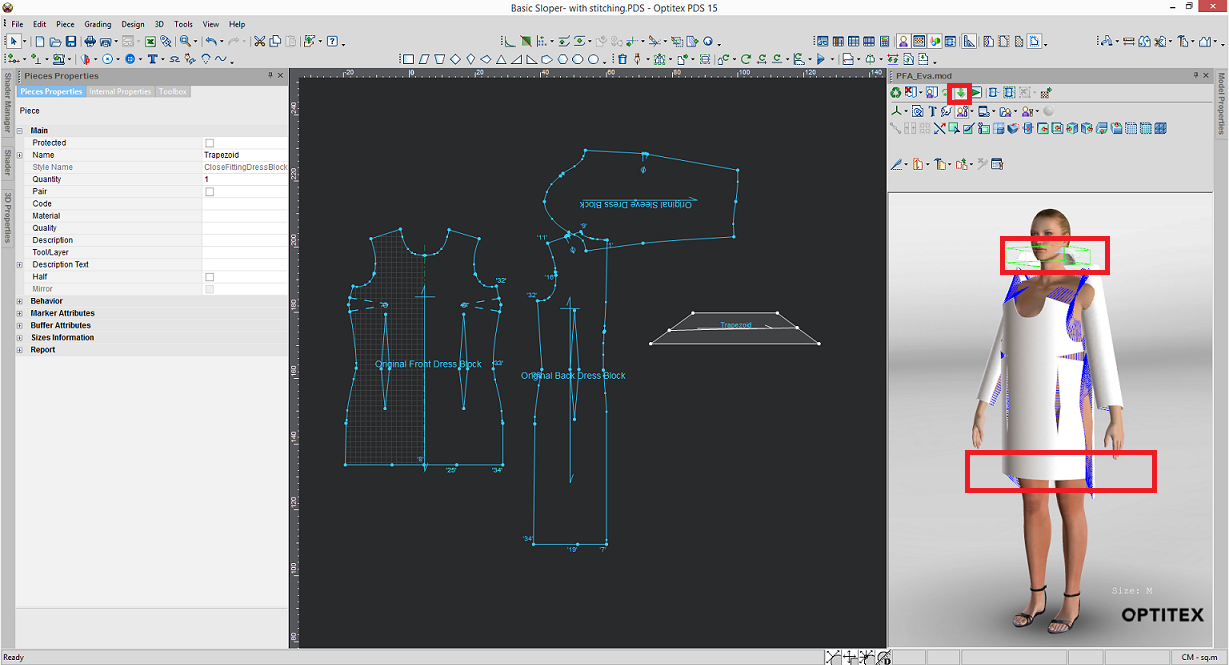
This is the older workflow that allows you to "refresh" changes in the 3D window. In this workflow you first assemble your pattern in 2D, place the pattern in the 3D window and then simulate to drape. If you need to make changes in 2D after the pattern has been simulated, then you can click the Refresh icon to apply the recent changes. Refresh brings all your pieces back to the initial position; therefore you need to simulate your pattern again to see the draping.
-
Open up your pattern.
-
Place the cloth and simulate.
-
Make a change to your piece. For example, shorten the front of a dress.
-
In the 3D window, click
 .
. -
Click
 to simulate your pattern again.
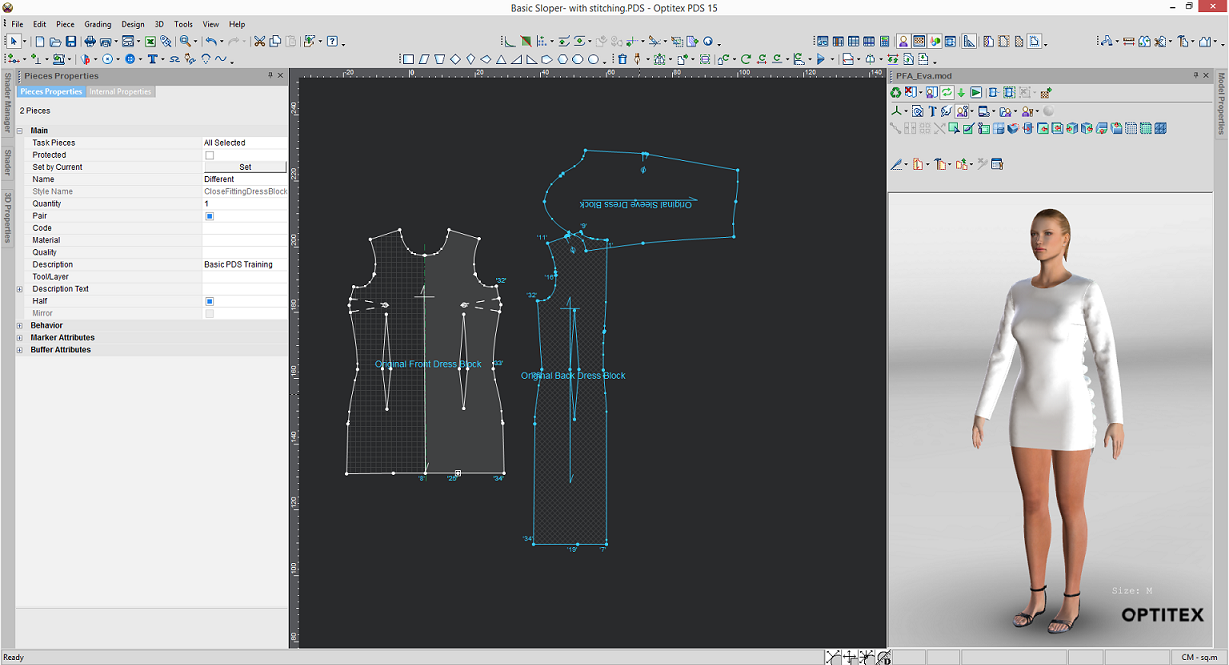
This is a new workflow (available from version O/15). This option allows you to automatically apply changes that were made in 2D in the 3D window. If you use this option, you do not have to click Refresh after every change.
Note: The pattern must be placed in the 3D window in order to turn on Dynamic Updates.
-
Assembly Errors.
See assembly errors and correct them before simulation: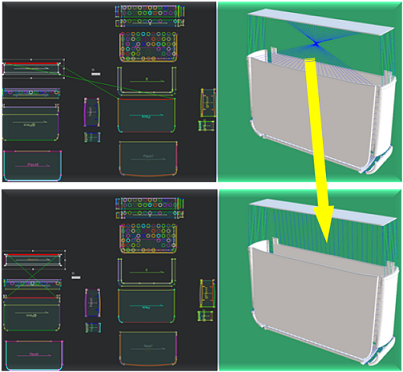
-
Changing Segment Shape.
When switching the segment shape after simulation, leave Dynamic Udaptes on so you can see the change automatically: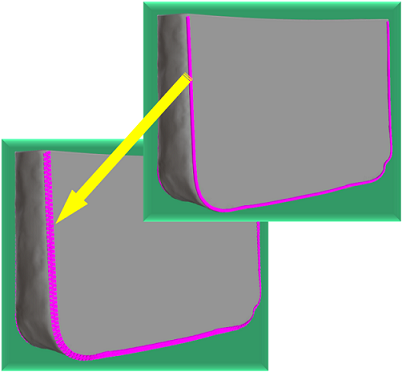
-
Change 3D Properties.
Make changes to the 3D properties, for example change the resolution and see the changes automatically either before or after simulation: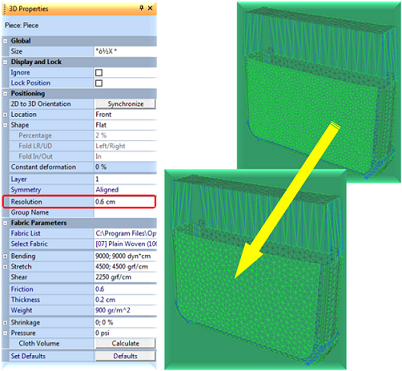
-
Geometric Changes.
When changing the geometric shape before simulation, keep dynamic updates on so you can see the change instantly: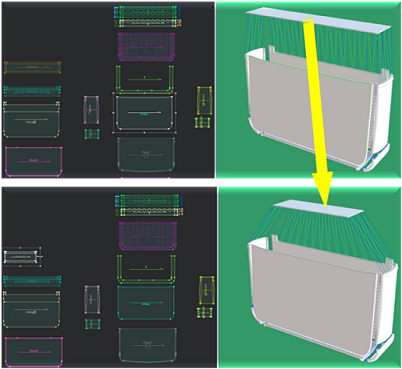
-
Add Piece After Piece.
Continue simulation after adding pieces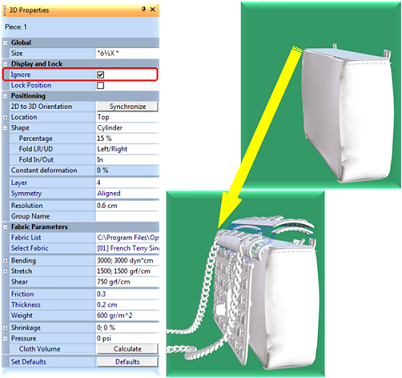
Let's see what happens when we turn Dynamic Updates on and change the length of a dress.
-
Open up your pattern.
-
In the 3D window, click
 to turn on Dynamic Update mode as follows:
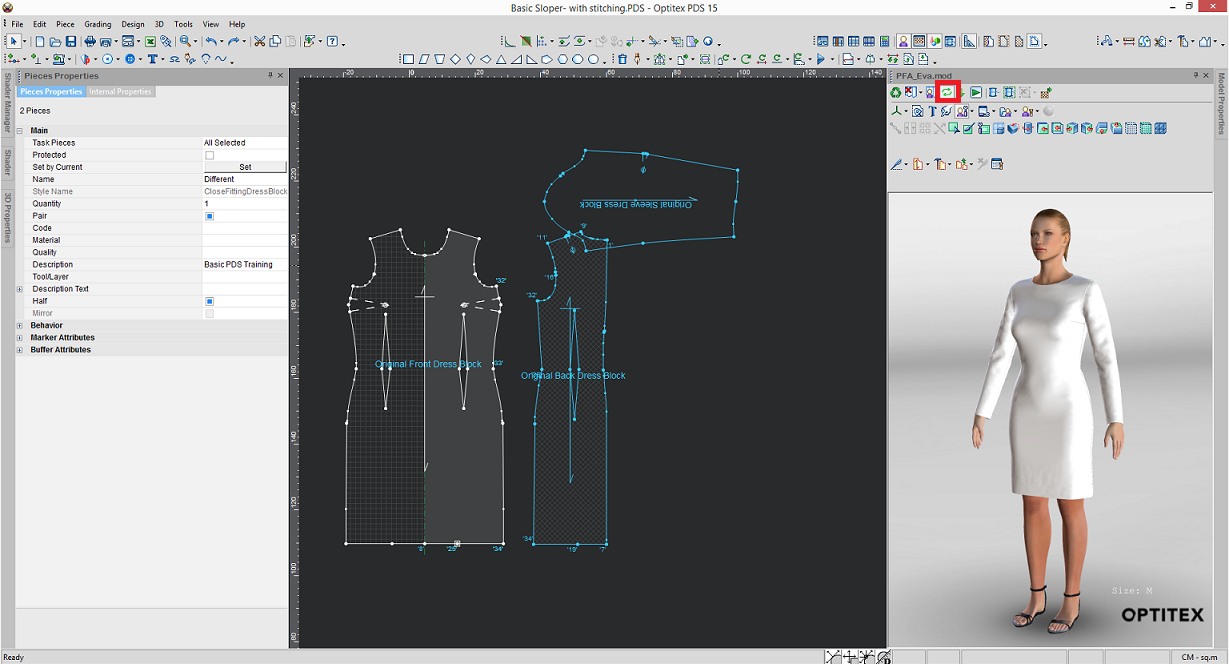
-
Make a change to your piece. For example, change the length of the dress.
The pattern is automatically updated in the 3D window as follows: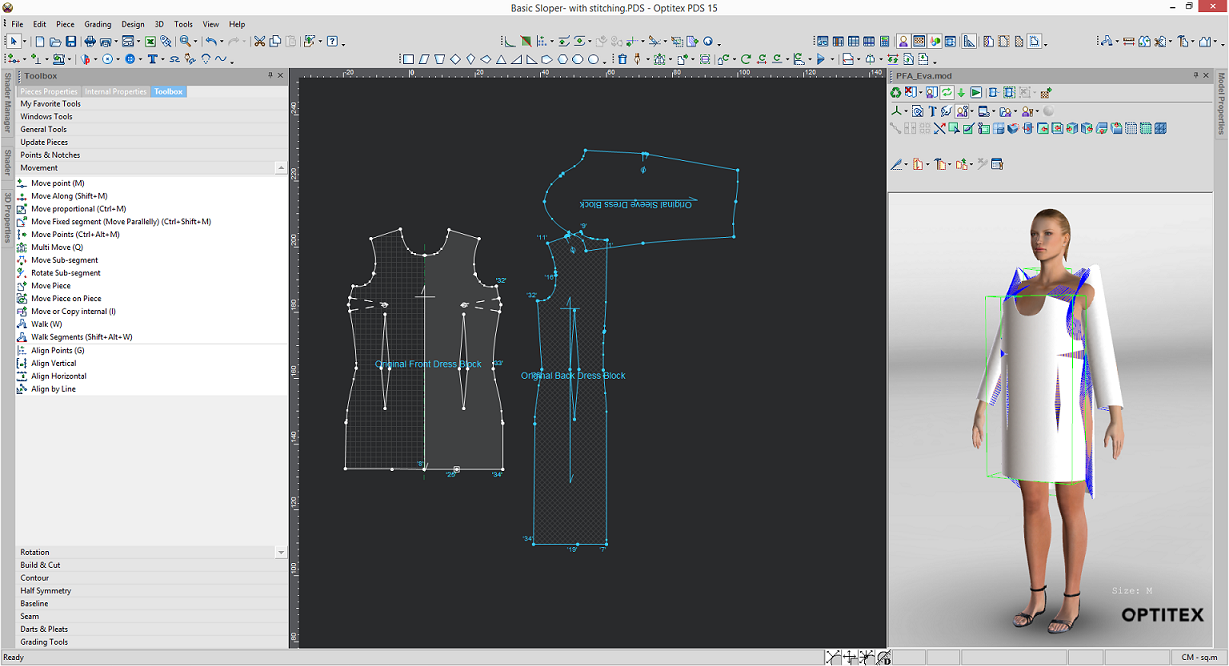
Note: If you are adding a piece to your pattern, the first time you add a piece you need to first place the piece in the 3D window and only after Dynamic Update will start to work.
If you have already simulated your pattern, then only functions that do not change the external piece shape will be dynamically updated.
-
Let's simulate our pattern and see what happens when trying to change the length of the dress (this will change the external piece shape).
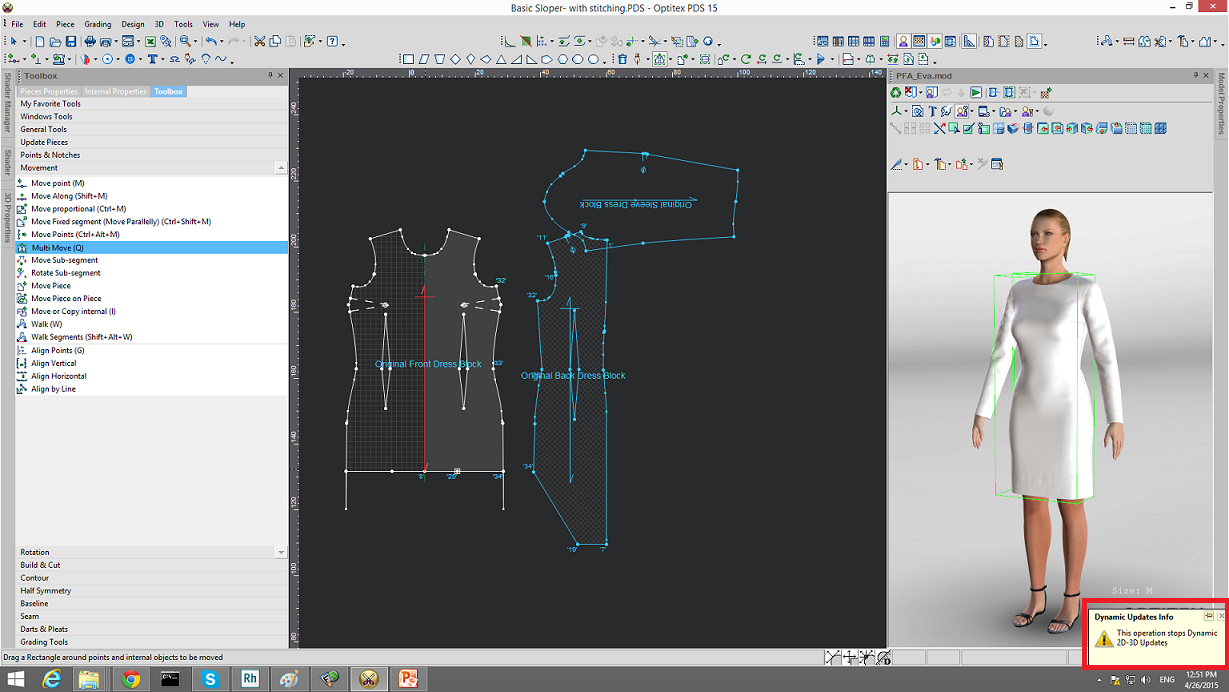
A dialog appears informing you that the change will not be dynamically updated.
The Dynamic Update mode turns off as follows (grayed out):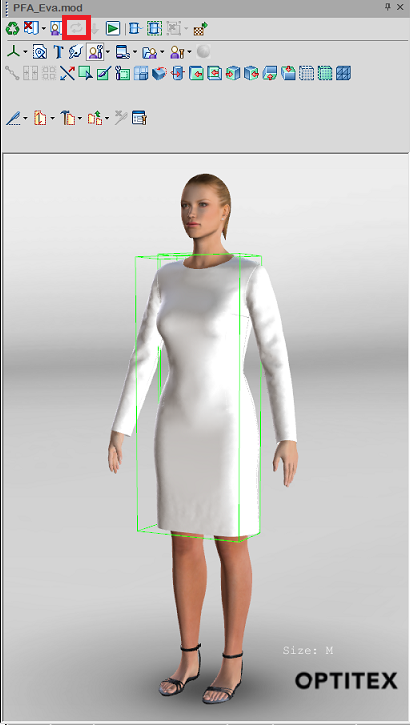
-
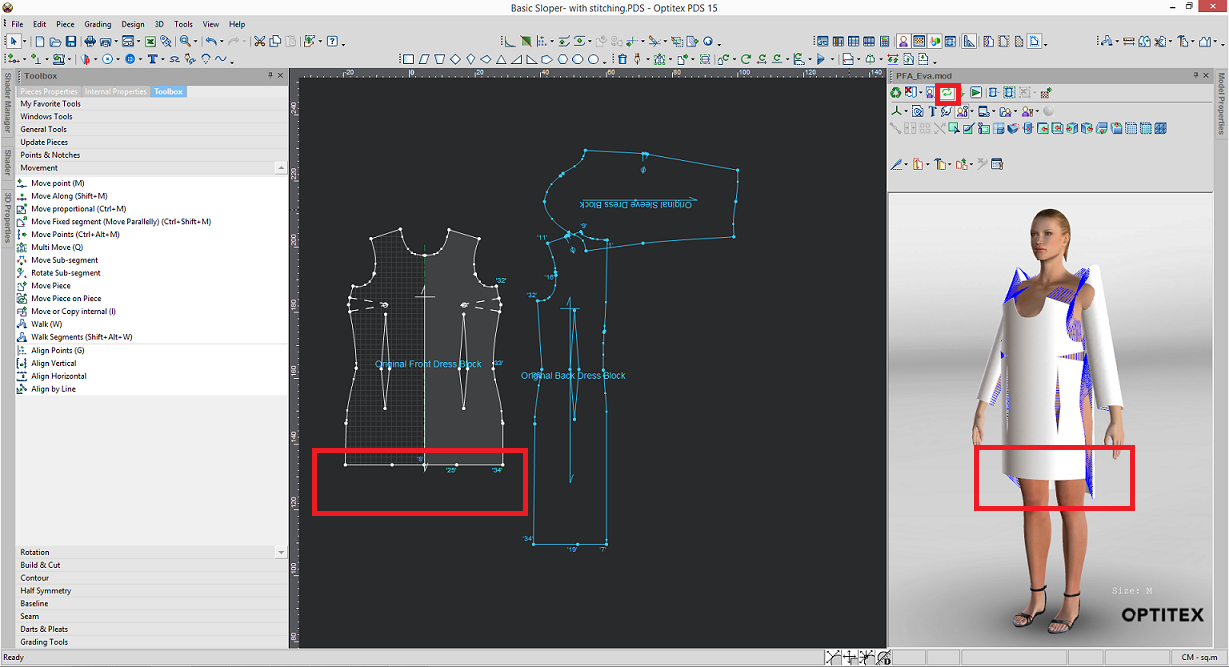
Click Refresh
 to make the change and turn Dynamic Update
mode back on.
This option allows you to make a large amount of changes and then apply of these changes at once. This can be useful when you do not want to affect the 3D performance. For example if you are going to use Sliders and it will slow down the performance.
You can use a combination of both Dynamic Updates and Update All. For example, turn Dynamic Updates off, make a lot of changes then press Update All, and then turn Dynamic Updates back on. Or turn Dynamic Updates off and then press Update All Now when you are done making changes.
In order to use this option, you must first turn off Dynamic Updates.
-
In the 3D window, make sure Dynamic Updates is off. (The icon appears with no border around it when turned off).
-
Make changes to your pattern.
-
After you are done, in the 3D window click
 .
.
The changes are updated at once.
Here we shortened the dress and added a collar: