Using the Stitch to Self Symmetry Tool
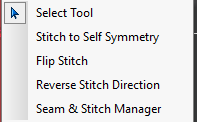
If you are stitching a piece this is a paired piece and you want to define the stitch as symmetric you can either go through the 3D Stitches Window, or you can use the quick menu tool "Stitch to Self Symmetry".
Note: If you use the Stitch to Self Symmetry option, you cannot use the Revere Stitch Direction option as well.
To use the stitch to self symmetry tool:
-
Create your piece.
-
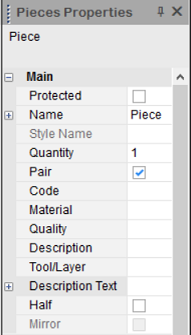
Make sure your piece is paired (in Piece Properties, select the Paired checkbox):
-
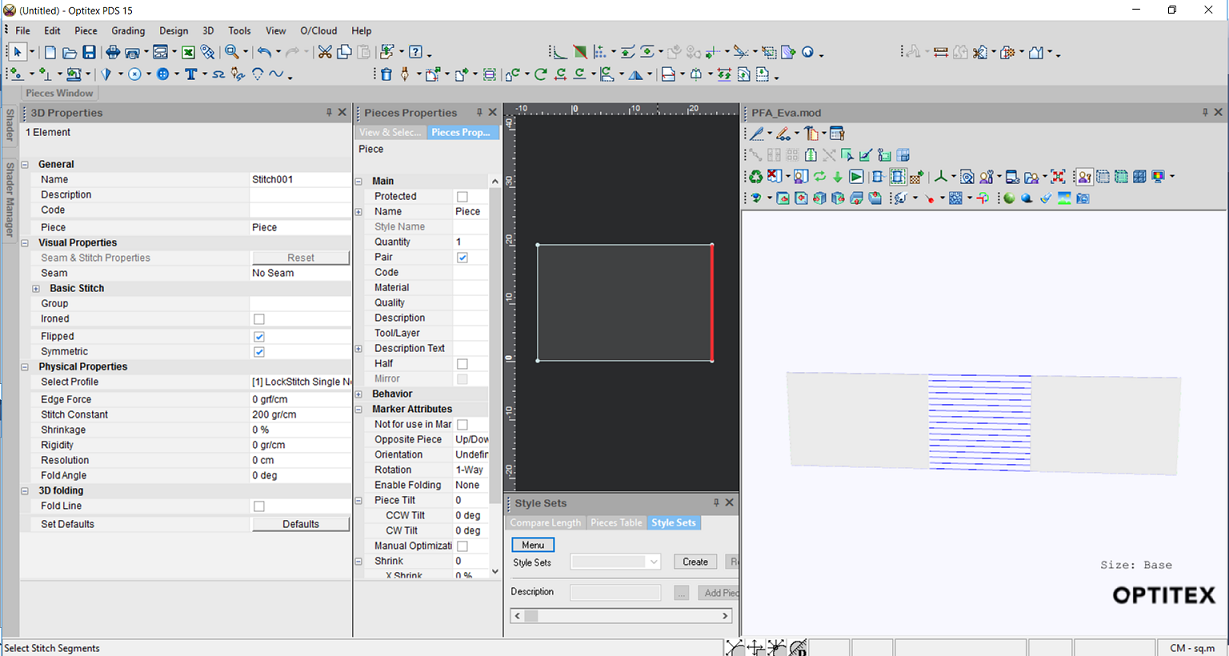
Create a stitch on your piece (from the 3D toolbar, select the 3D Stitch
 icon).
 -
Press Ctrl on your keyboard and then right click with your mouse.
The Symmetric checkbox is selected in the 3D Stitches Window:
Notice the Flipped checkbox is also selected automatically.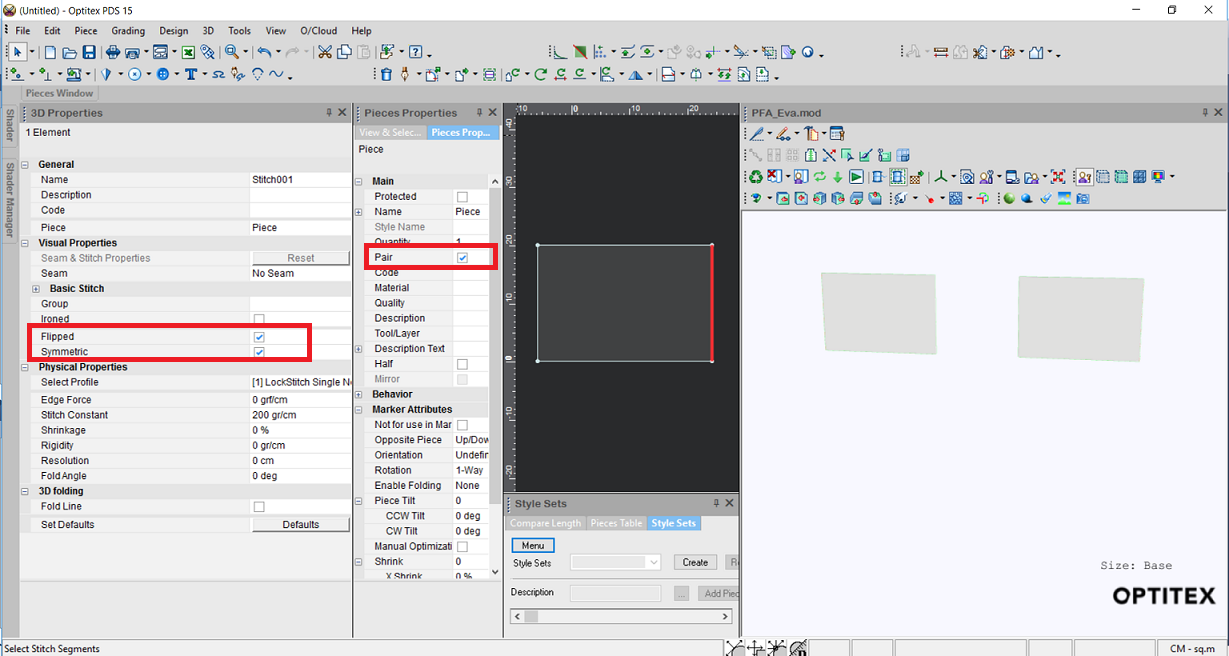
If you are using Dynamic Updates, the pieces are updated automatically in the 3D Window.
-
If you are not using Dynamic Updates, make sure you click Update 2D to 3D Now (
 ) to see the changes in 3D.
Now you can see how the two pieces are going to be stitched: