Using Segment Shapes (Prior to O15_6)
You can use Segment Shapes when you want to add an accessory to your pattern along the segment. For example, you can add a zipper shape when you want to get the effect of a zipper on your bag, add a pipe shape, decorative stitches, etc.
The Segment Shapes are managed in the Preferences dialog. Here you can load your own files or use the samples that are installed with PDS.
-
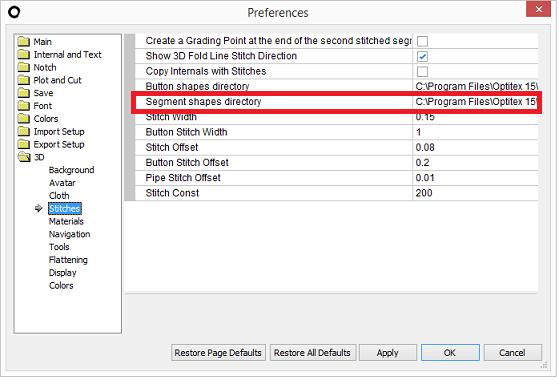
Go to Preferences > Stitches.
-
All of the Segment Shapes are saved in the Segment Shapes Directory as follows:
-
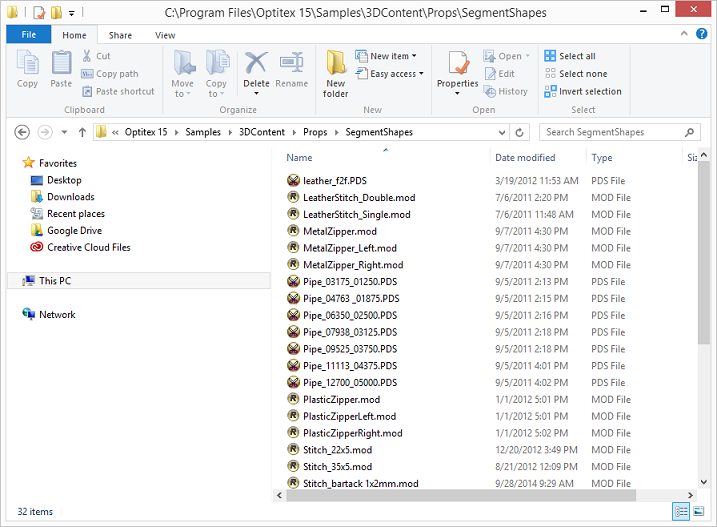
If you are adding your own segment shapes, first copy and paste the segment shape files to the folder where the segment shapes are saved. They are usually saved here: C:\Program Files (x86)\Optitex 15\Samples\3DContent\Props\SegmentShapes (you can change this folder if required via the Preferences dialog).
-
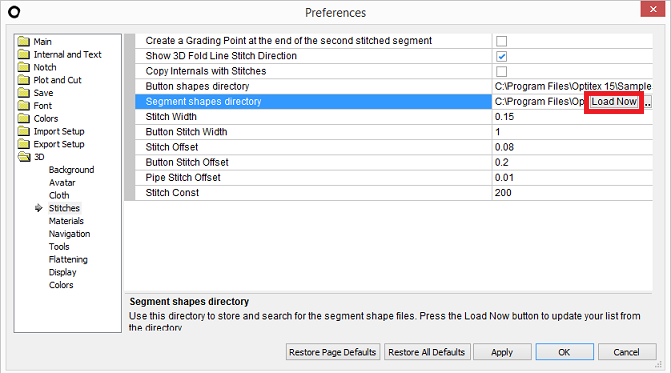
In the PDS, go the Preferences >3D> Stitches and in the Segment Shapes directory, click Load Now to load all new segment shapes into the PDS.
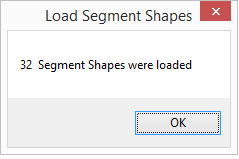
A dialog appears informing you how many shapes were loaded as follows:
-
Click Ok when you are done.
There are two types of files for Segment Shapes:
-
PDS: A cut profile of a shape.
-
MOD: A model shape constructed in a 3D software (for example Rhino, Maya, etc.)
To use a segment shape:
-
Create your piece.
-
Add an internal line and a stitch that is not connected (to make the effect of a visual stitch).
-
In the 3D Window, click Stitch Mode
 and then select your stitch.
 -
In the Stitch Properties dialog, from the Segment Shape drop-down list, select the segment you require.
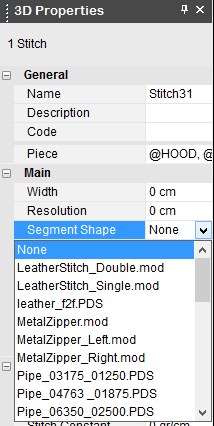
The following properties can be defined for segment shapes:
Note: The properties available for editing are dependent on the file type you have selected.
|
Property |
Description |
|
Segment Start |
Displays the way the segment starts if it's cut or turned. Cut: Indicates that the start of the segment is cut
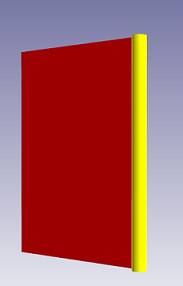
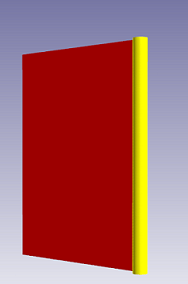
Turn: Indicates that the start of the segment goes under the next fabric it crosses. Note: This field is available for PDS files only. Adjust to Boundary: If you have a pipe or binding and you want the pipe to be angled, instead of cut, use this option to adjust the start of the pipe so it is angled. Here is what the pipe looks if it is Cut
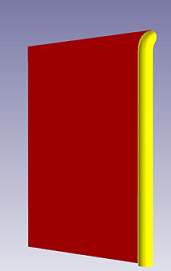
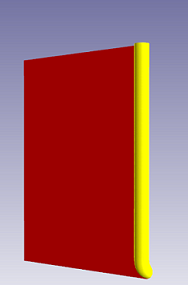
Here is what the pipe looks when adjusted to boundary:
|
|
Segment End |
Displays the way the segment ends. Cut: Indicates that end of the segment is cut
Turn: Indicates that the end of the segment goes under the next fabric it crosses.
Note: This field is available for PDS files only. Adjust to Boundary: If you have a pipe or binding and you want the pipe to be angled, instead of cut, use this option to adjust the end of the pipe so it is angled. |
|
Repeat Spacing |
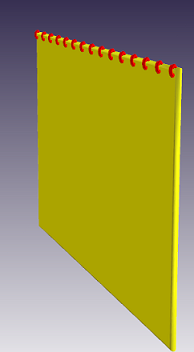
Allows you to define the amount of space between segments when you want the segment to repeat. Repeat = 0.5cm
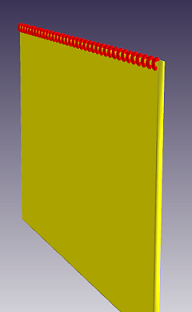
Repeat = 0.2cm
Note: This field is available for MOD files only. |
|
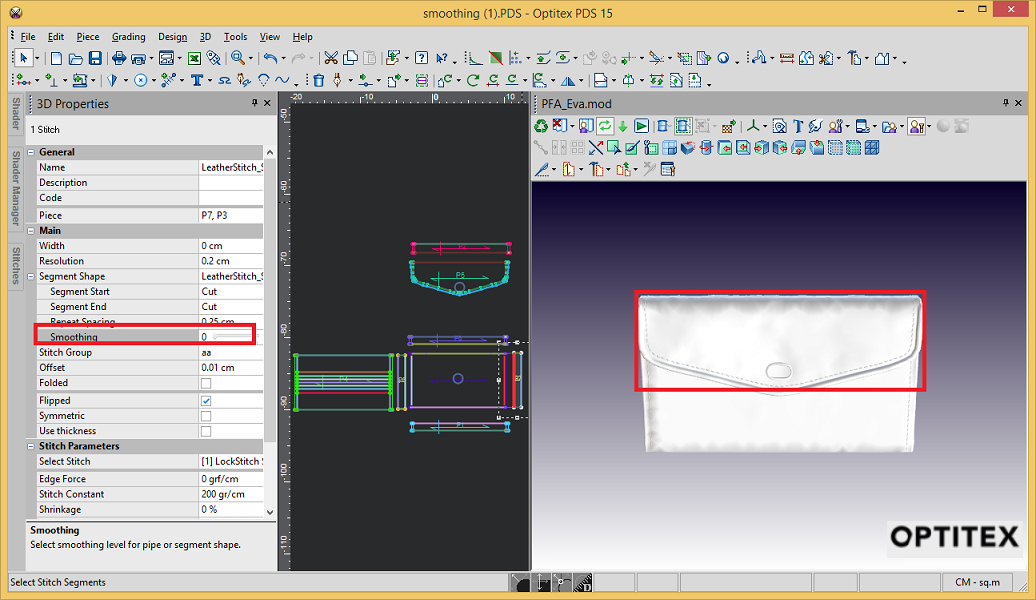
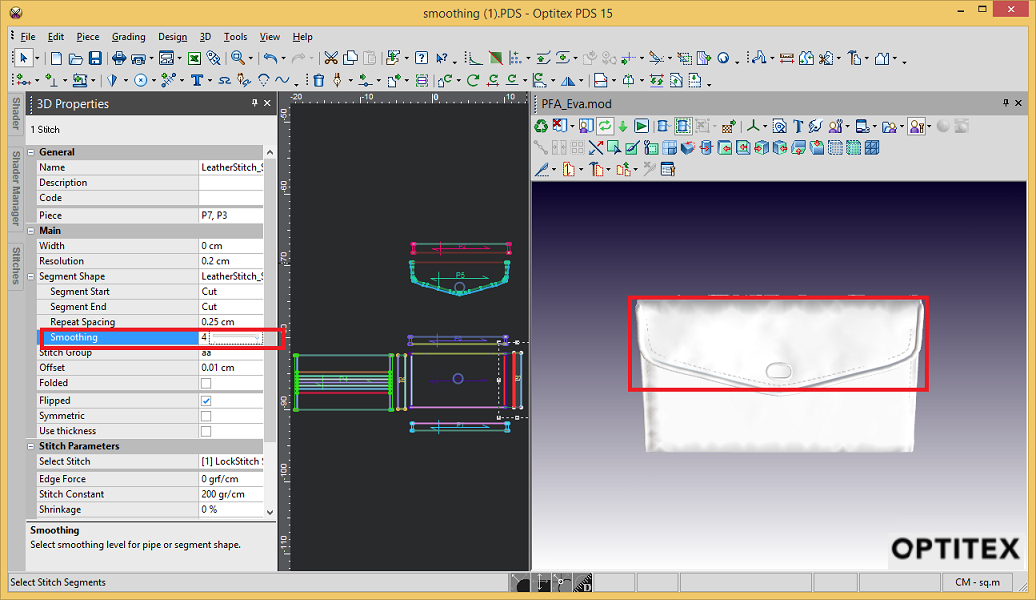
Smoothing |
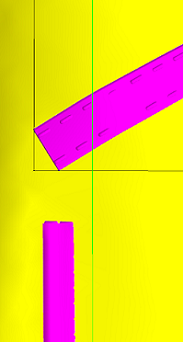
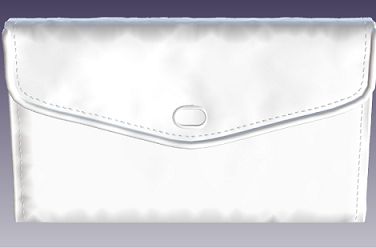
Defines the smoothing level for a pipe or segment shape. You can use the slider to change the smoothing to high or low. For example, if you increase the smoothing on a visual stitch you can make the stitch more realistic. Low Smoothing
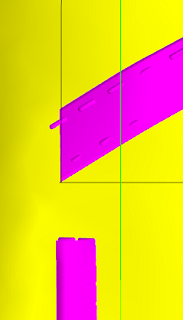
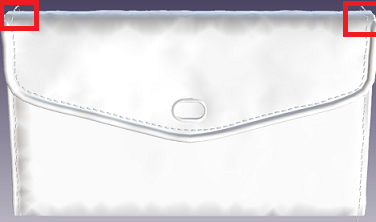
High Smoothing
|
|
Stitch Group |
Allows you to create a group out of 2 or more stitches and then create a unified stitch. Note: You can only select stitches that are in the same continuous group. |
|
Offset |
Allows you to define the default distance between the piece and segment shape. If the segment shape collides or it is not smooth, you can use Offset when you want to bring the stitch out of the surface. In the below example, you can see how when increasing the offset, the visual stitch gets cut off. Offset 0cm
Offset 0.2cm
|
