Saving your PDS File with 3D Content
If you have finished creating and editing your pattern you can now save the pattern to be used at a later date. This allows you to save all the 2D properties as well as 3D. Meaning if you made changes to the pattern and placed it in 3D you can save the 3D data so that next time you open the pattern it includes the 3D changes as well. For example, if you placed the pattern on a avatar and changed the location of the pieces, if you save with 3D data, the new locations will be saved as well.
If you open up a "Saved" PDS file you can do the following:
-
Change 3D properties.
-
Change materials, colors, textures and labels.
-
Add rigid parts.
-
Perform Dynamic Updates.
-
Continue simulation.
-
Use HQR/PR3D render modes.
To save your PDS file with 3D Content:
-
Create your pattern in the PDS (or open a previous file you worked on).
-
Make the necessary changes. For example, place the cloth, change 3D properties and simulate.
-
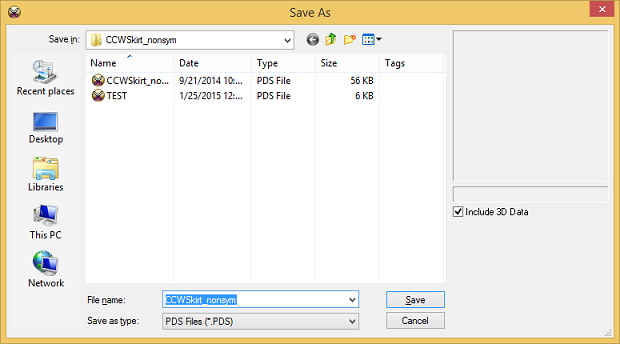
From the main menu, go to File > Save As.
-
In the Save As dialog, enter a name for your file.
-
Select the Include 3D Data checkbox, to make sure all 3D changes (3D properties, all simulated cloths, etc.) are included in the file.
-
Click Save when you are done.
 See also: Saving Your 3D Sample