Bump Shader Creator
The Bump Shader Creator is a standalone application that allows you to create a material based on an image.
To Create a Bump Shader:
-
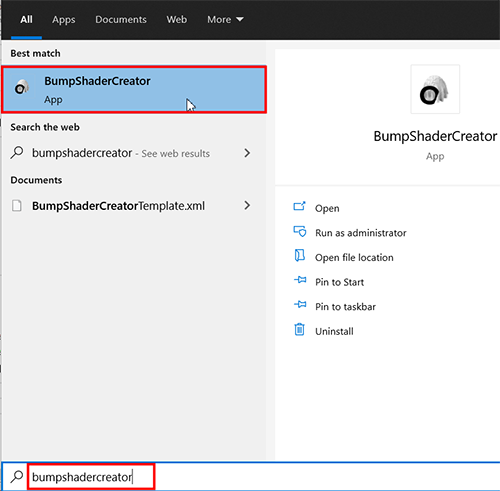
In the windows start menu write BumpShaderCreator and run this application.
-
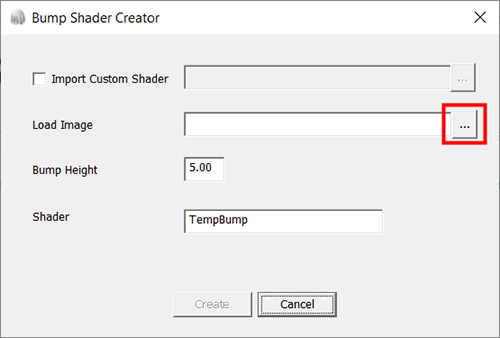
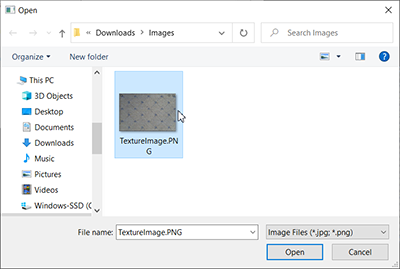
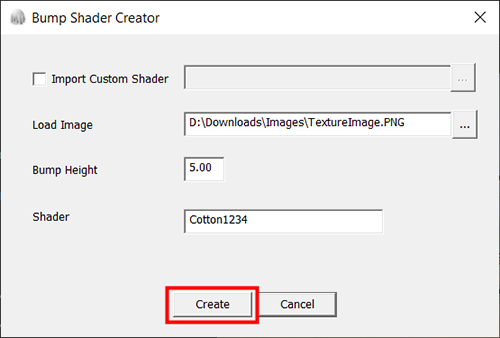
In the Load Image field click the Browse button to select the desired image.
-
Select the Image, then click Open.
-
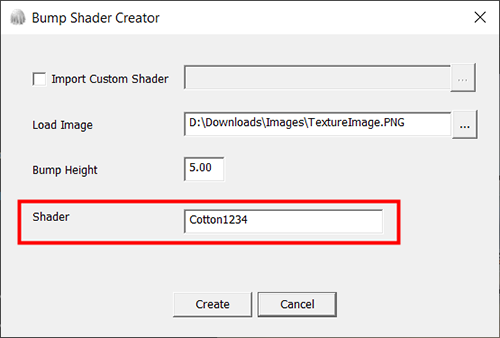
in the Shader field, set the name for the new material .
-
The created material will have a prefix "Bump_" before the given name.
-
The name you entered will appear in PDS in the material list.
-
Press the Create button.
-
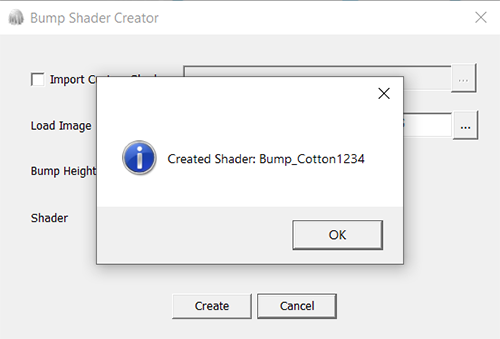
Once the Material created, you will receive the following message:
-
Click OK to close the application.
-
The material will be automatically created and placed in the Shader Material Directory:
-
The default folder (C:\Users\Public\Optitex\Optitex 21\Content Library\MaterialType) or according to your last selected path in the PDS Preferences.
-
A copy of this Material is also created and zipped in C:\Users\Public\Optitex\Optitex 21\Archive Custom Shader.
-
You could share the zip file with other PDS 3D users.
-
They will be able to add it to their Shader Material Directory.
-
Or import it using Bump Shader Creator.
-
After running PDS you will find this Material in your material list in the shader dialog.
The image that was used to create the Bump Material: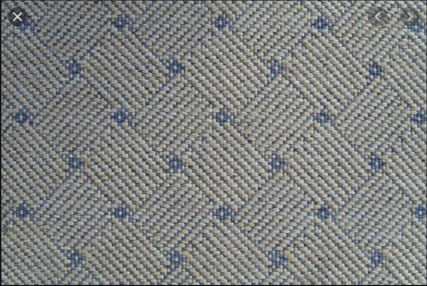
The garment that used the created Bump Material: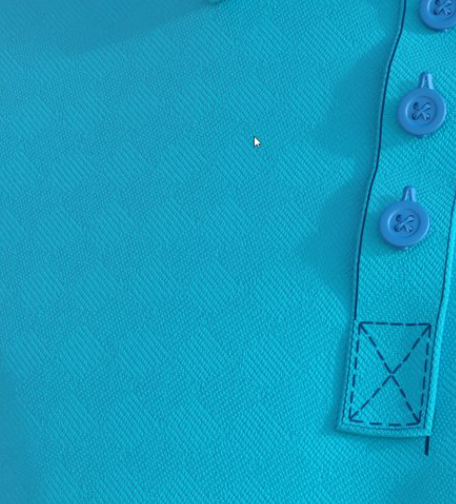
-
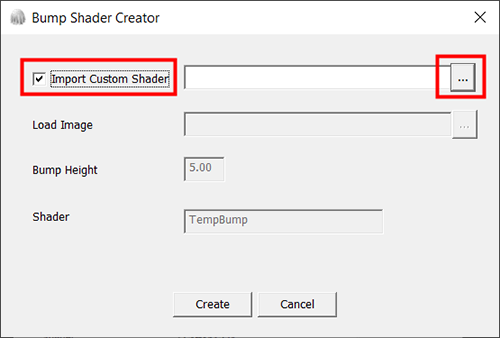
Run Bump Shader Creator.
-
Select the Import Custom Shader checkbox, then press the Browse button.
-
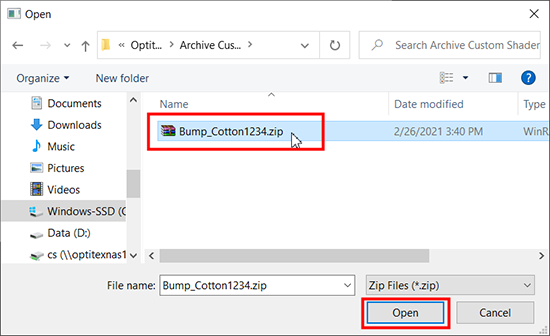
Select the shared zip file, then press the Open button.
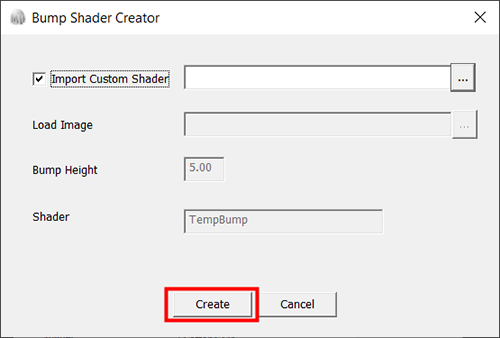
- Press the Create
button to import a shared material to PDS.
- The material will be imported and placed automatically in the Shader Material Directory:
- Default folder C:\Users\Public\Optitex\Optitex 21\Content Library\MaterialType
- Or according to your last selected path in PDS Preferences.