Set Half
Use the Set Half tool to create a symmetrical image of a piece. This is a very powerful tool, which is used on almost every PDS file. When a piece is halved, all actions performed on the original half are applied to the other half. Unlike the Set Mirror Line Tool, you can work only on the 'real' half – and not on the 'reflected' half, which is represented as a grid of lines. Using Set Half is almost always preferable to using Mirror Half, mainly because Optitex 3D recognizes the halved pieces, and saves considerable time by allowing you to stitch only half of the stitches. Although we recommend keeping it in view, you can hide the reflected half through the View & Selection option.
Icon & Location
-

-
Menu: Piece > Modify > Set Half
-
Toolbar: Edit
-
Toolbox: Half Symmetry
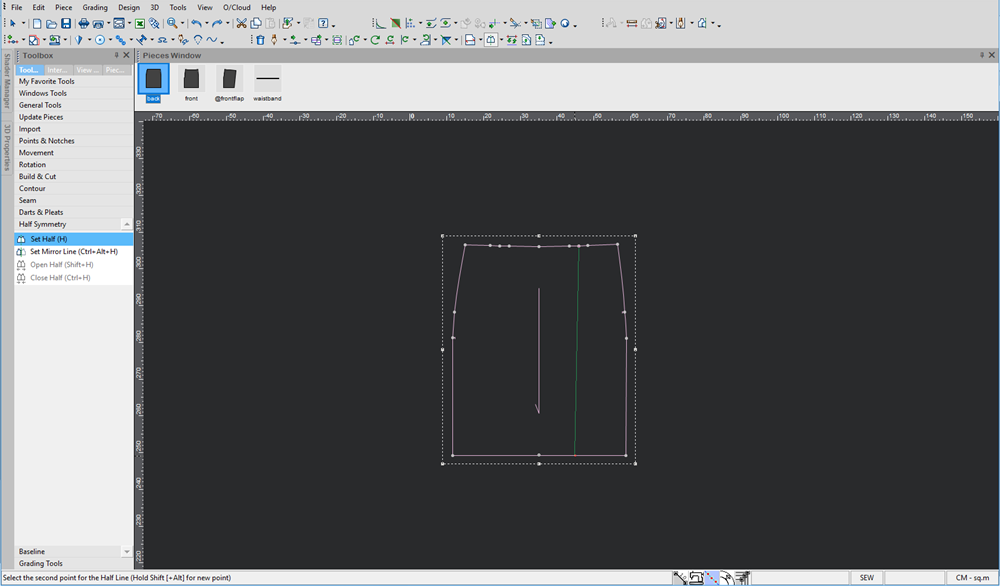
To use the Set Half tool:
-
Select the Set Half tool.
-
Click on the first point on the piece:
-
With your mouse, move to the last point and click with your mouse.
The piece is halved.
The symmetric half is shown as a grid.
When changing the geometry, by moving a segment of the contour of the 'real' half. The geometry of the reflected half is changed as well.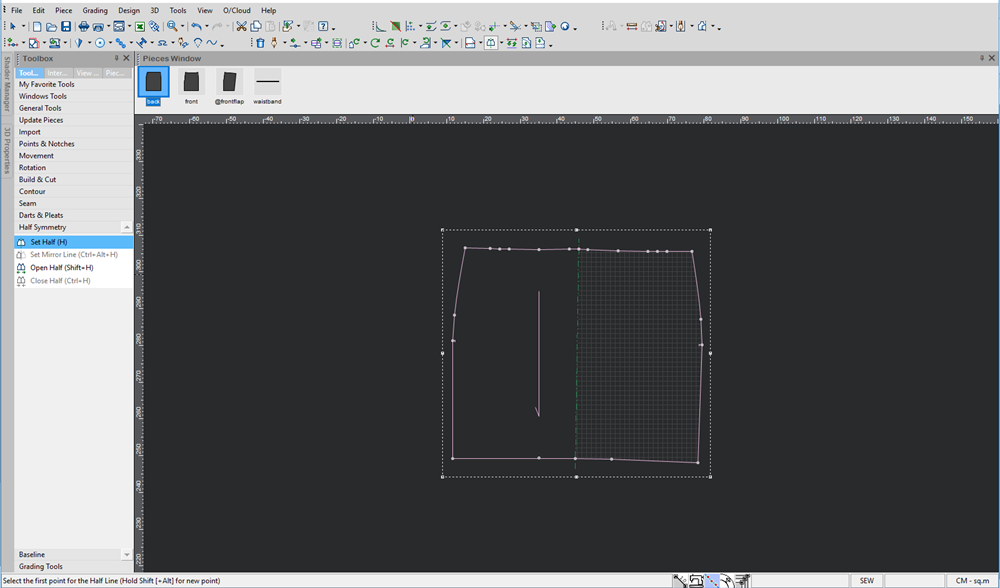
Internal Objects Inside Half Piece
When adding an internal object (an internal contour, button, circle, etc.), it also appears on the reflected half, unless the Reflection field is disabled in the Internal Object Properties.
Creating a Curved Angle on The Symmetry Line
When setting a piece to half, you need to use the Arc Tool.
Keyboard Shortcuts
|
Field |
Description |
|
F2 |
Opens the Line Direction dialog. |
|
(Period) |
Restricts the cursor movement to the X axis (press ESC to exit this mode). |
|
(Period) + SHIFT |
Restricts the cursor movement to the Y axis (press ESC to exit this mode). |
|
SHIFT + ALT |
Allows to add a Set-Half point anywhere along a segment. The Point Attribute dialog will automatically open for a measured distance of the Set-Half point (1st & 2nd point). |