Add Seam
You can use the Add Seam tool, when you want to add seam allowance to a piece. Negative or positive seam allowances may be applied depending on how a piece was created, converted or digitized.
Icon & Location
-

-
Toolbar: Insert
-
Toolbox: Seam
To Use the Seam tool:
-
Select the Add Seam tool.

-
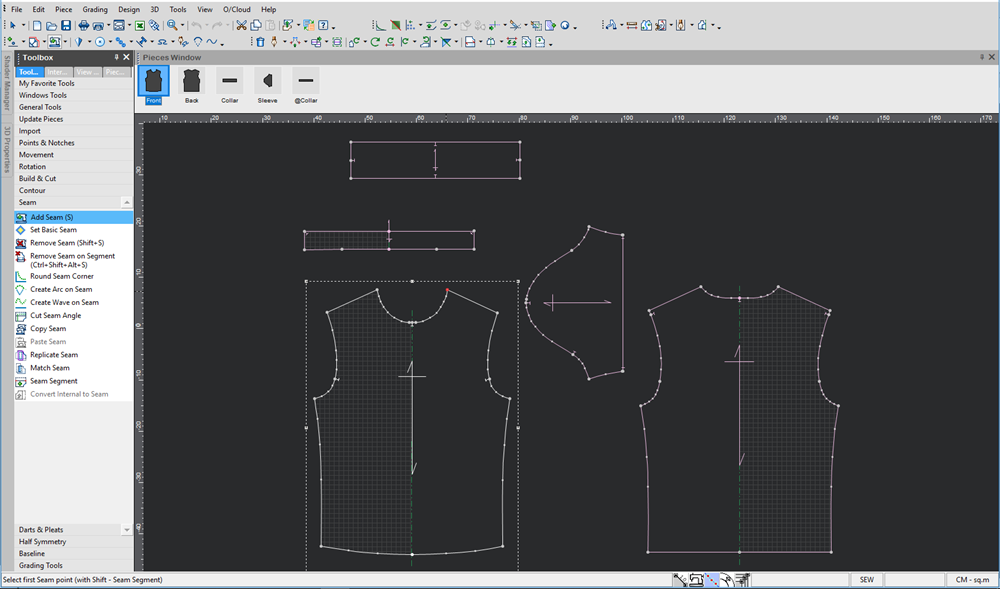
Either select a point on a piece indicating that seam allowance is to be added to the entire piece, or select the segment on the piece on which to apply seam allowance.
-
To select a single point for adding a constant seam allowance to the entire piece, point the Seam Allowance tool at a point on the piece and click the mouse twice (another way is using 'Set Basic Seam').
-
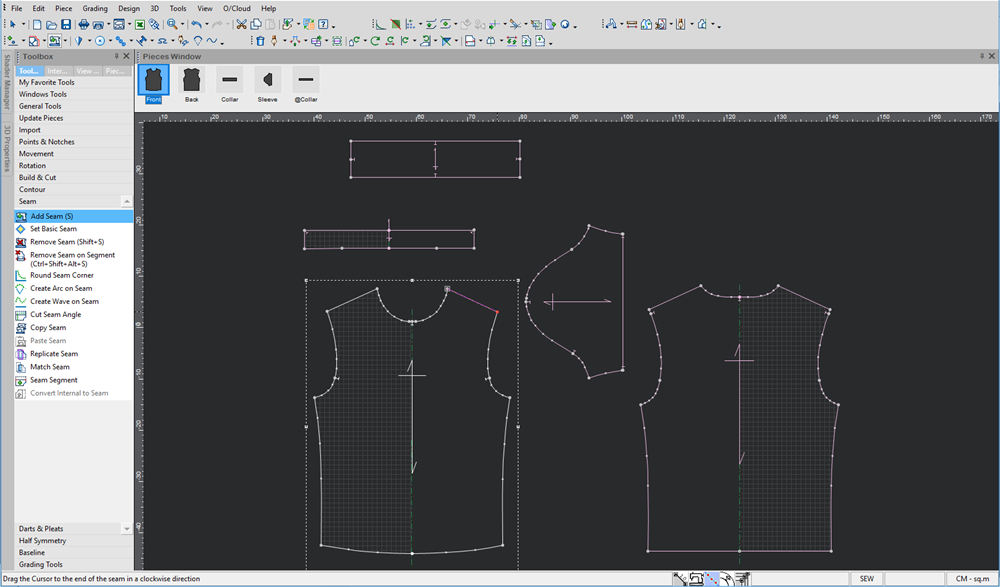
To select a segment, point the Seam Tool at the first point and click the mouse, then drag the Seam Allowance tool to the last point of the segment and click the mouse.

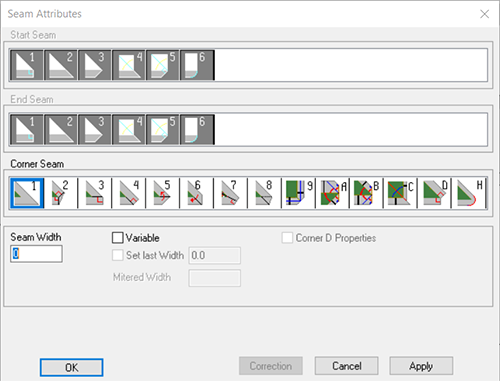
The Seam Attributes dialog appears:
-
Enter the amount of the allowance in the Seam Width.
-
If the seam allowance is being added to the entire piece, select the appropriate corner type by clicking on the corresponding corner icon.
-
If the seam allowance is being added to a segment of the piece, choose the type of corner to apply to the start and end of the seam from the Start Seam/ End Seam boxes. The icons illustrate available corner types. To leave the corner types as standard corners, it is not necessary to make a corner selection.
-
Select the Variable checkbox, if you want every point (grade and non-grade) to have a different seam value.
-
Select the Set Last Width checkbox, if you want to define a different width for the last point.
-
In the Last Width field, enter the value of the last with.
-
If Corner Seam D is selected, the following Corner D Properties checkbox become enabled.
-
Select the Corner D Properties checkbox, if you want to move seam corner vertex away of the piece geometry.
-
The following fields became enabled:

-
Depth A / Depth B / Diagonal : Sethorizontal, vertical or diagonal distance to define the seam corner vertex position relative to the piece geometry.
-
Click Ok to apply the seam allowance.
Note: If the Automatic Reseam is disabled, press the F6 key to recalculate the seam values.
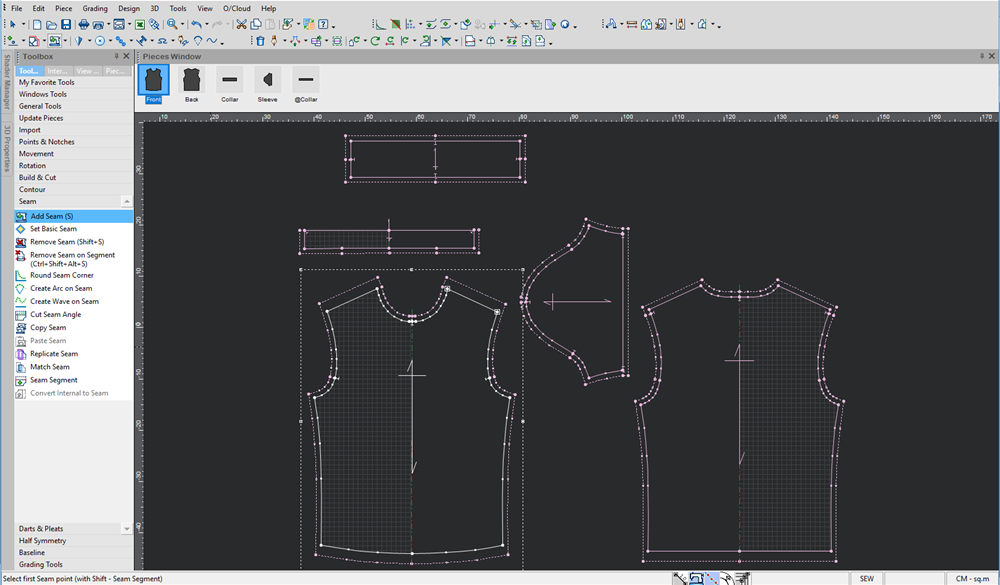
The seam allowance is added to the pieces as follows:
 See also:Toolbox Seam Tools