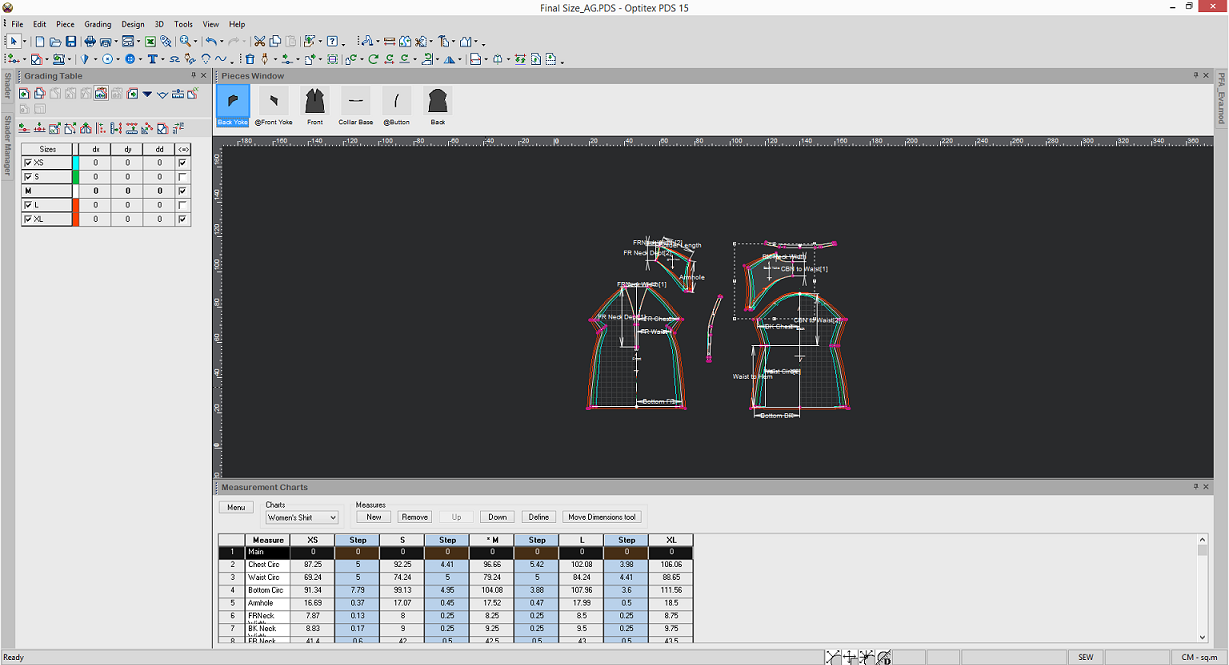
Saving the Model for Production
Once you have created your Parametric Style you can now save the model for production. You will need to create a new table without variations for the Marker.
To save the model for production:
-
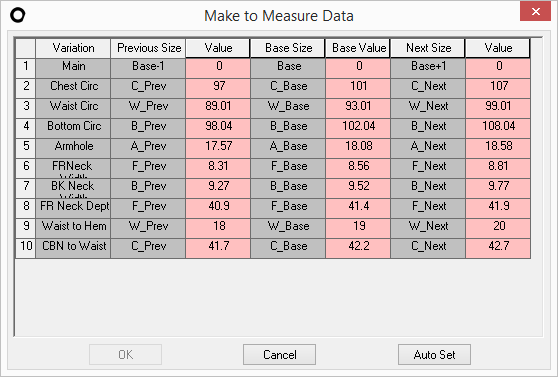
In the Measurement Chart dialog, go to Menu > Make to Measure Data.
The Make to Measure Data dialog appears:
-
To update all values, click Auto Set and then Ok.
-
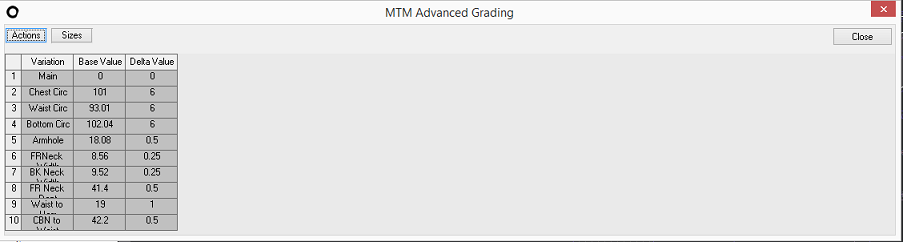
Go to Menu > MTM Advanced Grading.
-
Click Save to save the new nonparametric style.
The MTM Advanced Grading dialog appears:
-
Now you need to define the sizes.
 If you are creating a Custom Fit model and you do not need a size list, click here.
-
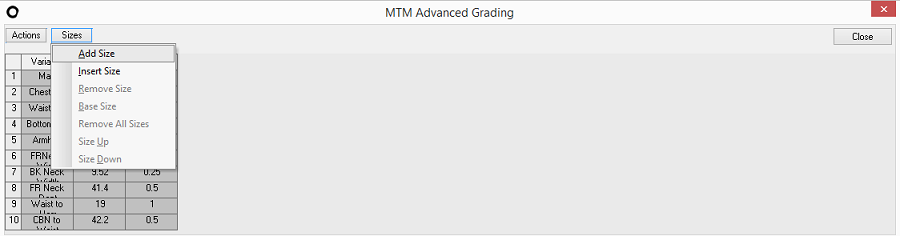
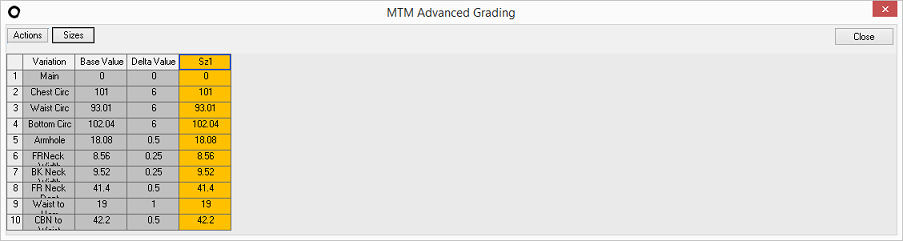
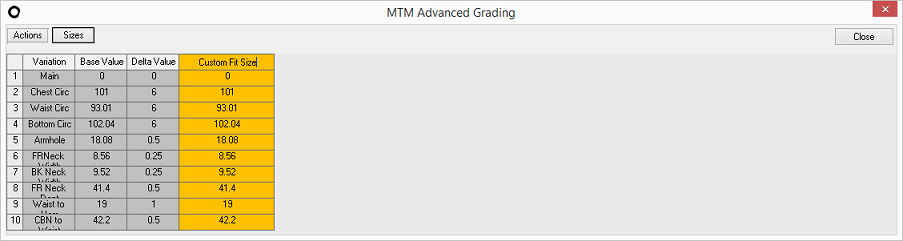
Go to Sizes > Add Size:
A new column is added:
-
To change the name of the column, go to the first row, double click and then enter the required name, for example "Custom Fit Size."
-
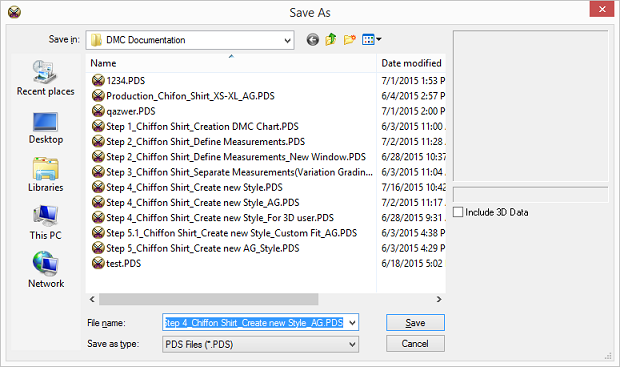
Go to Actions > Set Grading.
The Save As dialog appears (notice the name of the file is the original style name with _AG in the suffix)
-
If you want, save with a new name or use the provided name.
-
Click Save.
The file is saved and a new style is created.
Notice one size was created (appears in the Size Table) and the Measurement Chart only reflects one size.

If you are creating a model with a size list, click here.
-
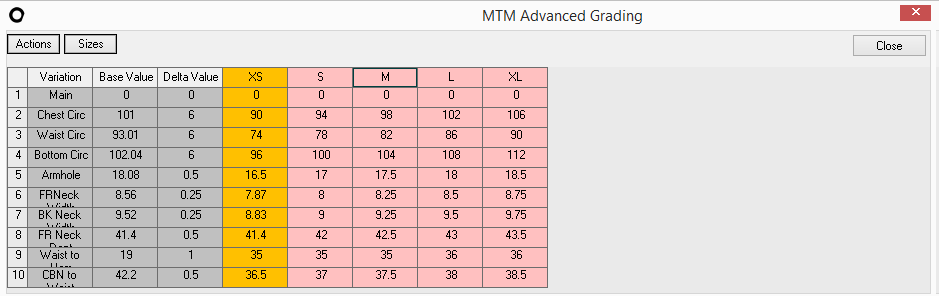
Go to Sizes > Add Size.
-
Repeat the above steps for the number of sizes you require.
In the example below we added 4 sizes:
-
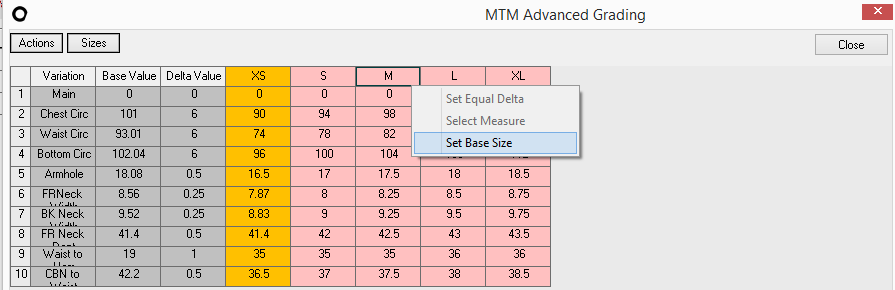
To change the base size, stand on the row of the size you require, right click then select Set Base Size as follows:
-
Make necessary changes to the different variations.
-
Go to Actions > Set Grading.
The Save As dialog appears (notice the name of the file is the original style name with _AG in the suffix)
-
If you want, save with a new name or use the provided name.
-
Click Save.
The file is saved and a new style is created.
Notice all the sizes were created (appears in the Size Table) and the Measurement Chart reflects the sizes.
If you are creating the style file via Excel, click here.
-
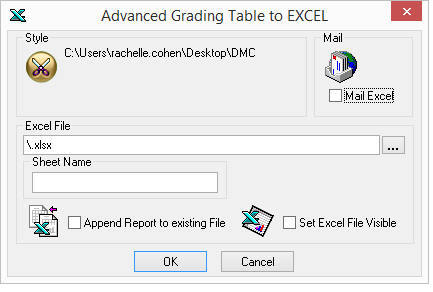
Go to Actions > Export Table to Excel.
The Advanced Grading Table to EXCEL dialog appears:
-
In the Excel File field, click to browse to the location where you want the Excel file saved.
-
Enter a name for the file.
-
To mail a copy of the Excel, select the Mail Excel checkbox.
-
If you already have an Excel file in this location and you want to attach the new file, click the Append Report to Existing File checkbox.
-
If you want the Excel file to be visible, select the Set Excel File Visible checkbox.
-
Click Ok when you are done.
-
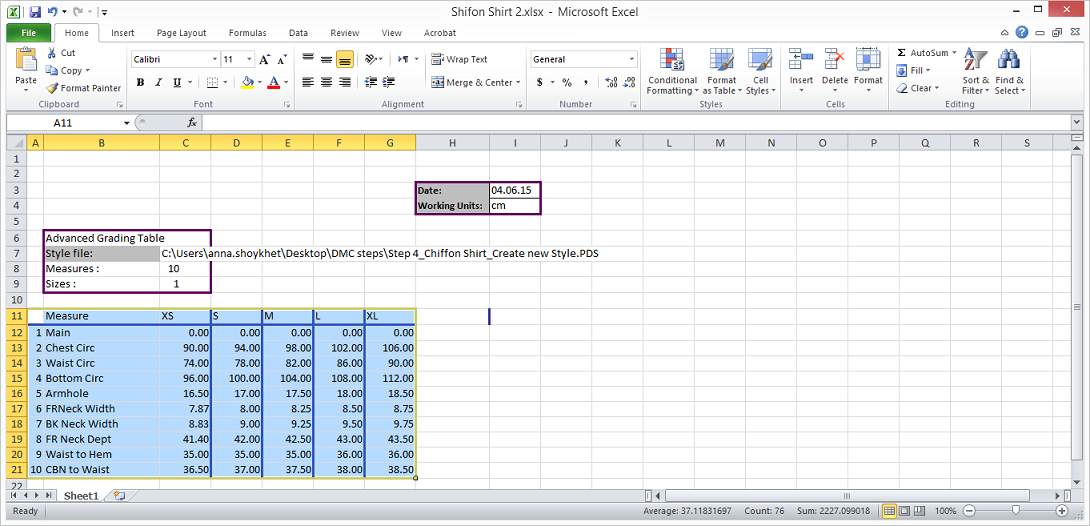
Go to the location where the file was saved and double click to open it.
Here is an example of an Excel file that was created:
-
Make the required changes inside the Excel file.
-
Copy and paste the updated file via Functions > Paste Table from Excel.
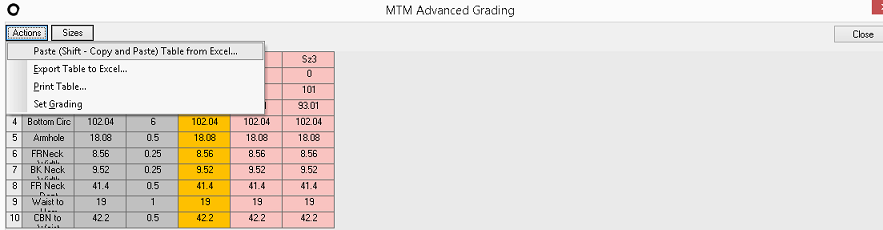
-
When you are done, go to Functions > Set Grading and the file is created.