Measurement Charts
-
Measurement Chart is used to define on a piece or pieces all the Points of Measure (POM) that is required for the Garment Specifications.
-
These Measurements are commonly taken on every pattern through multiple times, to make sure it complies with the Garment Specifications for base and all sizes.
-
Measurement Charts are connected to the style they are created in. They can be viewed through the Measurement Charts Viewer in another Style.
-
The Points of Measure or "Measure" field is the only field that can be saved and opened in another Style to be redefined on the new pieces.
-
Multiple Measurement Charts can be created for the same style, exported to excel, and printed.
Dialog Window
-
Select View> Other Windows> Measurement Charts
-
The Measurement Charts will open on the bottom of the screen.
-
The Measurement Charts Viewer will also open the first time this tool is used.
-
Both Windows can be re-sized and placed based on the user needs (some customers prefer to close the The Measurement Charts Viewer window).

Menu
Menu contains all the tools to Create, Remove, Save, Report, Print and Edit the Measurement Charts. The Menu also includes tools to edit a Chart Description, View or Load other Charts and Define a new Measure. Select Menu and choose the action
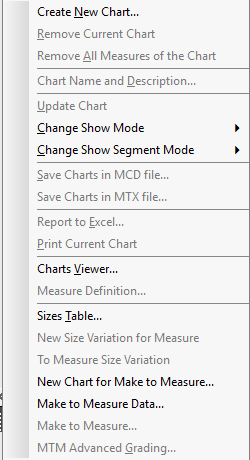
Create New Chart
Create New Chart will make a Blank Measurement Spec for the opened style. This Chart will remain saved in the style until the user Removes the Chart. All Defined Measurements will be listed and stored in this Chart.
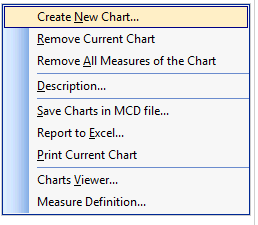
-
Select Menu> Create New Chart
-
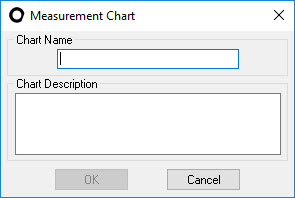
Type in Chart Name
-
Type in Chart Description
-
Select OK
If this is your first time using Measurement Charts, skip down to Define Measures Measure Definition to continue building a chart.

Remove Current Chart
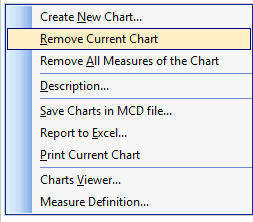
Remove Current chart will Remove the Chart opened in the Measurement Charts Viewer. All defined Measurements and links to pieces will be removed.
If this chart was not saved as a separate .MCD file, this will also Delete the Chart.
-
Select Menu> Remove Current Chart.
Remove All Measures of the Chart
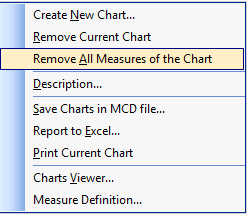
Remove All Measures of the Chart, will remove any defined Measures and Measurements and start over with a Blank Chart.
-
Select Menu> Remove All Measures of the Chart.
Update Chart
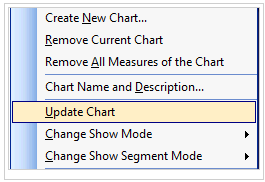
Update the chart to reflect any changes that were made to the pieces.
-
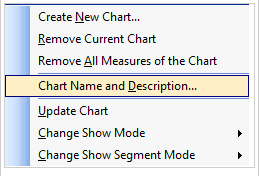
Select Menu> Description.
-
Enter the Chart Name
-
Enter the Chart Description
-
Click OK.
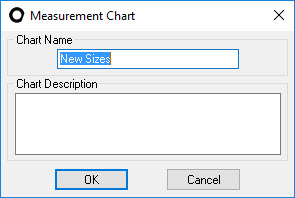
Chart Name and Description
Edit the Name and Description of the chart.
Change Show Mode
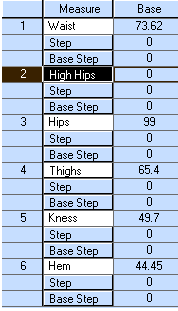
Defines the type of rows that are displayed in the table.

One String with Size Step: Displays one size (no grading with size step, distance from size to the next size).
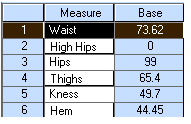
One String: Displays one string without steps.
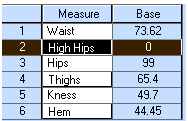
With Size Step: Displays the strings with size steps (distance from one size to the next)
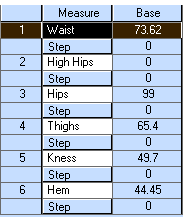
With Base Step String: Displays the strings with base steps (distance from the base to the next size).
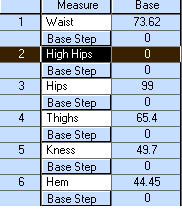
With Size Step and Base Step Strings: Displays the strings with both size step and base steps.
Change Show Segment Mode
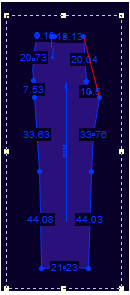
Allows you to display moved segments.

Without Supported Lines: Displays moved segments with support lines.
This option is only available if you used the Move Dimensions Tool button.
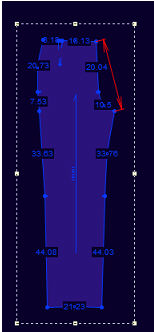
Dimensions on Support Lines: Displays moved segments with support lines.
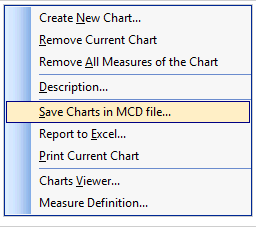
Save Charts in MCD file
Save the Measurement chart as a separate file with a .MCD extension. The chart can be opened in another style using the Measurement Charts Viewer to add defined measures in the new style.
-
Select Menu> Save Charts in MCD file
-
Type in Measurement Chart File name. The name should reflect the category of Measure's listed. Example: Missy Blouse Specification
-
Select OK
Go to Measurement Charts Viewer to view how to use the .MCD files.
Save Charts in MTX File
Save the Measurement Chart as a separate file with a .mtx file extension. See the section about MCD files for more information.
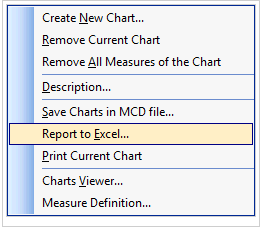
Report to Excel
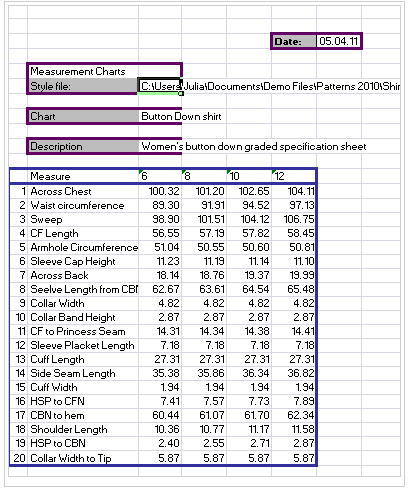
Report to Excel will export the Measurement Chart to Excel.
-
Select Menu> Report to Excel
-
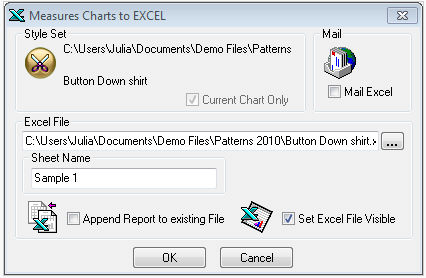
Click on "..." and browse for the location to save the file, type in a name for the Excel Report.
-
Check "Set Excel File Visible" to automatically open Excel upon completion (if needed)
-
Check "Append Report to existing file" to Add the Measurement Chart to an existing Excel Report, a new Sheet will be added in the Excel Spreadsheet. (if needed)
-
Type in a Sheet Name for the Excel Report. Not required, but helpful to keep track once you Append and report to Excel several times.
-
Select OK
Other Options:
-
Check "Mail Excel" to email launch and email program to email the report
-
Check Current chart only to Report to Excel the current chart, uncheck to report all Measurement charts connected to the style.
Print Current Chart
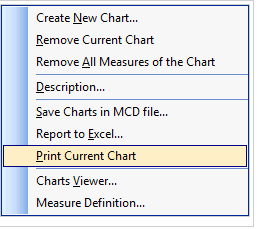
Print Out the current Chart. Most customers prefer to Print from Excel Report.
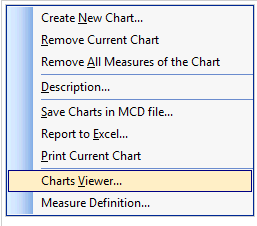
Charts Viewer
Open Measurement Charts Viewer menu. Go to Go to Measurement Charts Viewer for details
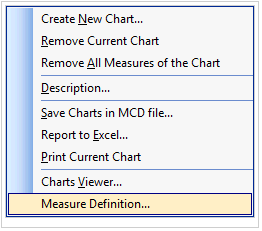
Measure Definition
Measure Definition will open the Measurement Charts Measure Definition dialog which is used to measure and connect the points on the pattern pieces to the Measuring Chart. You can also get here by clicking "Define" in the Main chart window.
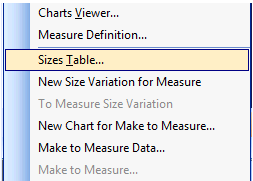
Sizes Table
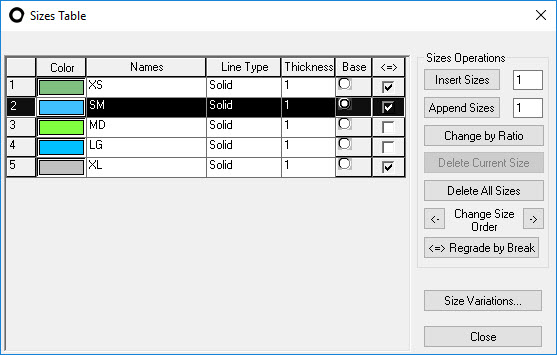
Allows you to see the measurements for all the sizes you have defined. You can also add new sizes, change the order, edit, etc.
Charts
Select the current Chart

Measures
Create new Measure topics, such as Across Chest, Waist, and Hip. Remove, reorder and define the Measure Topics.

New
Define a New Measure name. This can also be done in the Measurement Chart Measure Window by pressing Define>Menu>Create New Measure. Click on an existing name in the charts to rename it.
-
Select New
-
Type in a Measure Name, if name exists in Chart, the OK button will be greyed out. Try another name.
Remove
Remove a selected Measure in the Chart.
-
Select the Measure name
-
press Remove
Up/Down
Select a Measure in the chart and press Up or Down to reorder the list
Define
Define Opens the Measurement Definition Window. Define window allows to Add segments to be measured on the pieces, how the measure should be taken, and added tolerance. select from a list of previously defined Measures to define the connection to the pieces.


Menu
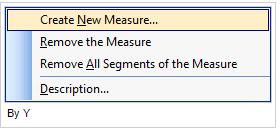
Create New Measure
Same as Above
Remove the Measure
Same as Above
Remove All segments of the Measure
Same as Above
Chart
Name of current Chart
Measures
Drop down List of existing Measurements (POM)
Segments

-
Select "+" to add to the measure
-
Select "-" to subtract from the measure
-
Select "Remove" to Remove 1 piece measure
-
Select "<-" or "->" to select which measure to remove
Type

Operation Example
Creating an Across Chest Measure
-
Select Menu>Measure Definition
-
Select Menu>Create New Measure
-
Under Segments, Select "+" (Add)
-
Click on the Front piece, select the First and Last point on pattern piece
-
Select the method to take the measure, By X (Measure horizontally across the pattern)
-
Select "+" (Add), take the next measure on the piece
-
continue until all pieces are measured for Across Chest. Measure 1/2 half the style
-
Type in Total Amount Calculation. Example Measure = Total * 2 + Tolerance. This will equal the total Circumference of Across chest
-
Select Another Measure to Define or Click OK to close the window.

Creating an Neck Line Measure
-
Select Menu>Measure Definition
-
Select Menu>Create New Measure
-
Under Segments, Select "+" (Add)
-
Click on the Front piece, select the First and Last point on pattern piece
-
Select the method to take the measure, Along Contour (Measure the contour of the Neckline)
-
Select "+" (Add), take the next measure on the piece
-
continue until all pieces are measured for Neckline. Measure 1/2 half the style.
-
Type in Total Amount Calculation. Example Measure = Total * 2 + Tolerance. This will equal the total Circumference of the Neckline
-
Select Another Measure to Define or Click OK to close the window.
