Create a Wave Seam
You can use the Create Wave on Seam tool, when you want to reshape a segment on a seam in the shape of a wave.
There are two keyboard keys you can use with the Wave Seam tool: Alt and Shift.
Alt: Allows you to add a point to define where you want the wave to start.
Shift: Allows you to shifts the waves.
Tab: Increases the number of waves.
Shift + Tab: Decrease the number of waves.
Icon & Location
-

-
Toolbar: Insert
-
Toolbox: Seam
To create a wave on the seam:
Open up your pattern.
Add your seams.
Select
the Wave on Seam tool.
Notice a Wave icon appears.
Select the base point for the wave on the seam.
While
holding down your mouse, drag to the first point for the wave on seam.
Or
If you want to define the exact location:
Press
Alt on your keyboard while dragging.
The Move Point dialog appears allowing
you to define the exact location of the point: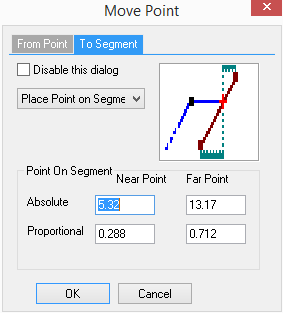
Enter
the exact location where you want the first point then click Ok.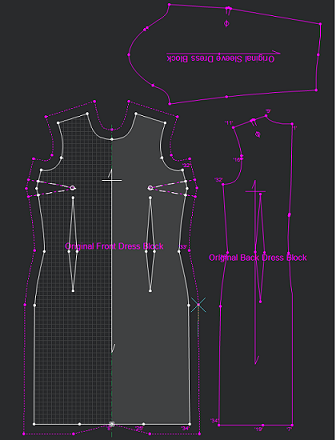
Select
the second point of the wave.
Or
If you want to define the exact location:
Press
Alt on your keyboard while dragging.
The Move Point dialog appears allowing
you to define the exact location of the point:
Enter the exact location where you want the second point then click Ok.
Select
the top of the wave or use Shift
to modify the top.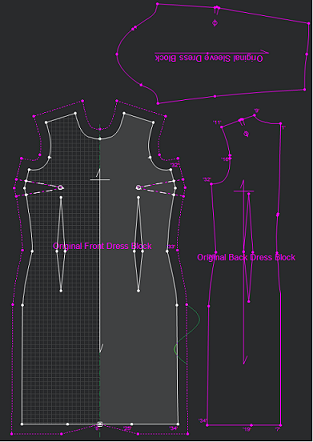
Press
Tab to create multiple waves.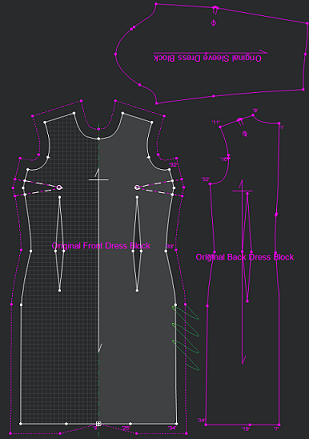
Click
with your mouse to create the wave.
The Create Wave dialog appears: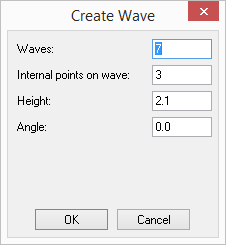
In
the Waves field, enter the number
of waves your require.
This field is automatically updated to reflect the number of waves after
pressing Tab. Every
wave or half-wave is constrained by two grading
points.
In the Internal Pointson Wave field, enter the number of internal points you want to appear on each wave.
In the Height field, enter the height of the wave in centimeters.
In the Angle field, enter the angle of each wave in degrees.
Click Ok when you are done.
 See also:Toolbox Seam Tools