Creating a Measurement Chart
The first step is to create and define a measurement chart. This allows you to define all the measures in your style one time, so that you can use the measurement table for future styles.
To create a parametric style:
-
Open a PDS file you previously created.
It is recommended to open a file with grading.
-
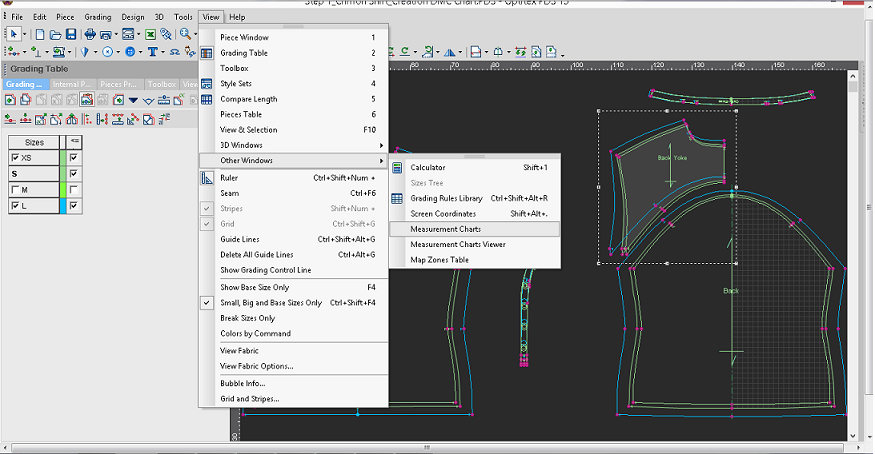
To open the Measurement Charts dialog, go to View>Other Windows> Measurement Charts.
-
To create a new chart, in the Measurement Charts dialog, go to Menu >Create New Chart.
-
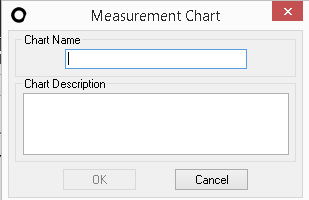
Enter a Chart Name and Description (make sure you make it descriptive enough since you are going to be using this chart later on).
-
Click Ok.
-
Now start adding measures. In the Measurement Dialog, click New.
You will notice a new row is added to the table.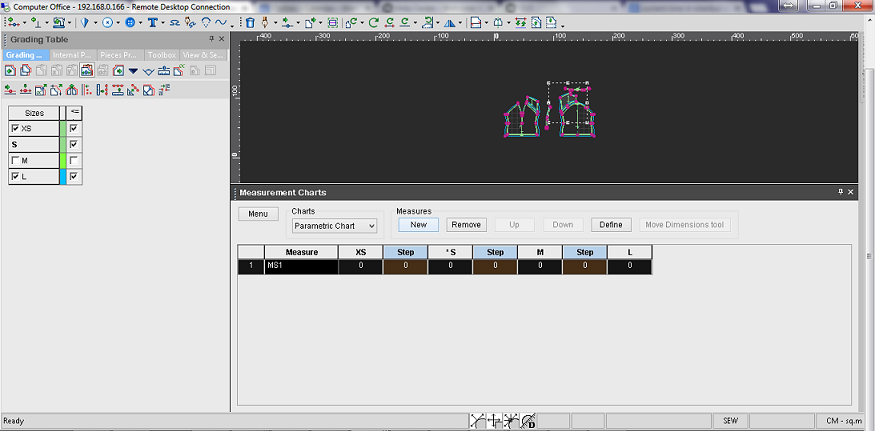
Make sure you add a row for each measure you are defining. In our example, we will add 11 rows.
-
Click Define.
The Measurement Chart Measures Definition dialog is displayed.
-
From the Measure drop-down list, select the type of measure you are defining. For example, Chest Circ:
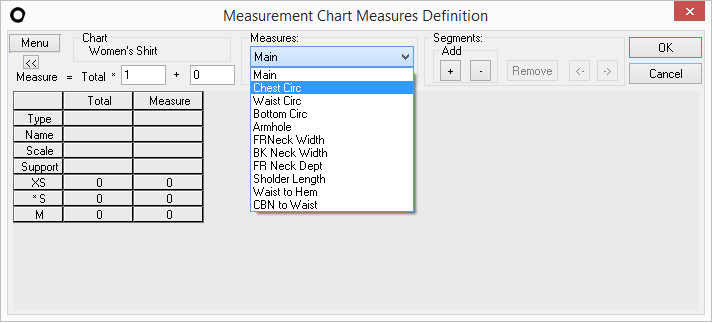
The measure can be defined from one component: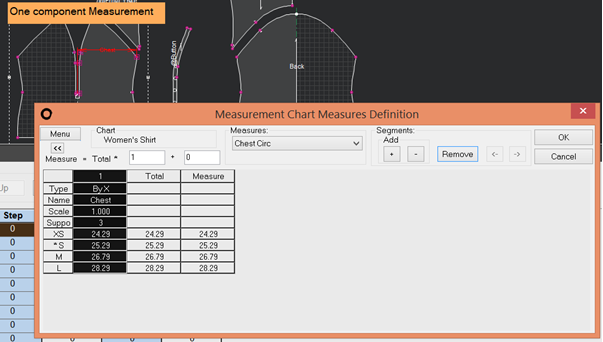
Or
By defining multiple components via a formula. For example you can multiply the defined measure by 2 so you can get a half measure: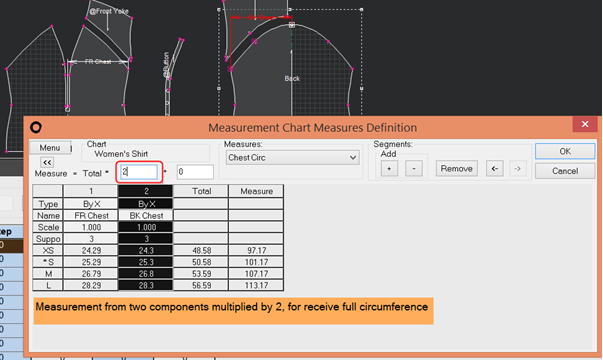
-
Repeat the above steps for all the measures in your list.
Notice when you select a measure it is highlighted in your pattern as follows: (the red line indicates the front chest)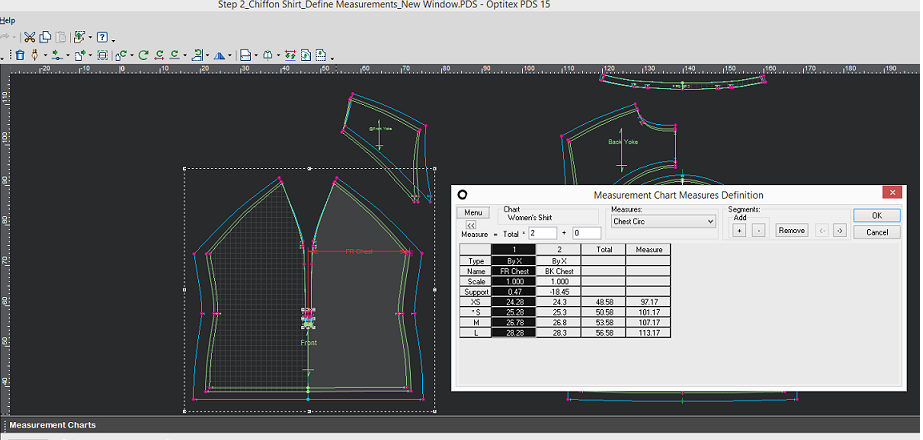
-
When you are done defining all your measures, click Ok.