Creating Independent Measurement Via Variation Grading
Once you have defined the measurement chart you need to now create different variants for each measurement. This allows you to teach the pattern how to move on the Y and X vertices and defines the grading points that will be affected by a change in the measurement.
Up until now all the measurements were related, meaning if you change one measure, all the measurements will change proportionally relative to the grading. This means that all grading points with non-zero grading will receive the change as well.
We now want to define variation grading per measure so we can grade only the points that should receive the changes when the total measure changes. For example if you are defining variation for the armhole, you can grade not only the points of the armhole, but the sleeve head points as well. This way if the armhole measurement is changed, the sleeve head will change as well.
To create independent measurements:
-
While standing on the Measurement Chart, select the measure for which you are creating variation grading. For example, stand on Chest Circ, then go to Menu >New Size Variation for Measure.
A new tab is added with the name of the measure in the Grading Table as follows: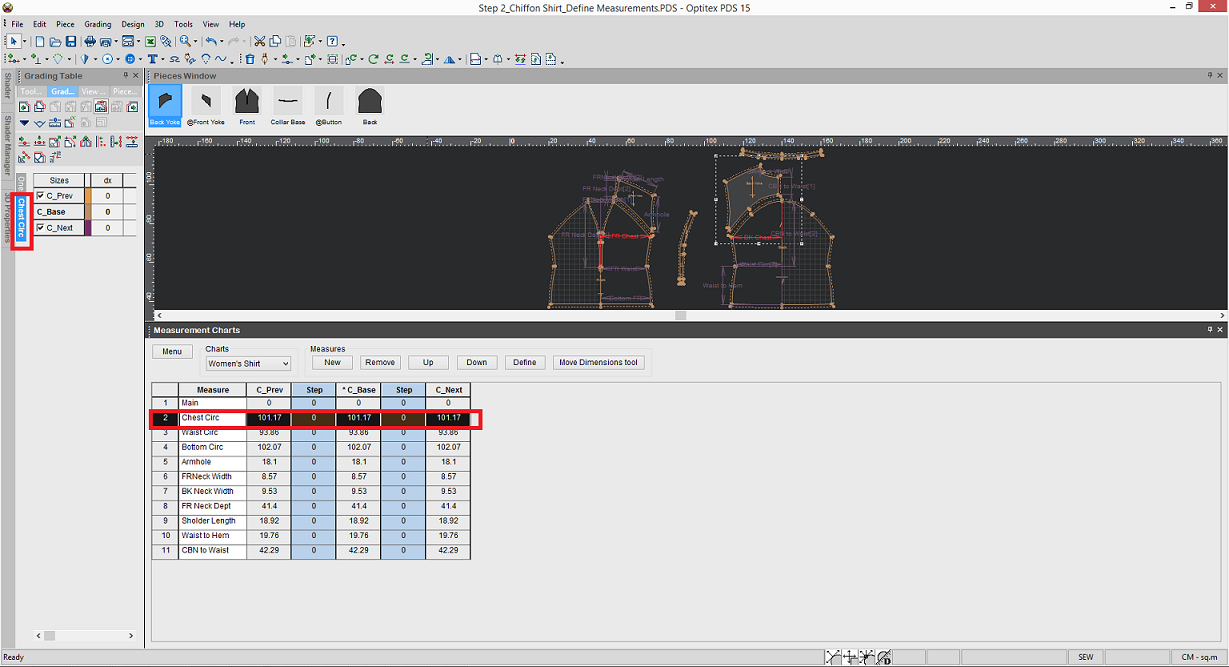
-
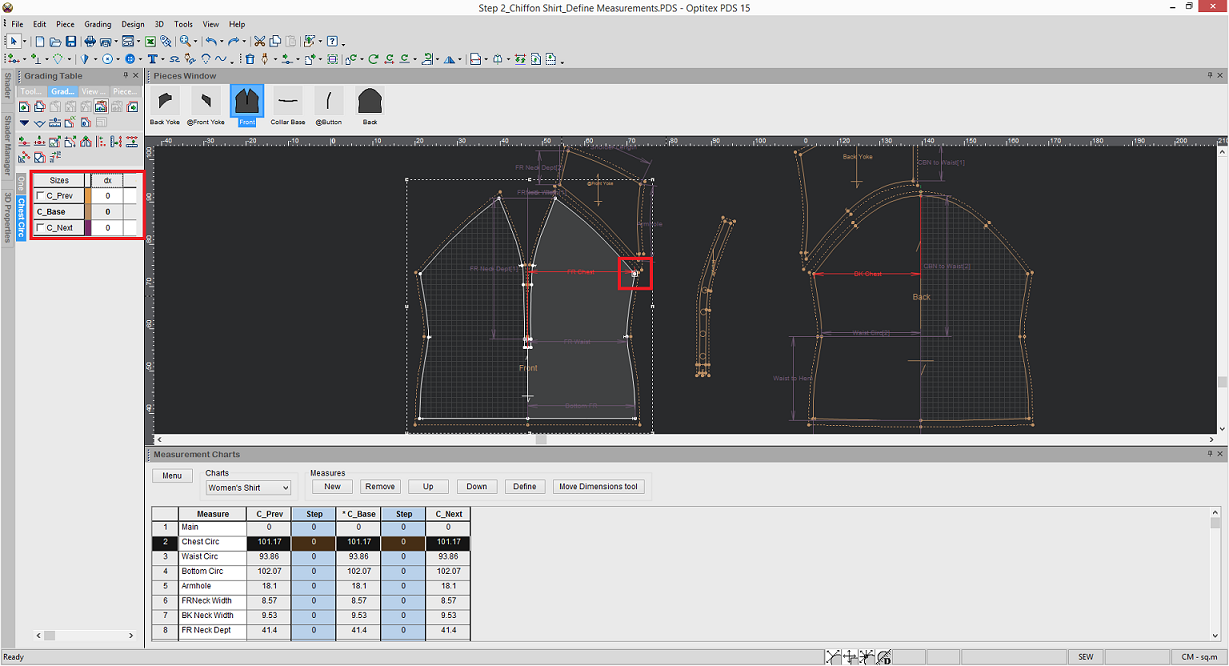
Now you have to define the grading for the different points in the chest circ measurement.
-
Go to the first point in the front piece (for the chest circ).
-
Now you can either manually enter the grading values, or if you have a Main measure, you can copy and paste the grading values.
Starting from O/15.2 you can use the Variation Grading Table dialog to easily copy and paste your grading values.
-
Go to View > Other Windows > Size Variation Grading Table:
-
First start with the front piece then move on to the back piece.
-
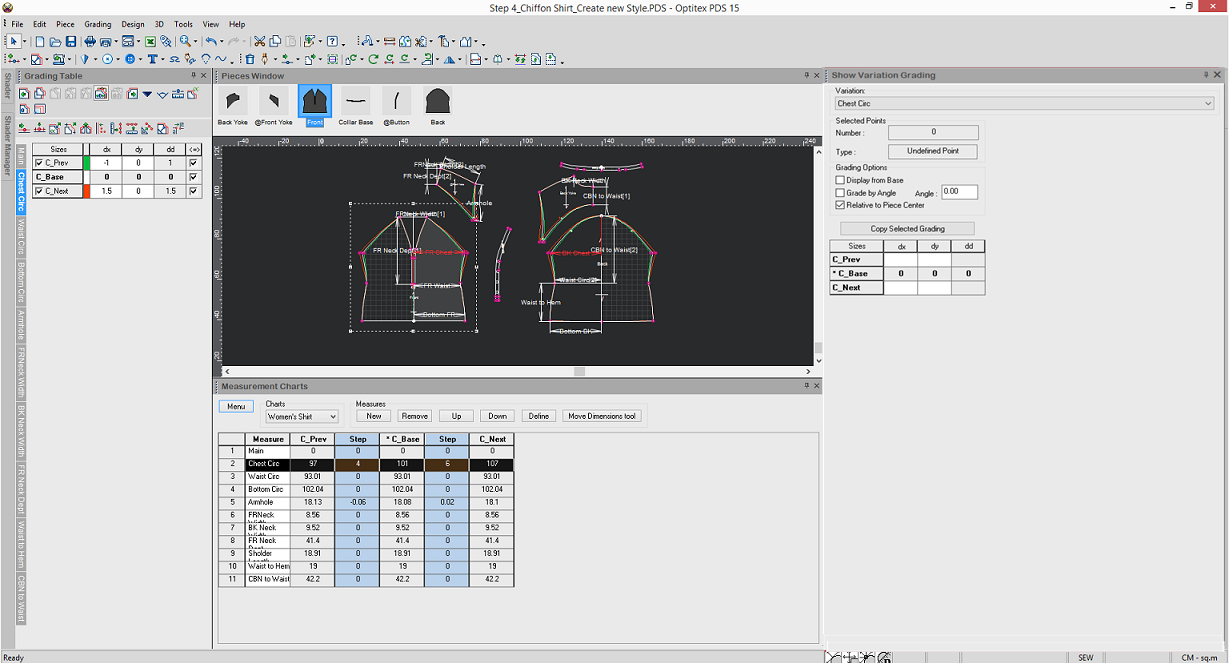
Select the first point of the chest in the front piece.
-
In the Variation Grading Table dialog, from the Variation drop-down list, select Main and then click Copy Selected Grading:
-
From the Variation drop-down list, select Chest Circ and then press CTRL+V on your keyboard to paste.
-
Click Apply to apply the changes.
When you are done, your grading should look like this: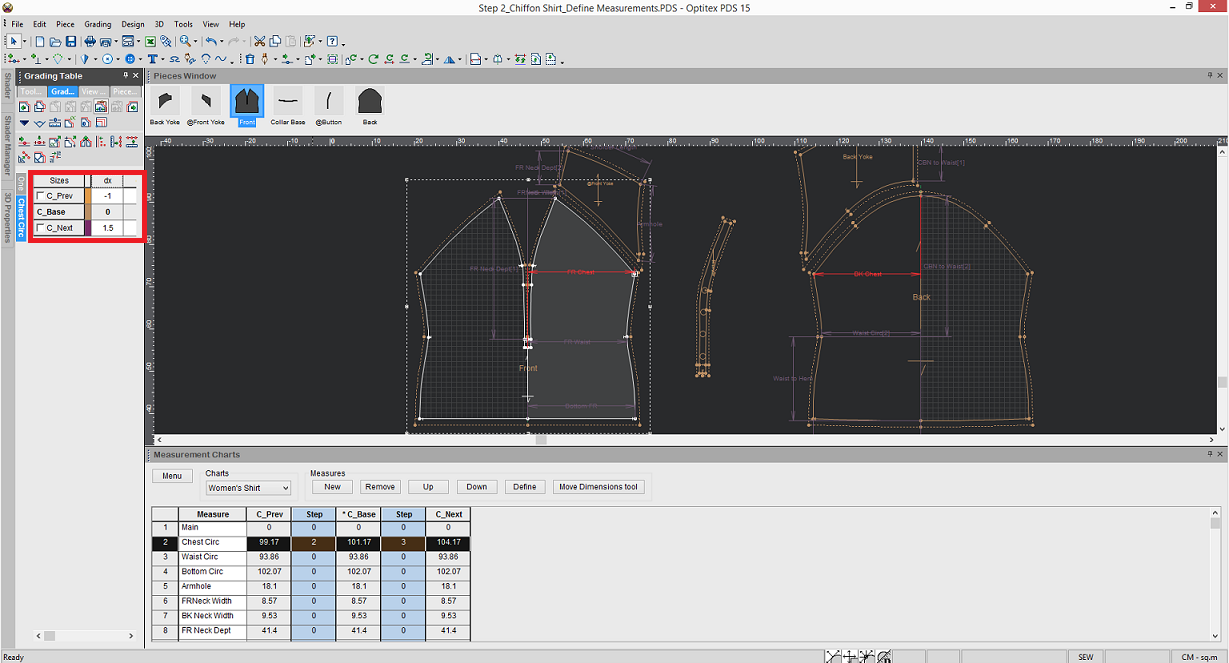
-
Repeat the above steps for the grading point in the back piece as well.
Here is what your grading should like when you are done: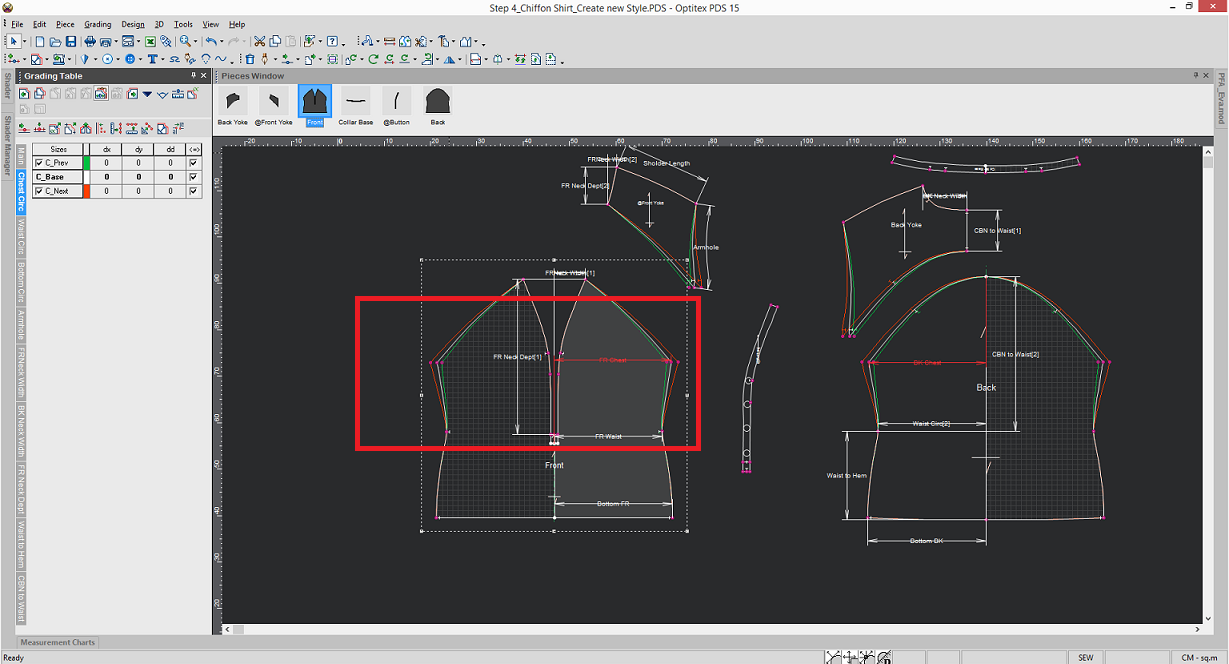
-
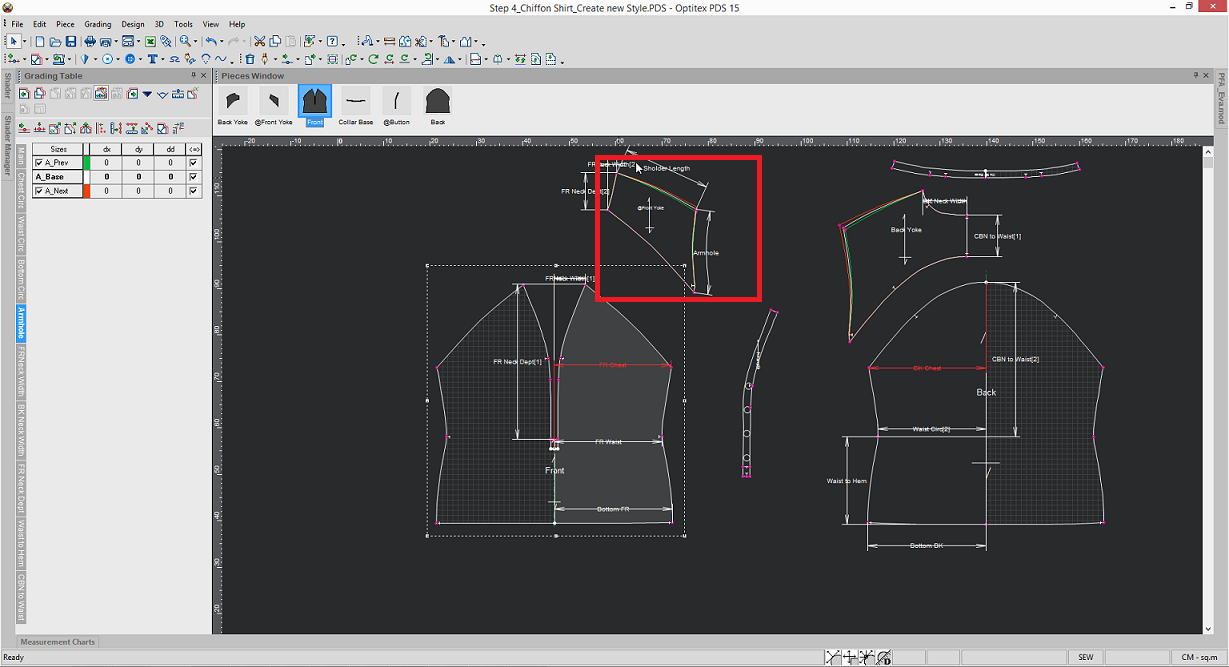
Repeat the same steps for the armhole (front and back pieces).
-
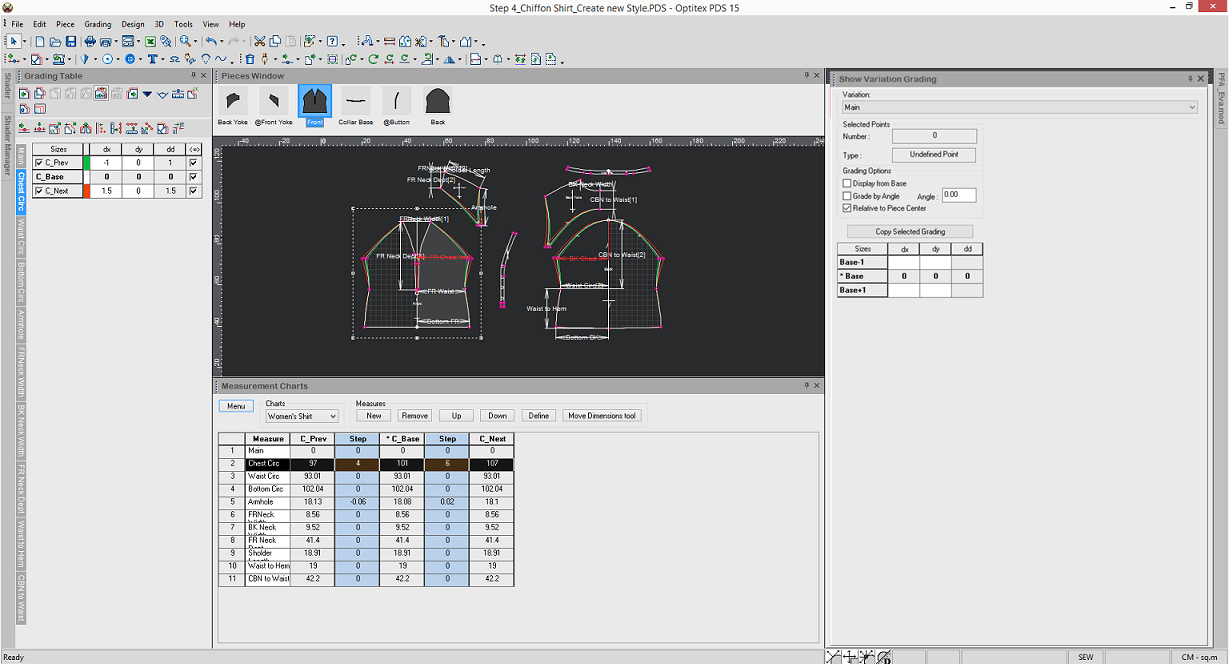
Now add variations for the rest of your measures by following the same process as above.
When you are done your table should look like this: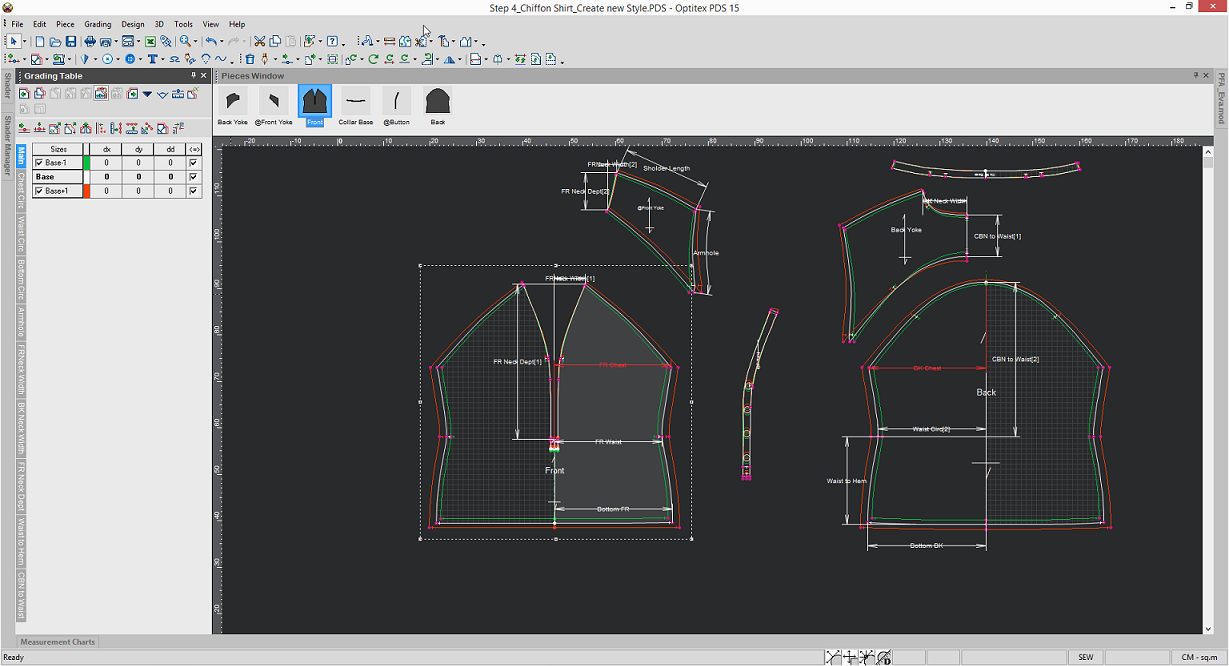
-
If you want to view a specific variation, for example for the Waist Circ, stand on the row Waist Circ, then go to Menu >To Measure Size Variation.
Notice the Waist Circ tab is highlighted as follows: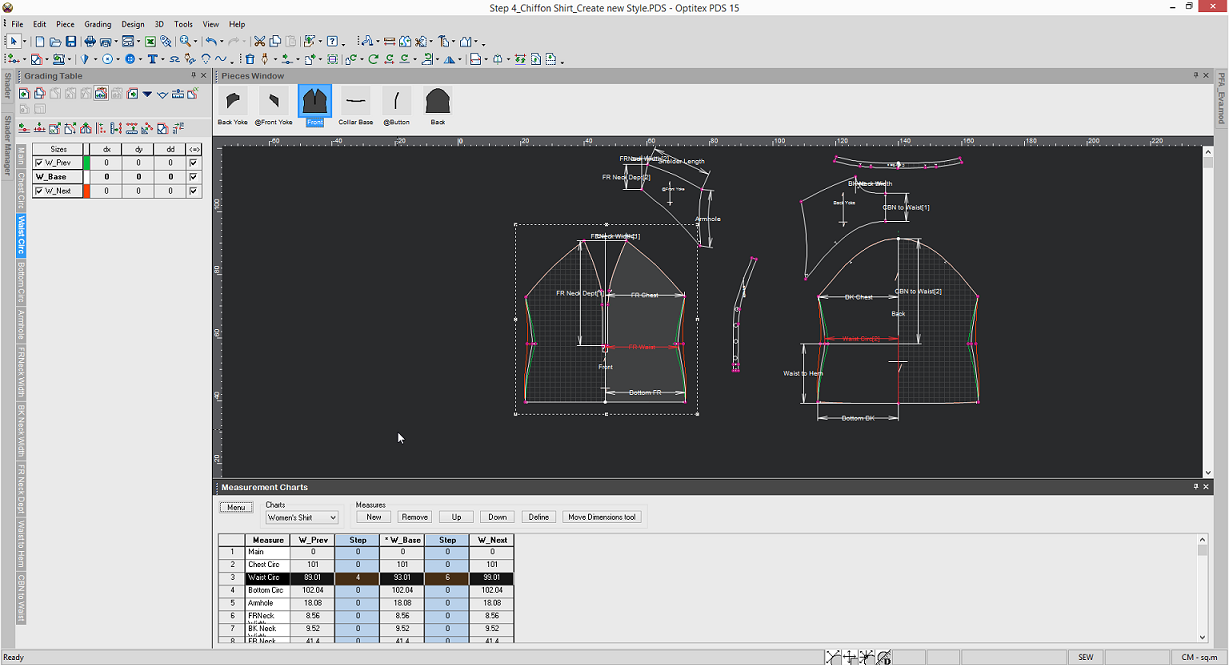
Once you have defined the grading points for all the measures you can now modify.