Adding Fullness
You can use the Add Fullness tool when you want to add more fabric to your pattern for example when you want to add more fullness to a skirt. You can open fullness either by angle or distance, in parallel or by a pivot point. The first click defines the point that will be opened, and the second click is on the contour where the fullness should be opened.
You have two ways to add fullness, either via the Toolbox, or via Tools > Fullness.
This example shows you how to add fullness via the Toolbox.
To add fullness:
-
Open your pattern. In this example we will open a skirt.
-
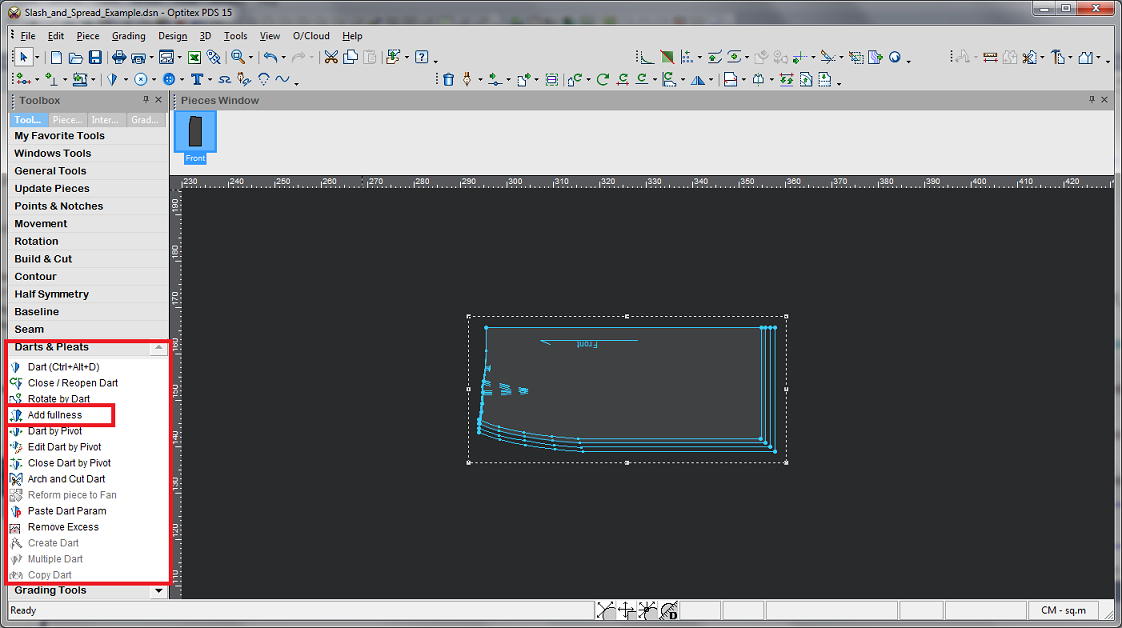
Click on a point or several points, then from the toolbox, expand Darts & Pleats then select the Add Fullness option:
The Add Fullness dialog appears:
-
Define the properties as follows:
Field
Description
Fullness Width First Point
Enter the total width you want starting from the first point (first point of the slash line). The width is automatically divided in half according to the CW/CCW direction.
CW
If you want to distribute the fullness in a clockwise direction, enter the distance.
CCW
If you want to distribute the fullness in a counter-clockwise direction, enter the distance.
Fullness Width Opposite Point
Enter the total width you want to add to the opposite point. This opens a parallel or variable fullness.
Angle
Enter the angle of the opening from the pivot point.
Dashed Lines
If you want to display dashed lines, select this checkbox.
Amount
Enter the total amount of parallel slash lines you require.
Distance from First Point
Enter the distance between the slash lines from the first point.
Distance from Opposite Point
Enter the distance between the slash lines from the opposite point.
Create Slash in Opposite Direction
Select this checkbox, if you want to duplicate the slash line in the opposite direction (counter clockwise).
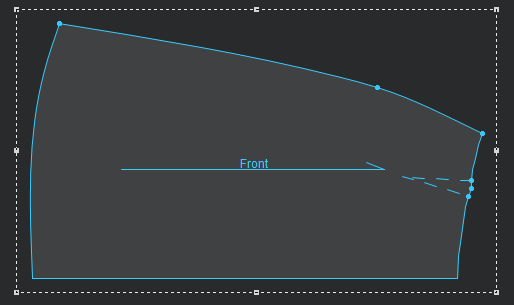
The skirt should look like this when you are done: