Stripe Definition
This command is used to define stripes, plaids or any other design that repeats on the Marker. The Stripe Definition option is used to ensure that your piece will be cut correctly with the repeated design. You must have "Stripes" turned on, otherwise you will not see stripes on the Marker table, go to View > Stripe Lines.
The colors of the stripes can be defined in Preferences > Colors > General.
Icon & Location
-

-
Menu: Marker>Fabric and Stripes>Stripe Definition
-
Toolbar: Marker Tools
To define stripes:
-
From the main menu, go to Marker > Fabric and Stripes > Stripe Definition.
The Stripe Definitions dialog appears: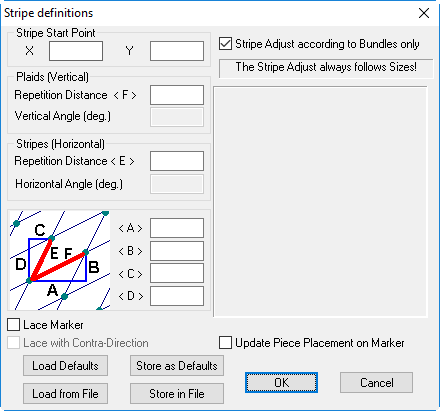
-
In the Stripe Start Point fields, enter the X and Y position of the stripe's starting point. The X Start distance value is used to define the beginning of the first X stripe (plaids). This is measured from the left edge of the marker. The Y Start distance value is used to define the beginning of the first Y stripe. This is measured from the bottom line of the marker.
This field is also used to define irregular stripes or additional stripes and plaids sets. You can create few stripes and plaids systems on the marker that by creating different start point. Separate the numbers in the start filed with commas to define as deferent start point. Every start point will be considered as a separate lines system. -
In the Plaids (Vertical) area, in the Repetition Distance field, enter the distance between the vertical stripes.
-
In the Vertical Angle field, if an angle other than 90 degrees is needed, enter the desired angle degree here.
-
In the Stripes Horizontal area, in the Repetition Distance field, enter the distance between the horizontal stripes.
-
In the Horizontal Angle field, if an angle other than 90 degrees is needed, enter the desired angle degree here.
-
Select the Stripe Adjust according to Bundles only checkbox, if you want that files include bundles will match all the sets to the stripes in the same way as the first bundle is placed.
-
If you want to manually change the repetition distance, you can do so in the A,B, C, and D fields.
-
Click Ok when you are done.
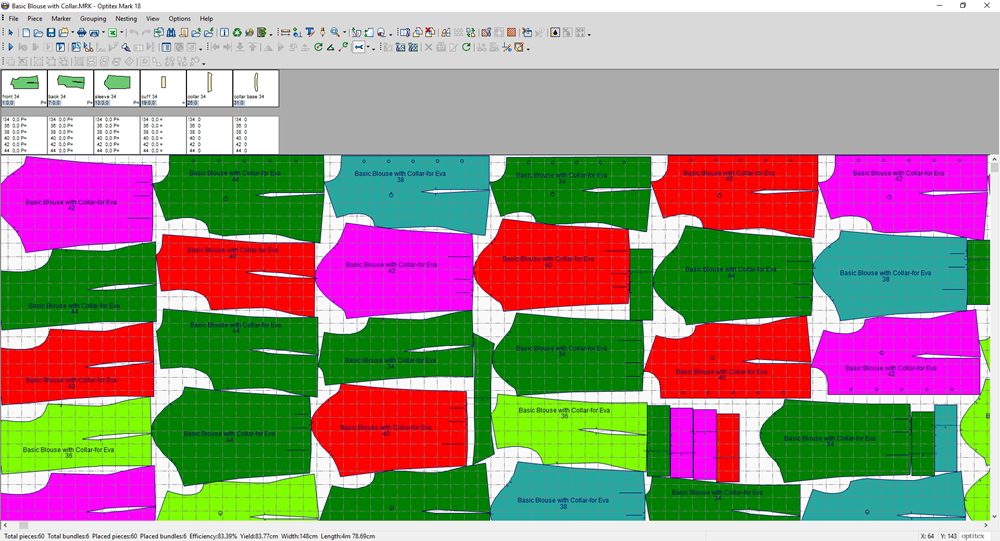
Here you can see the Marker appears with stripes as we defined them: