Setting Up the Marker with the Fabric Pattern
Once you have defined your fabric pattern, set stripes and/or defined the location of your pieces you can now define your marker file.
-
Create a new marker table according to the size of your fabric. Go to Marker > Marker Definitions.
Your table is created as follows:

-
Open up your PDS file (go to File > Open Style Files (Order):
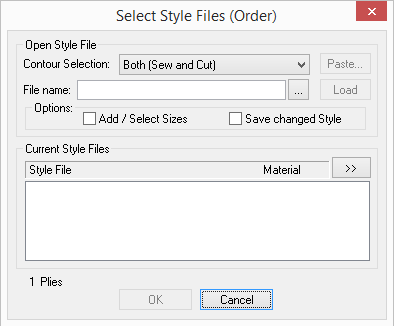
-
In the File Name field, click to browse and open the PDS file you previously created.
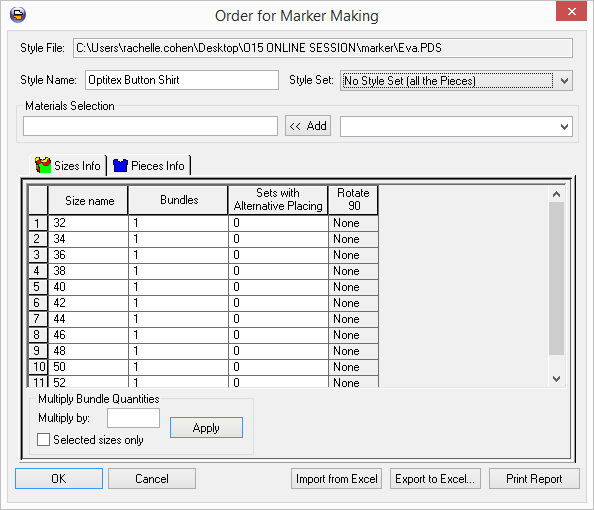
The Order for Maker Making dialog appears:
-
In the Order for Marker Making dialog, define the order's details, for more information ,see Order for Marker Making.
-
When you are done setting up the order, click Ok.
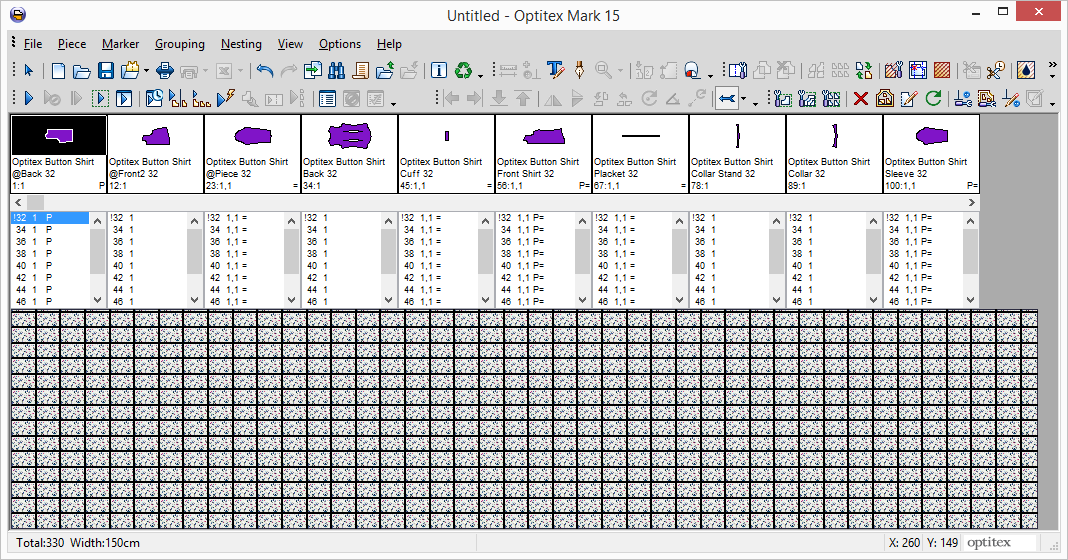
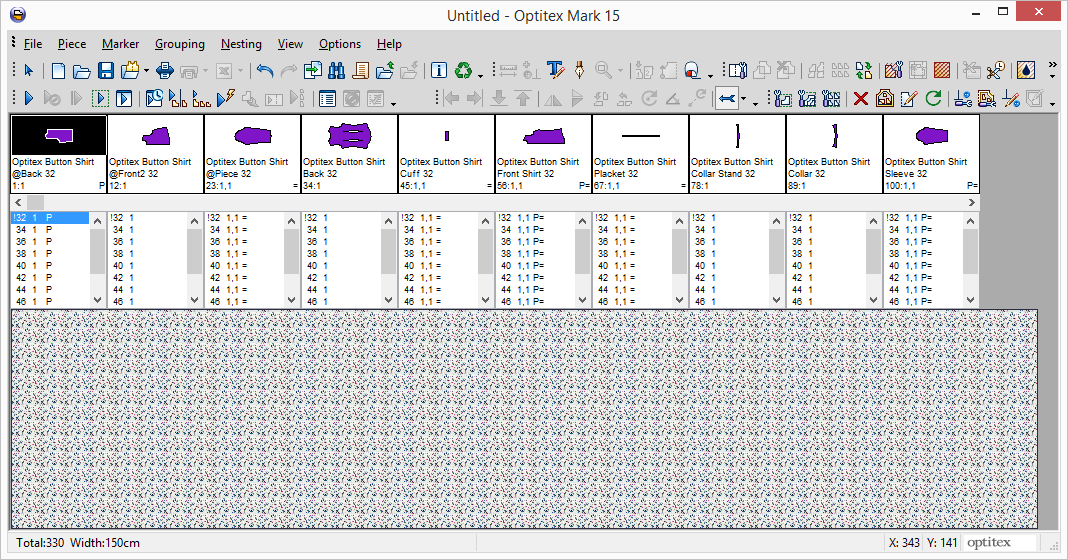
Note: If you defined your style file with a fabric pattern in the PDS, the fabric pattern will be displayed automatically as follows: (in this example, the PDS file was defined with fabric stripes):
-
If you defined the fabric pattern with stripes and the stripes do not appear, go to Options > Stripe Adjust.
Here is an example of a fabric pattern with stripes that do not appear:
Here is what happens after selecting "Stripe Adjust":