You can use the Print option, when you want to send pieces to a printer. Since the Printer drivers are part of Microsoft Windows, the Optitex software displays the printer driver(s) that were selected when Microsoft Windows was installed.
The Print command uses Windows printer drivers and spoolers; therefore, the output device must be defined through the Windows Setup before you begin printing.
Icon & Location
-

-
Menu: File> Print (Ctrl + P)
-
Toolbar: System Tools
To use the Print option:
-
From the main menu, go to File > Print.
-
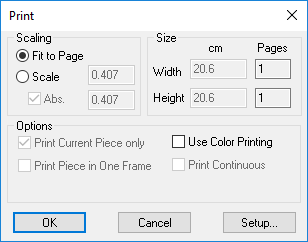
In the Scaling area, select how you want to scale the page:
Fit to Page: Select if you want to print the content of the file on one page.
Scale: Select if you want to define a specific scale. For example, 1 is 100% and .50 is 50%.
-
In the Size area, in the Width field, define the width of the print out. When a width is specified, the scale changes accordingly.
-
In the Height field, define the height of the print out. When a height is specified, the scale changes accordingly.
-
In the Options area, select the Print Current Piece Only checkbox, if you want to print only the selected piece.
-
Select the Print Piece in One Frame checkbox, if you want to print each piece within the size of one page, instead of printing across multiple pages.
-
Select the Use Color Printing checkbox, if you want to print the piece with its color attributes.
-
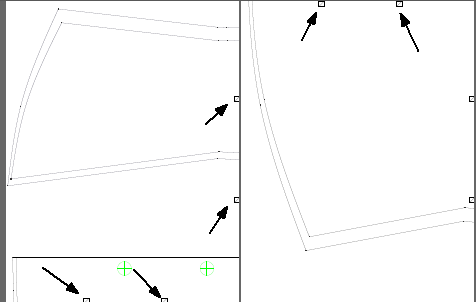
Clear the Print Continuous checkbox, if you want to display splicing marks in the print layout, to indicate the assemblage points between frames:
-
Click the Setup button if you want to define the printer format. This is according to your computer's printer settings.
-
Click Ok when you are done.