Open Style File (Order)
The Open Style File command is used to add designs to the current Marker table. It can also be used to edit or merge several designs into an existing Marker File (MRK). It loads a PDS file's pieces that match the current material type to make a marker, and allows you to define the Quantities per size, Attributes for material type, Rotate directions and more.
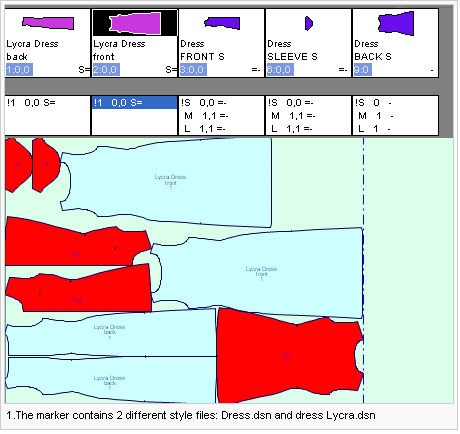
From the Open Design File dialog box you can order any type of files that were saved in the PDS such as PDS, DSN, or CUS (modulate files). In addition, you can import styles from the Smart Data Manger or paste PDS and Modulate pieces that were copied to the Windows clipboard by using the copy or the cut command.
Icon & Location
-
 (Ctrl+ M)
 -
Menu: File> Open Style File
-
Toolbar: System Tools
To start a new marker:
-
From the main menu, go to File > Open Style File (Order).
The Select Style Files (Order) dialog is displayed: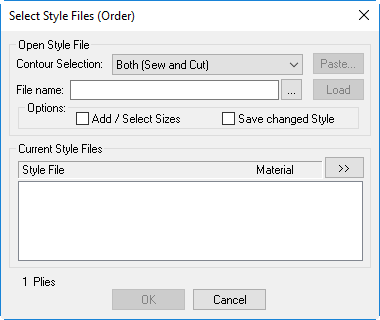
-
Click on the "..." button to browse for the PDS file you are loading. .
Note: You can only load one PDS file at a time.
The Order For Marker Making dialog automatically opens for you to edit.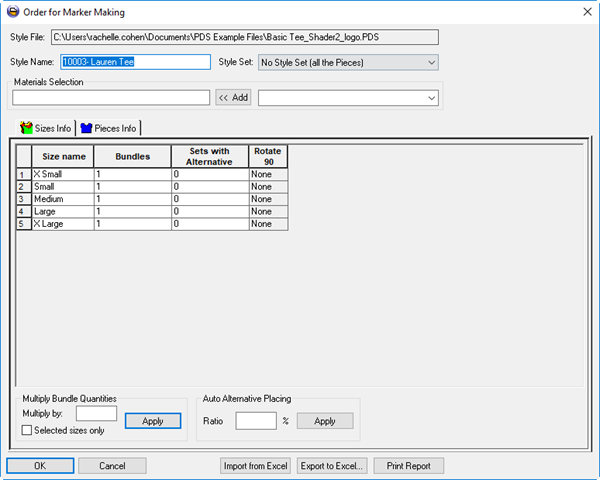
-
Click Ok when you are done editing.
The Select Style Files dialog appears again, allowing you to add more style files if required. -
If you want to change the contour type that is loaded into the marker, from the Contour Selection drop-down list, select Cut Contour, Sew Contour or Both (Sew and Cut).
-
Click OK to start nesting your marker.
To edit an existing marking order:
-
Have the Marker file opened.
-
From the main menu, go to File > Open Style File (Order).
Notice styles are available in the Current Styles Files area: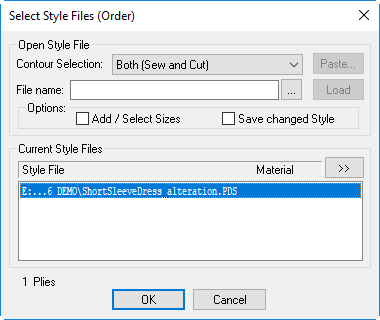
-
Select the file name from the style list.
-
Click on the ">>" button to display a list of commands that can be applied to the selected file:

-
Edit Selected Style: Allows you to edit the style in the Order for Marker Making dialog.
-
Delete Selected Style: Allows you to remove the style file from the marker.
Once deleted: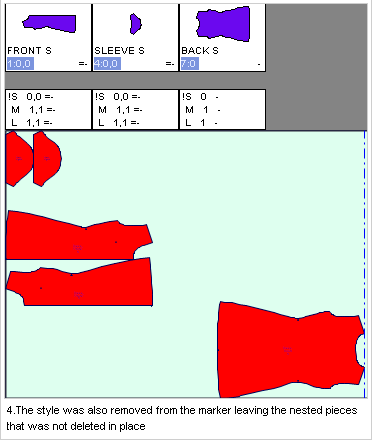
-
Update Selected Style: Allows you to update any changes that were made to the selected file in the PDS since it was add to the marker. Clicking on this option will bring in all the up-to-date pieces, shapes and information. This command will also remove pieces that were deleted from the PDS file and will add pieces that were added to the file since it was loaded to the marker. Note that if a piece name was changed, Optitex will recognize it as a new piece. In order to have the Update command work correctly, all pieces should maintain their original names. If Optitex cannot locate the PDS file or it was removed, a message will appear allowing you to locate the file yourself.
-
Update Selected Style (Geometry Only): Allows you to update only geometric changes that were made to the selected file in the PDS since it was added to the marker. Other piece information, such as piece quantity, on marker allowance, etc will not change. Note that if a piece name was changed, Optitex will recognize it as a new piece .In order to have the Update command work correctly, all pieces should maintain their original names. If Optitex cannot locate the PDS file or it was removed, a message will appear allowing you to locate the file yourself.
-
Save Selected Style As: Allows you to save the file with a new name.
-
Click OK to exit the dialog and return to the marker file.