History
You can use the History option when you want to save additional information to each marker file. This information allows you to follow up or retrieve the positioning of a file at a specific point of time. This option provides the possibility of creating a History Log for each marker and track the people that made changes to a file according to dates. Two options are offered. One enables you to add a text description to the file, the second option enables you to make a file generation with the ‘Save’ command, allowing the possibility to retrieve the file layout at certain stages in the design process.
Note: When the History option is enabled, and files are stored, the file size will be very large. It is recommended to not save information that is not going to be used, or delete it before production to lower the file size.
Icon & Location
-

-
Menu: File> File Utilities> History
-
Toolbar: System Tools
To use the History command:
-
From the main menu, go to File > File Utilities> History.
The History dialog appears: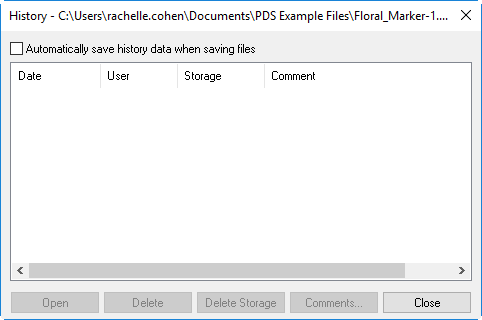
-
If you want to automatically save any changes that are made to the file in the history log, select the Automatically save history data when saving file checkbox.
Now every time you make a change and save the file, a new dialog appears allowing you to save the history:
-
If you do not want to create a new version or add comments, click Skip.
The Date and Time and Saved By fields are read only. -
In the Comments on Version field, enter a comment to the user informing them about the change you made.
-
Select the Store Version checkbox, if you want the new file to be saved and later on can be opened or commented on.
-
Click Ok.
Once you click Ok, the new information is added to the History dialog as follows:info.png)
The following information is available in the History dialog: -
Date: Displays the date and time the change was saved.
-
User: Displays the name of the user who made the change.
-
Storage: If the user stored a version when saving the file, Yes appears here.
-
Comment: Displays the comment that was added when saving the file.
-
To open the selected file, select the row of the file and click Open. The file name will be: <File Name.PDS> + <Saved Date>.
-
To delete a file, click Delete. If a file was stored and comments were added to it, it is possible to keep the comments, but delete the stored file. This is commonly used before starting the production, and the older files are no longer needed.
-
Click Delete Storage,if you want to remove the storage file completely.
-
Click Comments, if you want to edit the comments that were entered for the selected file.
-
Click Close to close the dialog.