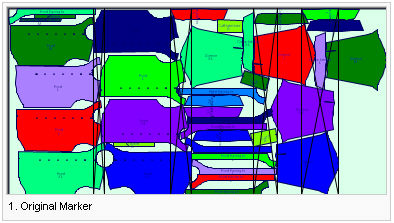
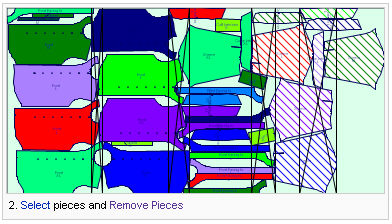
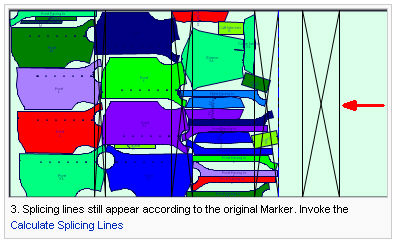
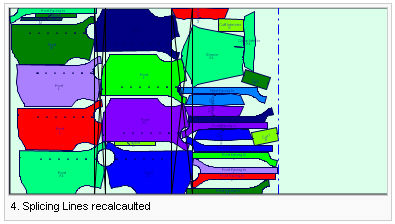
Display Splicing Lines
Splicing Lines are points in a marker where fabrics can be cut and the
next piece overlapped to maintain a continuous spread and to avoid excessive
fabric waste and incomplete pieces. Splicing marks are automatically calculated
to reduce waste when spreading.
This command will display the splicing marker on the marker table. Those
marks are a function of two parameters: The current pieces nesting and
the minimum And maximum Splicing length values that are defined.
Note: In order to plot out Splicing Lines on the marker - the plot splice marks have to be checked in the Plot dialog box.
Location
Menu: View > Splicing lines > Display Splicing Lines.
To display splicing lines:
-
Enable the Advanced Splicing method in the preferences.
-
Place the pieces on the Marker.
-
Enter the Splicing Length values in the Splicing Table.
-
If recalculating of the splicing lines is necessary, due to changes in the marker layout, or if another other splicing algorithm is selected – invoke the Calculate Splicing Lines.


