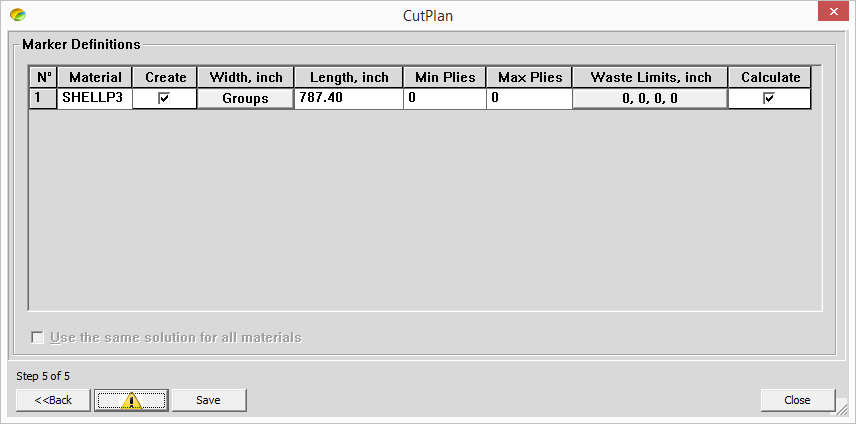
Defining the Marker
In this step, you can define the properties of the marker table. This includes the width and length of the table/s, waste limits, plies, etc.
Note: If this is the first time you are defining the marker table, all of the columns will be empty. If you have already defined a table in the past, CutPlan remembers the definitions and displays them automatically.
To define the marker:
-
If you have more than one table, select the Create checkbox next to the material column for each table you want to create.
-
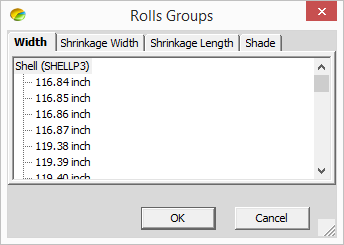
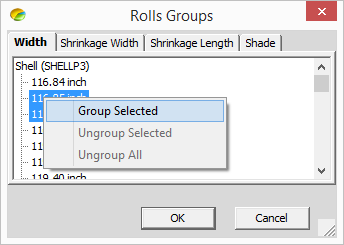
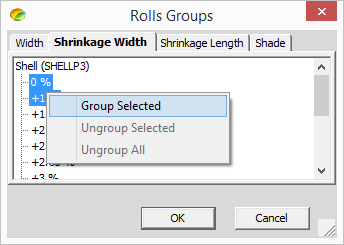
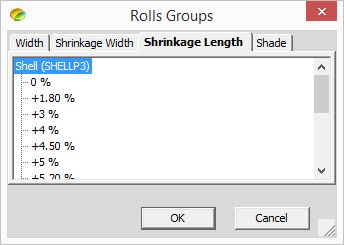
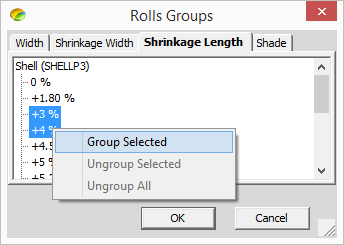
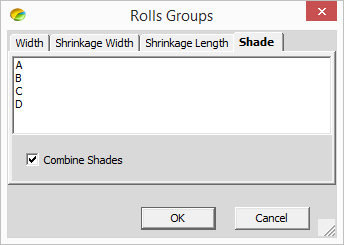
In the Width column, click Groups if you want to create a group of materials for the width.
Note: It is important to define groups according to the width and shrinkage when working with fabric rolls.
![]() Click here to see how to group your rolls.
Click here to see how to group your rolls.

-
In the Length column, enter the length of your table in inches.
-
In the Min Plies column, enter the minimum number of plies per table.
-
In the Max Plies column, enter the maximum number of plies per table.
-
In the Waste Limits column, enter the amount of fabric you want to be defined as waste. This allows for defects.
-
If you have more than one table, select the Calculate checkbox next to the rows of the tables you want to calculate solutions for.
-
Select the Use the same solution for all materials checkbox, if you want to apply the same properties to all materials.
-
Click Next, to move on to the next step.