Creating Snapshots in 3DDI
You can create a single, multiple or 360 degrees snapshots of your design in 3DDI.
The snapshot is created with the resolution 2K x 2K according to the selected camera views in the save image dialog.
-
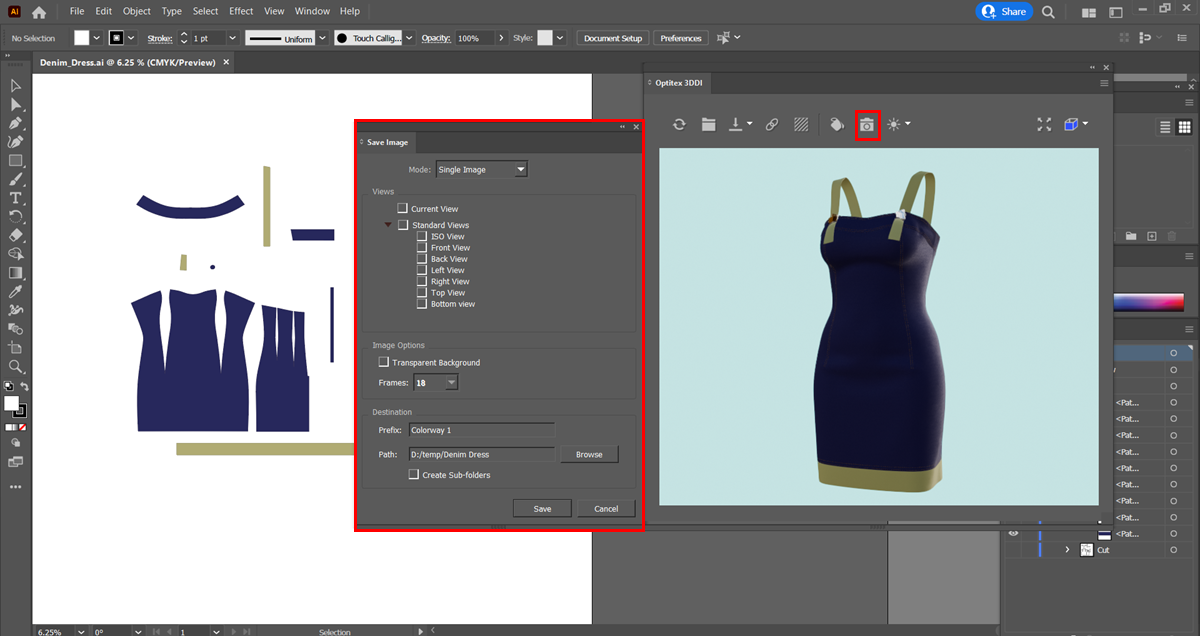
Click the Create Snapshot icon
 .
.
-
From the Mode drop-down list, select the type of image you require:
Single Image: Creates one image of the 3D sample.
360 Degrees: Creates a series of images, taking a snapshot of each view of the 3D sample creating the look of 360 degrees. The images are taken using the current zoom level of the image.
If you selected either Single Image or 360 Degrees, you can select which views of the image you want to render.
-
In the Views area, select the checkboxes of the orientation you require.
Current View: Select this checkbox if you want to take images of the current orientation and zoom of the 3D model.
Standard Views: Select the checkboxes
of the specific views
you require; for example front, back, left, etc.
Note:
If you selected 360 Degrees mode, you cannot select specific views, but
only choose between Standard View or Current View.
The process creates images by rotating the 3D model. The images will automatically include front, back, left, and right views.
-
Under Image Options choose the following:
-
Transparent Background: Select if you want to create the snapshot with Transparent Background. If you do not select this checkbox, the snapshot is created with the current 3DDI window background color.
-
Frames: in 360 Degrees mode , you can define the amount of frames you require. From the Frames drop-down list, select the number of frames: 18 or 36.
-
Under Destination, set the destination and the name of the created images.
-
Prefix: optional string you can append to the beginning of the file name of each rendered image. Enter the text in this box.
-
In the Path field, browse to the destination folder where you want the images to be created.
-
Select the Create Sub-folders checkbox to enable or disable sub-folder creation during the image creation process. When not selected, all images will be created in the main folder.
When selected, sub-folders will be created under the main folder.
-
Once you are done defining all the properties of the rendered images, click Save to start the image creation process.
The image creation process begins and different images are created based on the selected options.
While the images are being created, a progress bar appears informing you of the overall progress, as well as the current image that is being created.
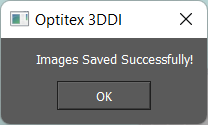
When the process is complete, a dialog appears informing you the images have been created.