Applying Materials on Your Design in 3DDI
You can apply materials on pieces, stitches & trims within the 3DDI window.
Applying Materials on pieces:
-
Click the Material icon
 to open the Material dialog.
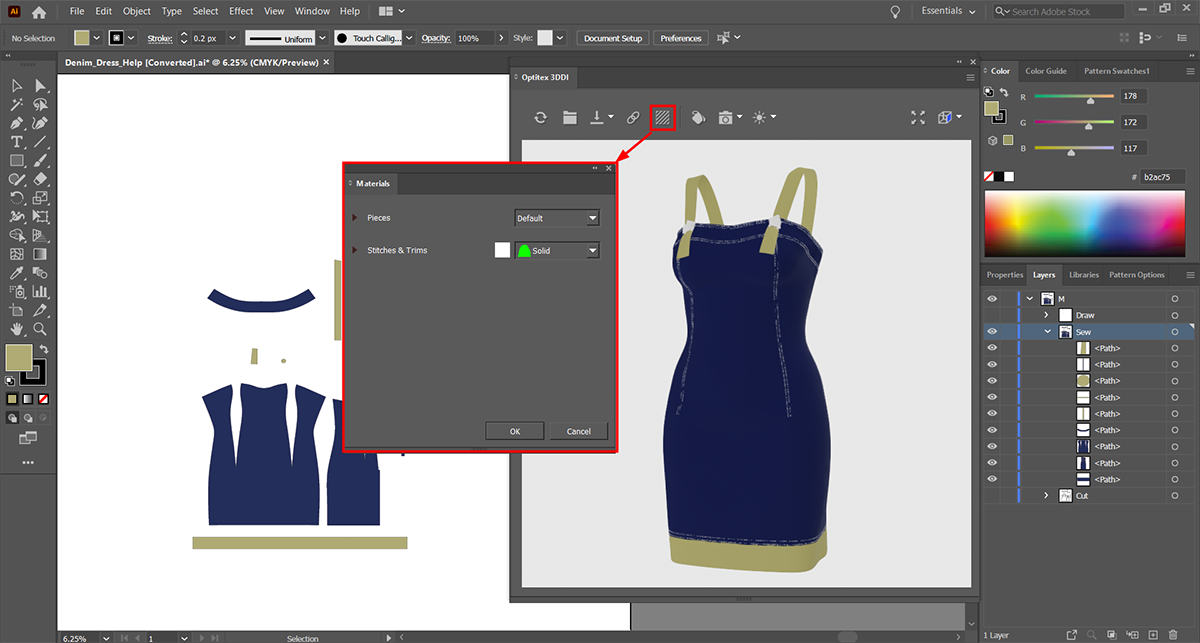
-
You can apply the same material on all pieces.
OR
If you want to apply the material on each piece separately click the arrow next to Pieces in the Material dialog and then select the piece.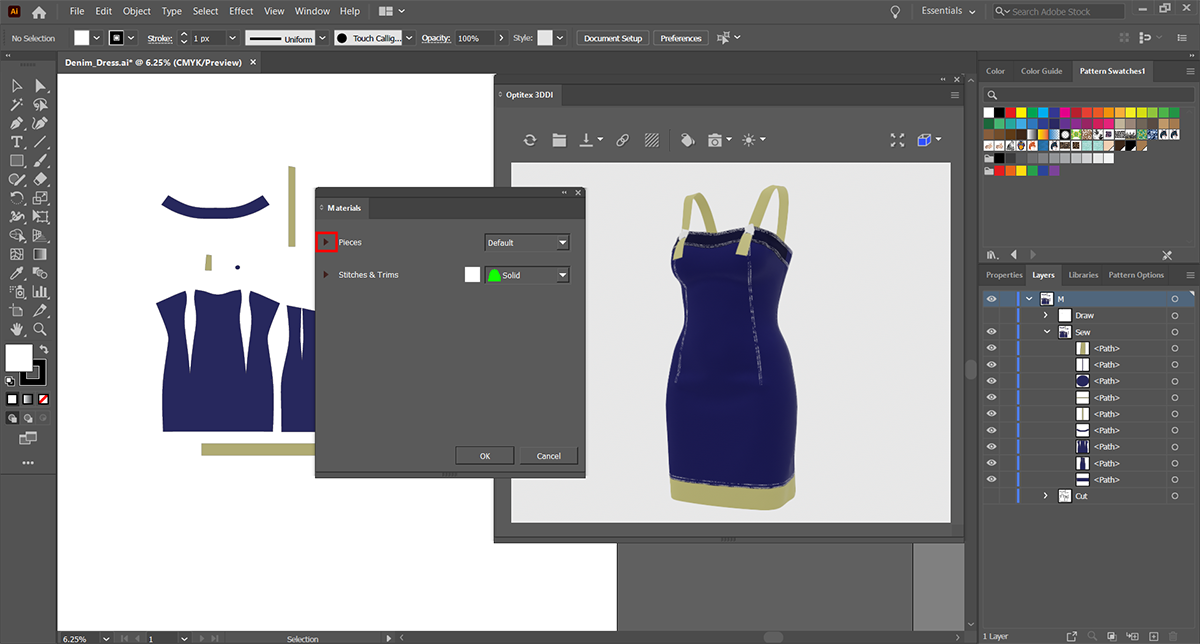
For example, select the Front top piece, open the material list and then select Denim.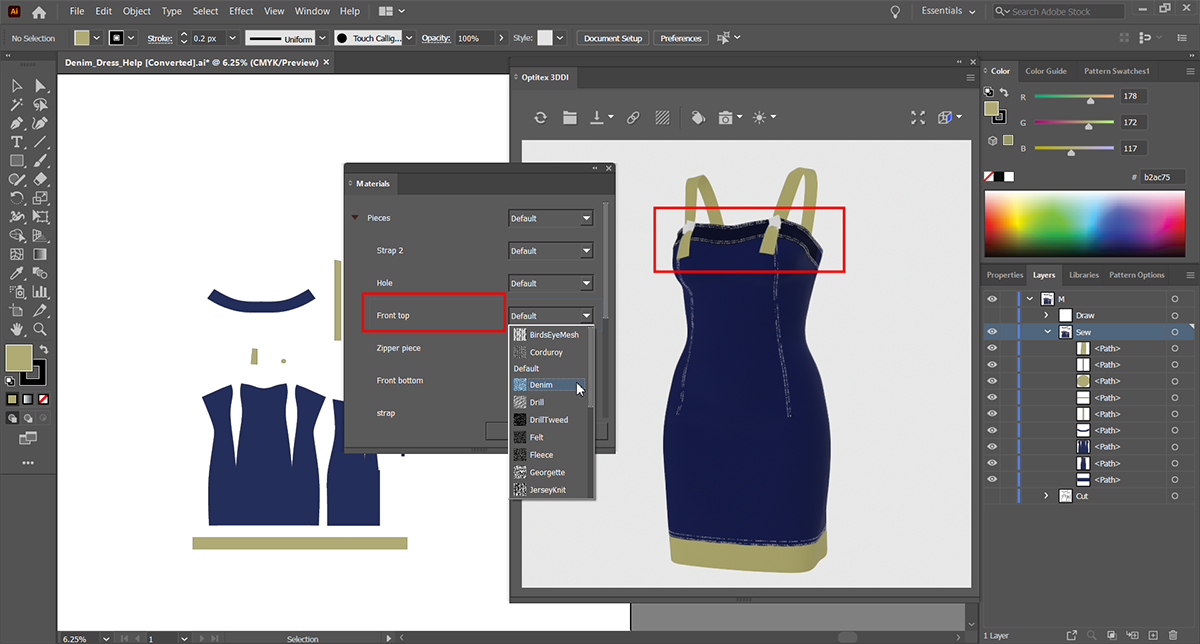
Once the material for the appropriate piece is selected, the 3D window is updated immediately and the highlighting disappears.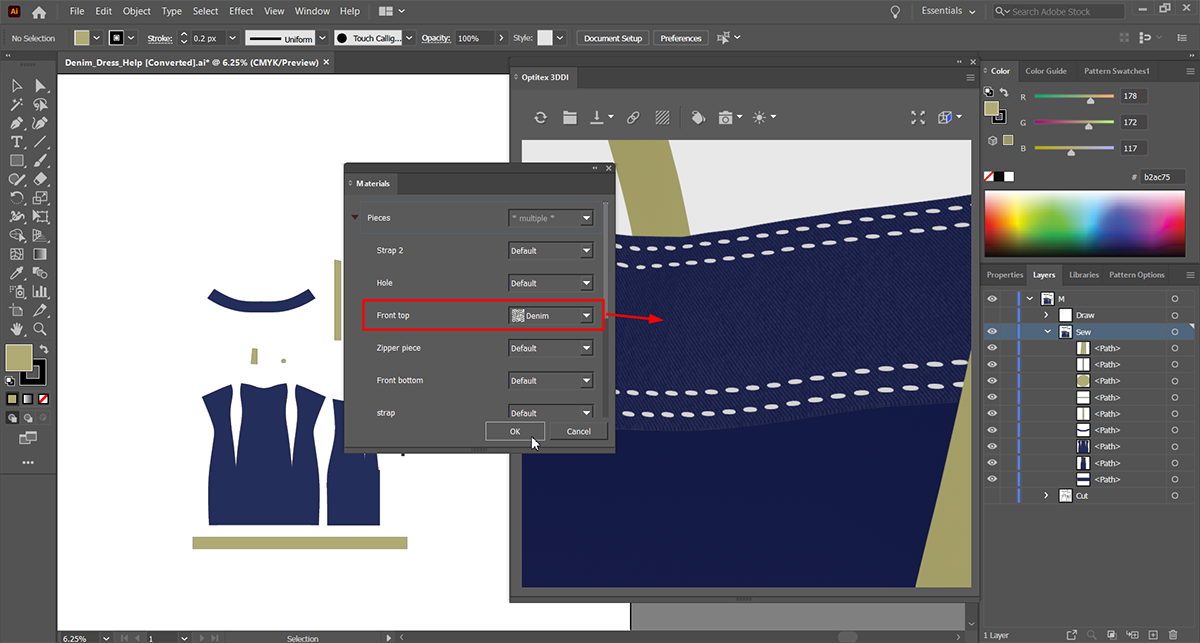
-
Repeat the same steps for all piece in the design.
Applying Materials on Stitches & Trims:
-
You can apply the same material on all Stitches & Trims.
OR
If you want to apply the material on each stitch and trim separately, click the arrow next to Stitches & Trims in the Material dialog and then select the desired stitch/trim.
For example, select the Submesh0 trim, open the material list and then select Gold.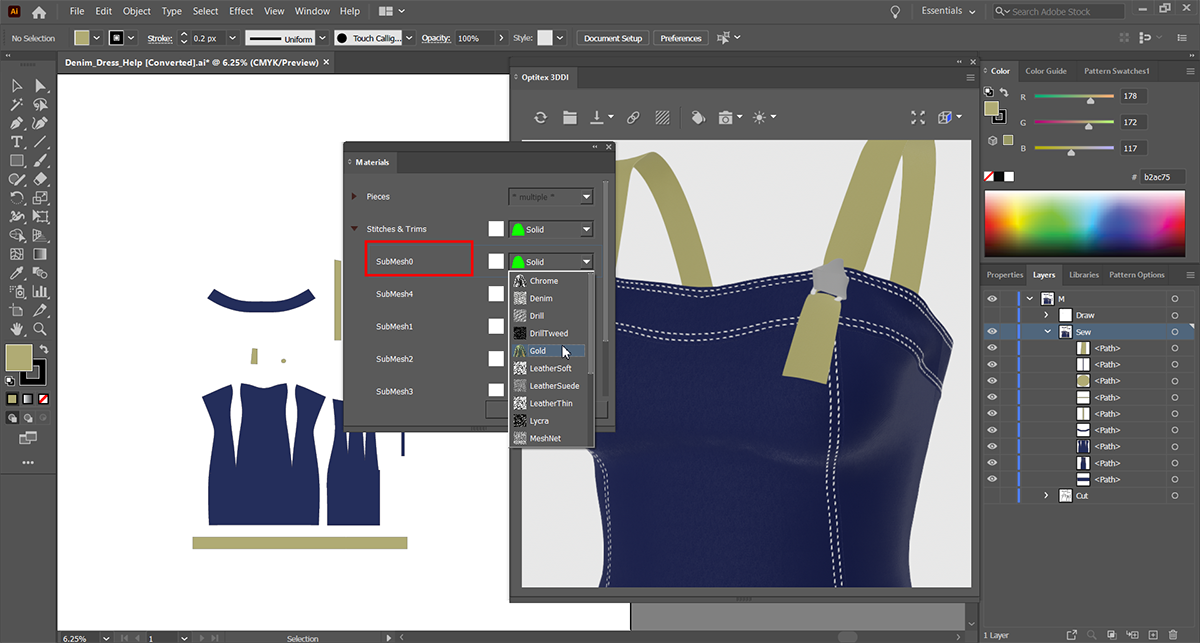
Once the material for the appropriate trim is selected, the 3D window is updated immediately and the highlighting disappears.
Applying Color on Stitches & Trims:
You can apply a color on Stitches & Trims in addition to a material.
Note:
Color cannot be applied together with Gold, Silver and Chrome. If you
apply color with the mentioned materials, the color will not be represented
on the Stitch & Trims.
All other materials can be combined with the color.
-
Select "New Stitch" in the material dialog. The selected stitch is highlighted in the 3D window and then click on the color of the selected Stitch in the Material dialog as follows:
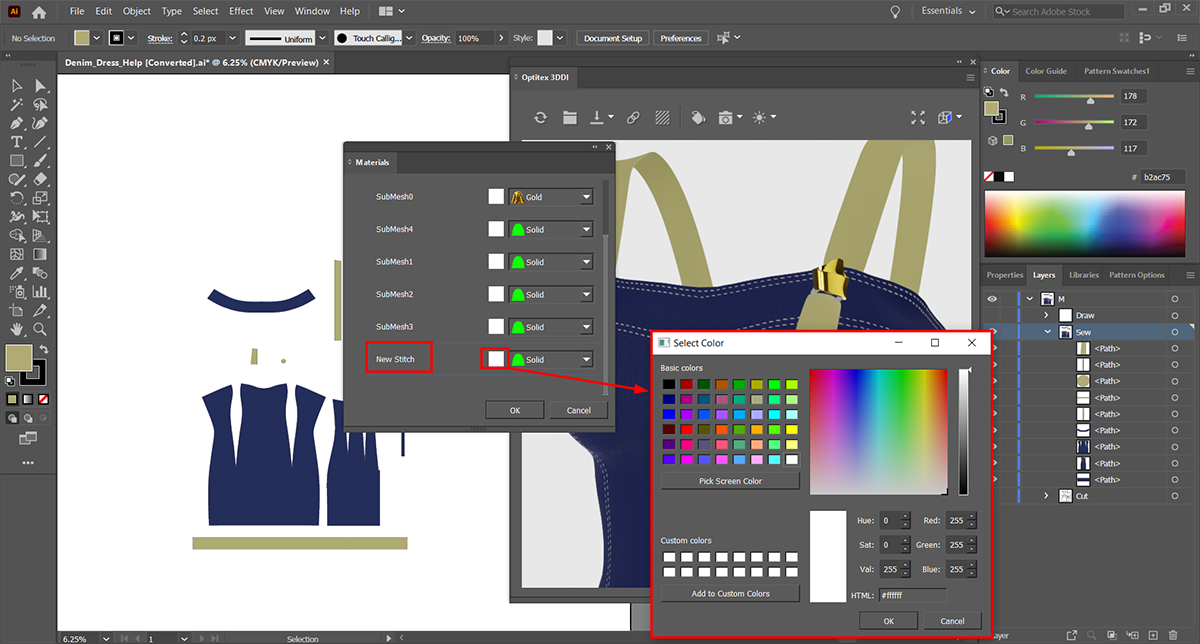
The Select Color dialog appears. -
Select the desired color and then click OK.
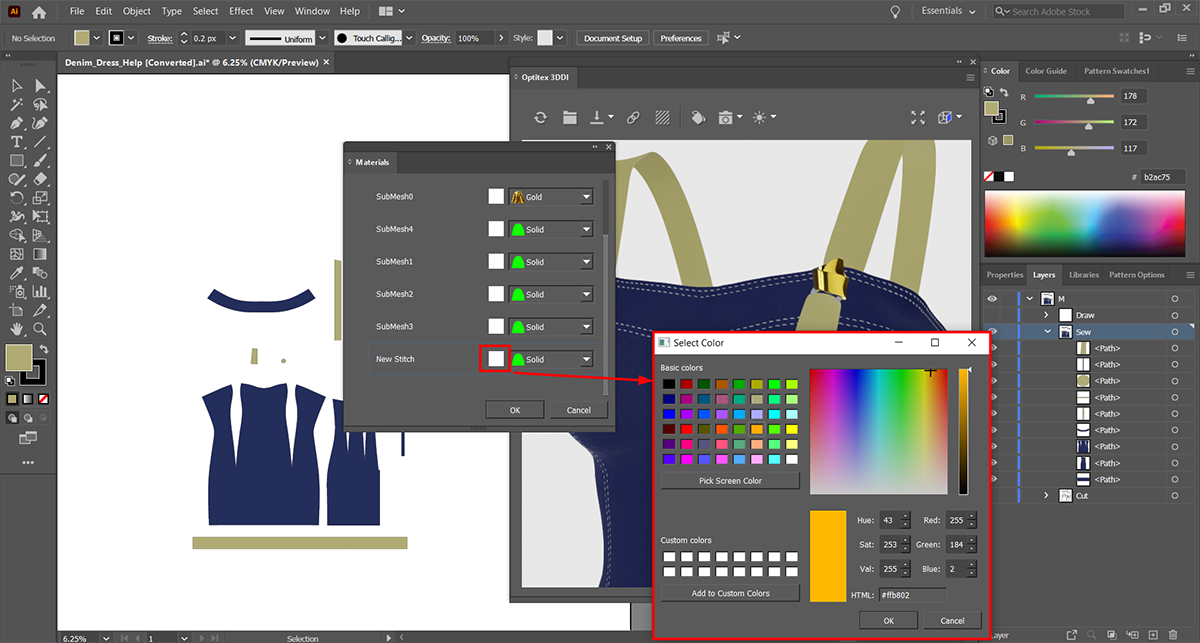
The stitch is colored with the selected color in the 3D window.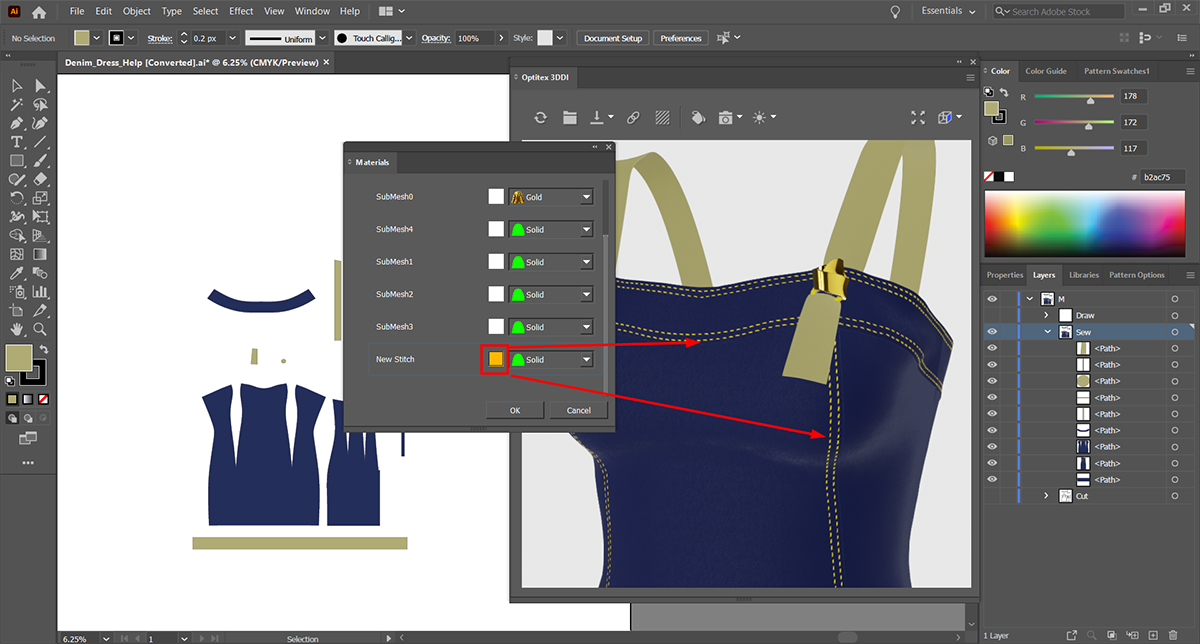
Once you finish applying materials and colors, click the OK button to close the Material dialog.